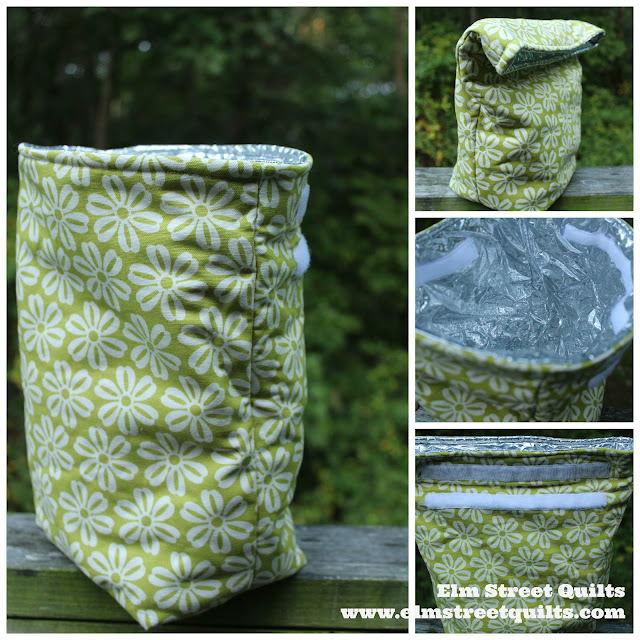
My daughter and I enjoy a picnic each Sunday - rain or shine. On nice days, we'll eat at a table by a lake and watch the ducks. My new lunch sack brings an extra element of fun to our weekly picnic!
Supplies you will need - (supply source information)
# pieces
|
Dimensions (height
x width)
|
|
Primary fabric
|
Two
(2)
|
15 x 12 ‘’
|
Insul Shine
|
Two
(2)
|
15 x 12 ‘’
|
Fusible fleece
|
Two
(2)
|
14 ½ x 11 ½ ‘’
|
Velcro (¾ ‘’)
|
One
(1) each
|
One set each at 7 ‘’, 8’’
plus a spare 8’’ set
to be used during assembly
|
Note - for directional prints the measurements are listed as height by width. So you'll need a piece 15' high by 12'' wide.
Insul Shine is a product from the Warm Company. It is machine washable and designed to keep food warm or cold. I used it as the lining of the bag. I tested it by leaving ice inside and compared it to ice left in a typical cooler. It performed well.
Assemble the lining
Center a seven (7) inch piece of Velcro on an Insul Shine piece, 1½ '' from the top and 2 ½ '' from each side. Repeat with other piece of Velcro and the second piece of insulate.
Put shiny sides (i.e. the right side) together and sew around the two (2) sides and the bottom using a ¼ '' seam. (Note - the top of the bag is where the Velcro was applied. )
Don't use pins - you can either just keep things aligned with your hands or use Clover Binding Clips.
Mark a line 2 ¼ '' from the stitching line in each of the corners you just sewed.
Cut on these lines.
Sew each corner to create the bottom of the bag. (If needed, review this tutorial on boxing corners.)
Turn your lining inside out and examine your seam lines to make sure everything is secure. Your lining is now complete.
Assemble outer part of the bag
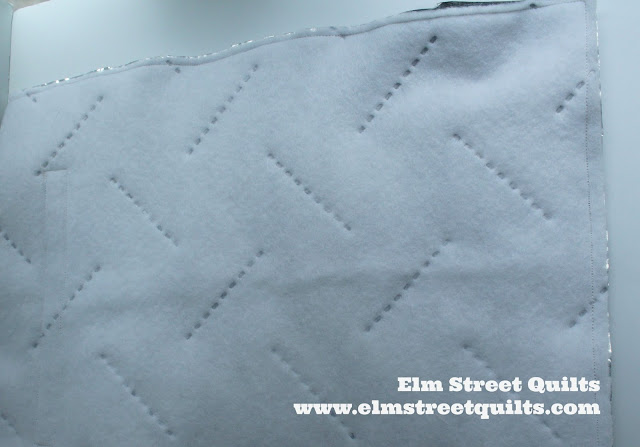
Iron fusible fleece to wrong side of primary fabric.
Pin the hook side of the Velcro 1 '' from the top, centered on the right side. Align the loop tape below, centered, positioned 2 ¾ '' from the top.(There should be a 1 '' gap between the loop and hook tape.)
Sew to bag. Use the second piece of spare Velcro and adhere to one of the pieces of Velro you just sewed to prevent these pieces from sticking to each other during assembly.
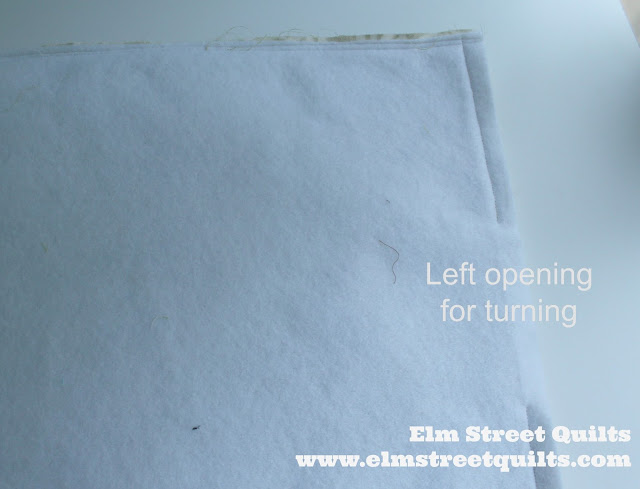
Sew the long sides of the bag, Sew across the bottom, leaving (roughly) a 4 ½ '' gap for turning.
Box corners exactly as was done for Insul Shine lining. Both the outside fabric bag and the Insul Shine fabric bag should be able to stand up on their own.
Nest the Insul Shine lining bag inside the outside fabric bag. Right sides should be together which means the shiny side should be touching the right side of your primary fabric. Use Clover Binding clips - not pins - to secure.
Sew all the way around carefully and slowly.
Carefully turn inside out. This is when you will be quite happy you had that spare piece of Velcro!
Using Clover Binding clips to secure top edge and topstitch.
In typical bag assembly with a lining, your gap is inside the bag in the lining. This bag is different and the gap is now at the bottom of your bag. Close this opening using tiny stitches.
Fill your lunch sack and enjoy!!

I'll be linking my Bag It tutorial with Sew Cute Tuesdays, , Freemotion by the River, WIP Wednesday's, Let's Bee Social, Midweek Makers. Fabric Frenzy Friday, Finish it Up Friday and Finished or Not Friday.
Have a wonderful day! Patty


Nice looking lunch sack! A question for clarification: On the finished product, are there two sets of Velcro strips, one inside the bag and a set on the outside fabric? It appears that the outside ones are stitched on one side of the bag to fold over and secure the top of the bag. Is that correct?
ReplyDeleteExactly! I'll grab a photo of the closed bag and add it to the post so everyone can see. Thanks for the question!
DeletePatty: Thanks for the quick response ...and for the future picture of the closed bag!
DeleteLove your lunch bags in crab shack! Can you wash them?
ReplyDelete