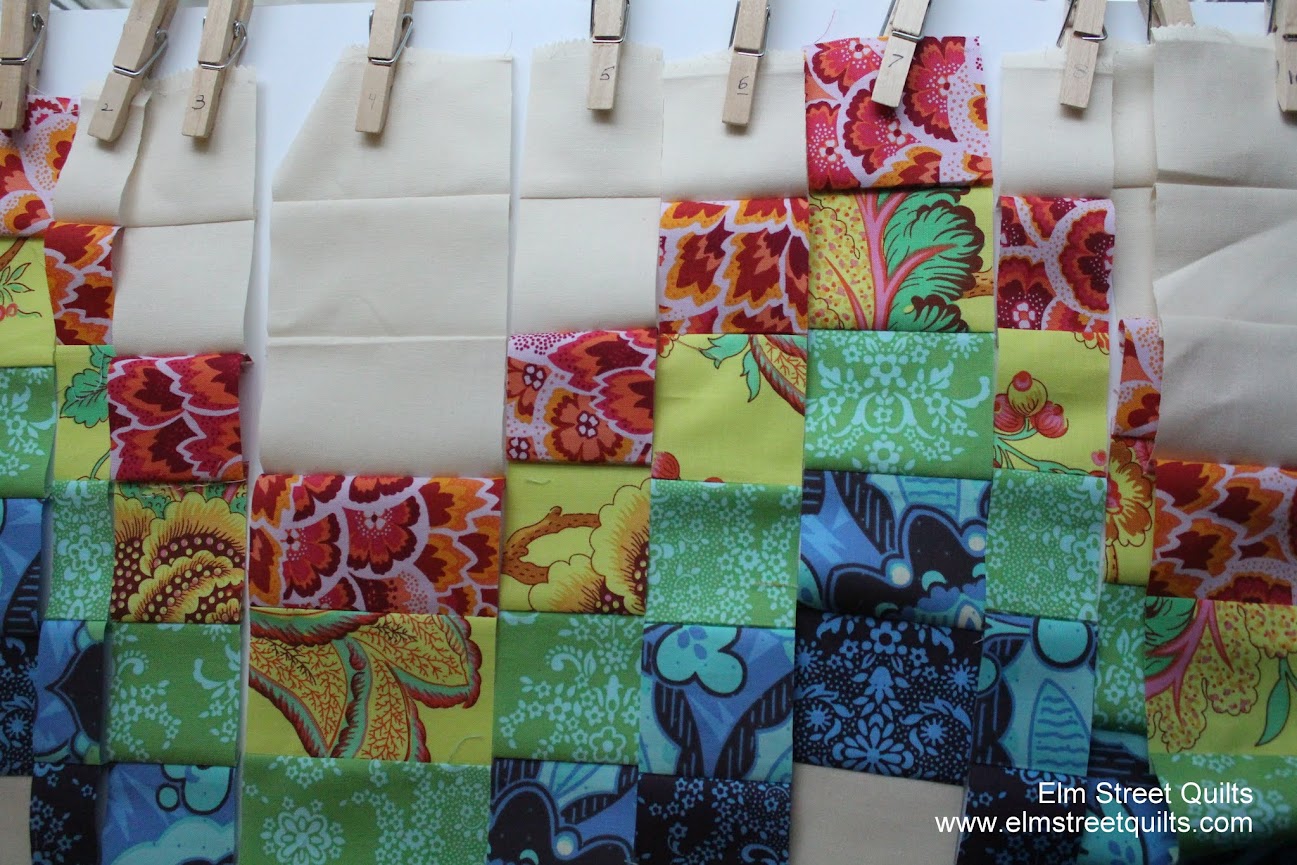
Welcome to a extra post in our Bargello QAL!
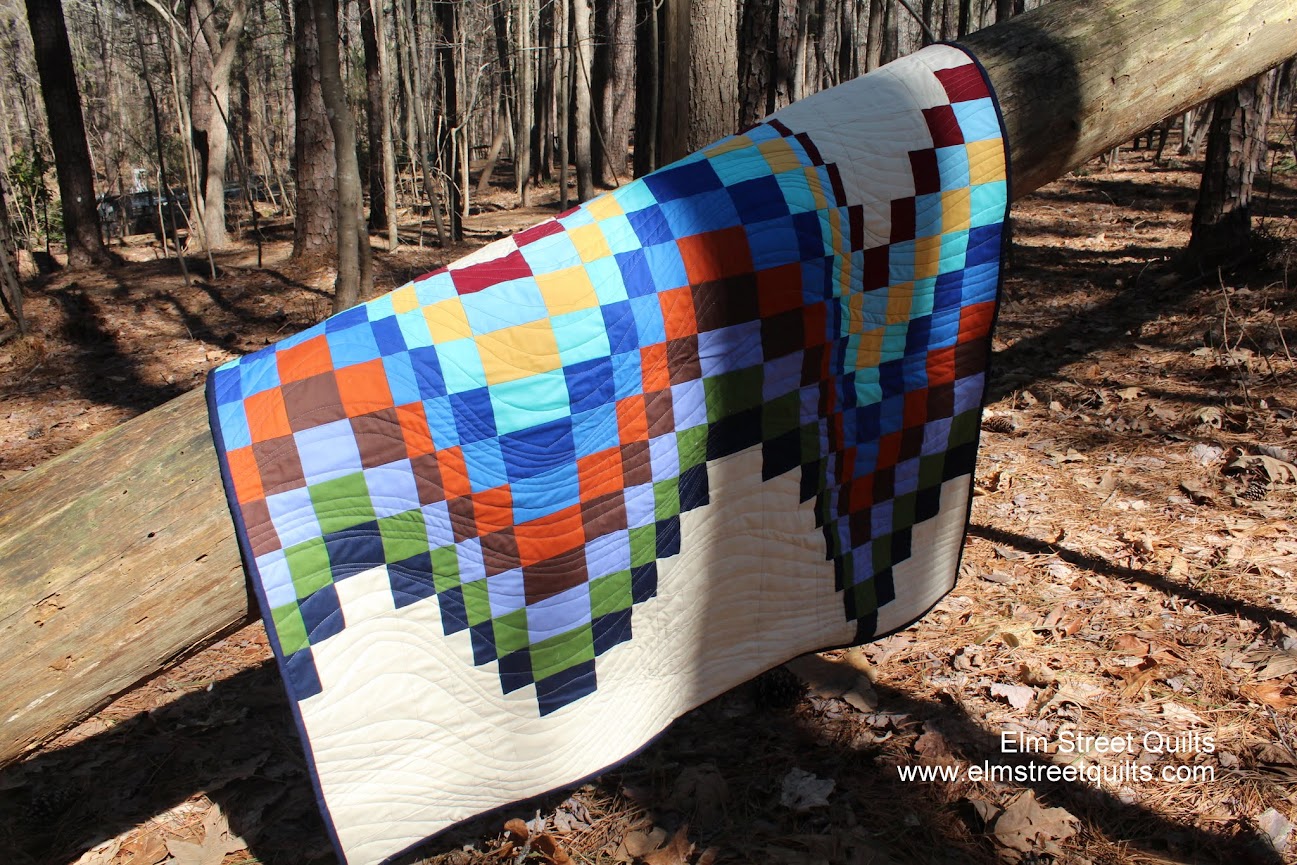
In case you are just catching up, you can make either the Baby B - finishes at 16'' - or the Queen B - finishes at 36''. We've got terrific prizes available (see s
ponsor introduction) for three lucky random participants. You've plenty of time to join in - linky party runs from March 28 through April 22.
Fabric requirements (
Queen B or
Baby B) and the first step of the
Bargello assembly is available.
The final step of the Bargello assembly posts on Monday and will contain the Bargello cutting charts for the Queen B and the Baby B.
Before that post, I wanted to do a quick tutorial on how to read the Bargello cutting chart so everyone is ready to go.
Please ask questions in the comments and consider joining
the new Elm Street Quilts QAL Facebook group and share your progress! It is going to be a lot of fun to see how everyone is doing!.
To be clear, this is NOT the actual cutting chart for the QAL.
Let's learn how to read a bargello cutting chart with this example sample. There are are 7 fabrics - red, yellow, blue, purple, white, white & white. Red is the #1 fabric.
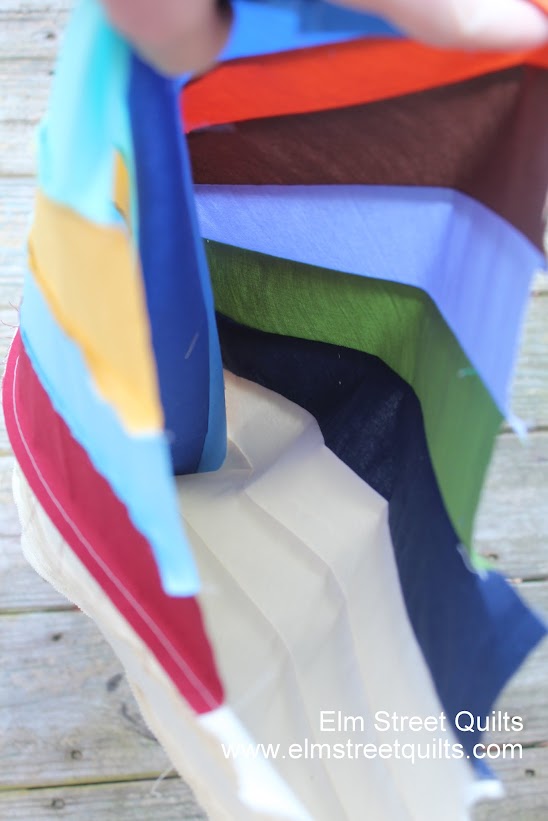
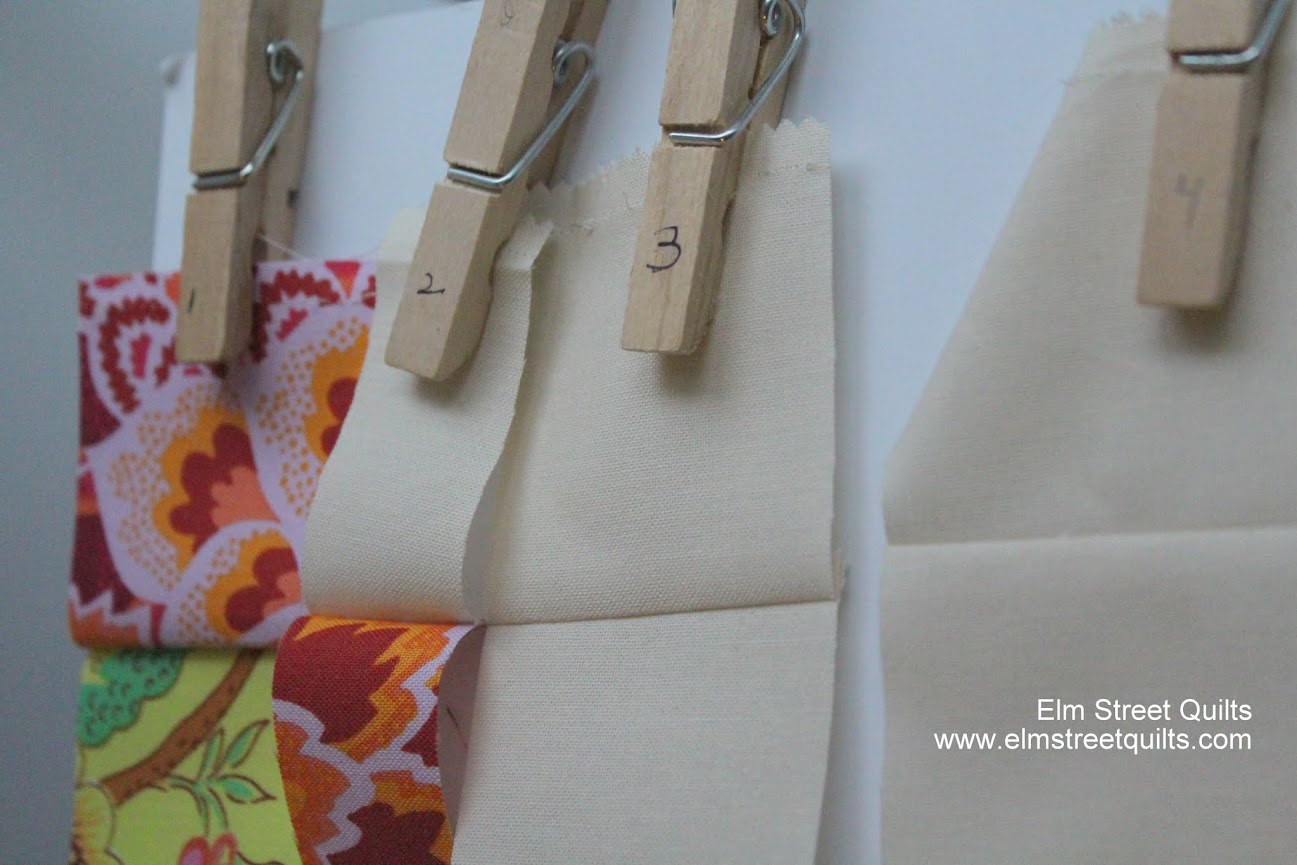
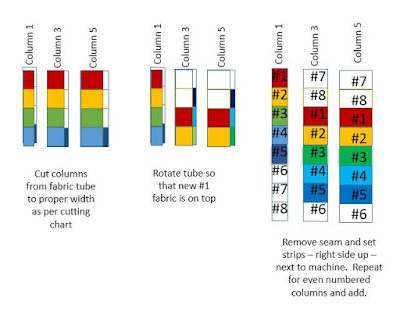
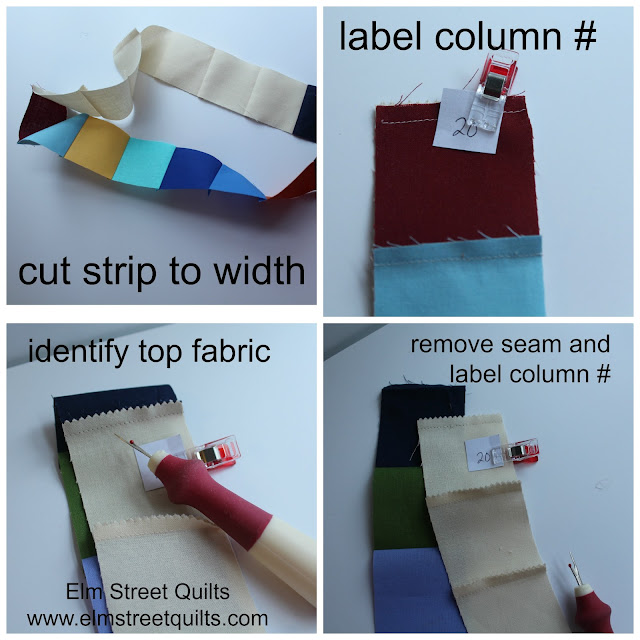
Bargello assembly results in tubes of strips, one group has seams pressed towards the #1 fabric and the other group has seams pressed away from #1 fabric. Label one group ODD and one group EVEN.
You'll cut the odd numbered columns 1, 3, 5 and so on from the ODD group. Even numbered columns 2, 4, 6 will be cut from the EVEN group. (The fact that each group pressed differently allows the seams to nest.)
There are two cutting charts - one labeled ODD and one labeled EVEN.
The cutting instructions tell you
how wide to cut the width of fabric and which fabric is the
first fabric for that column. Since we've got several background strips, the table also tells you how many white squares are above your #1 (my red) fabric.
Here are columns 1, 3, 5 and 7 from this example sample and the cutting table for the ODD numbered columns.
 |
| To be clear, this is NOT the actual cutting chart for the QAL. |
Let's look at the column circled in the graphic below. Now read across in the ODD table where the circle is. A strip was cut from the tube of a width of 1 and the first fabric is #6. There are 2 white squares above your #1 (my red.)

 |
| To be clear, this is NOT the actual cutting chart for the QAL. |

Once you cut your odd columns, your start with a tube (pressed opposite direction) and cut your even fabrics. In my sample example, the only thing that changes is the strip width.
This sample all has the #7 fabric as the first fabric which means there is one background square above the #1 (my red.)
 |
| To be clear, this is NOT the actual cutting chart for the QAL. |
Once all your strips are cut and seams separated, you can lay your bargello out on your sewing table and sew together, nesting those seams.
Any questions?
Monday's post will feature a printable version of the actual cutting charts for the Queen B and the Baby B along with important tips and some helpful photos.
I hope you are having fun - I know I am!
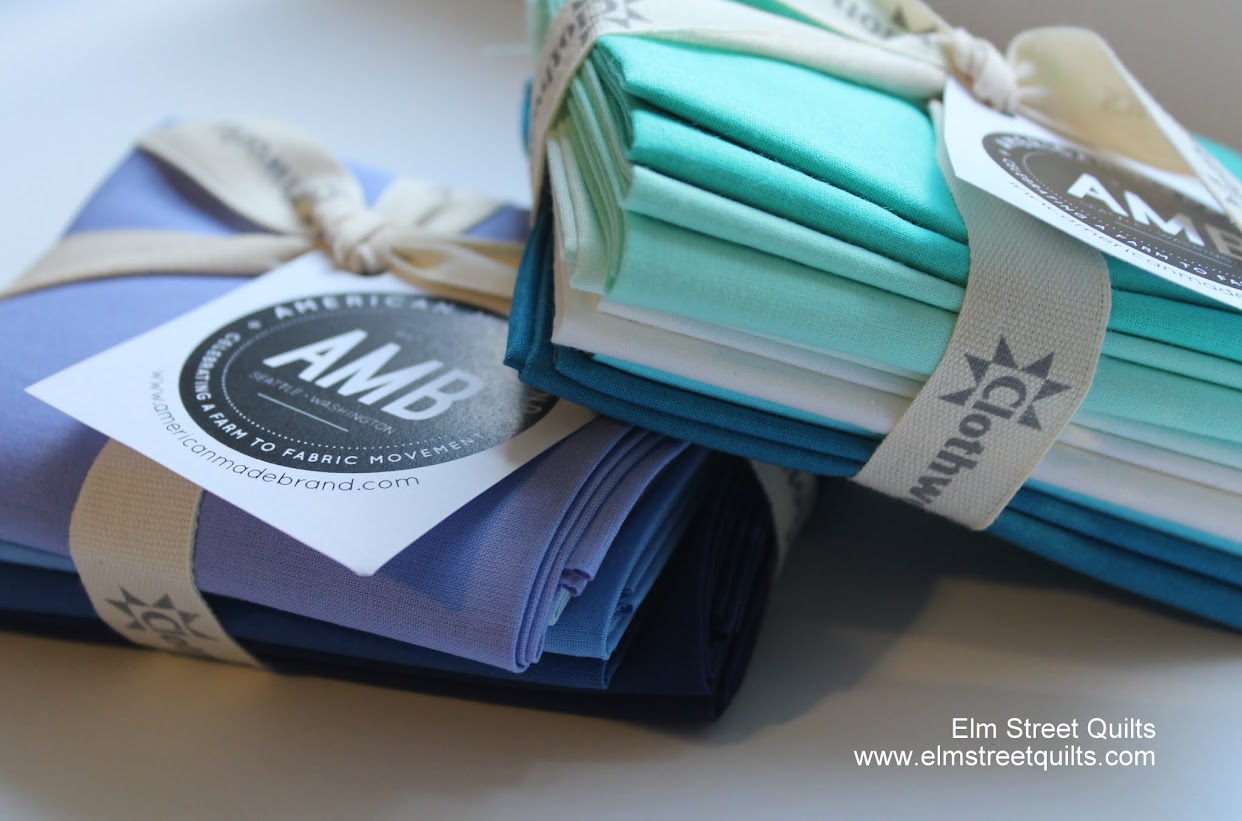
My thanks to the wonderful people at American Made Brand for sponsoring this Bargello QAL.
Have a wonderful day!
Patty

