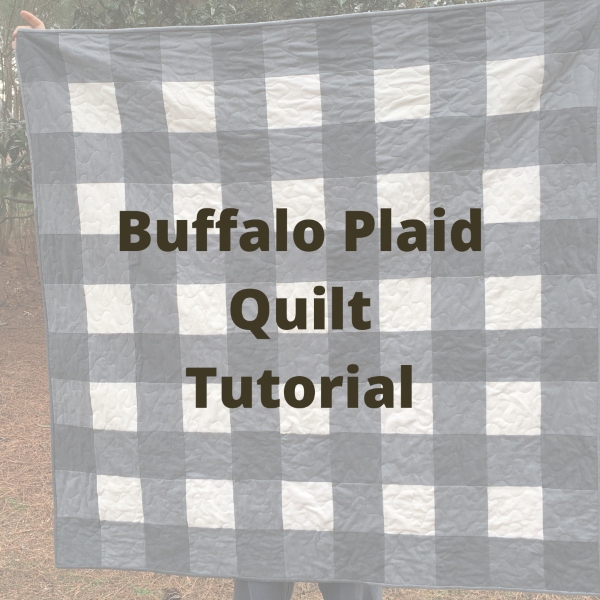
After seeing (and petting) some soft flannel in my LQS, I decided to make a simple quilt with nice easy squares and large meander quilting. I'd always wanted to make a buffalo plaid quilt and in case you do too, you can find a brief tutorial below. (I used the Yuletide Gatherings Flannel.)
My quilt finished at 55'' x 55''. You can easily change the size of your quilt by adding or subtracting the rows and columns or even changing the size of the blocks. The fabric requirements are for a quilt which finishes at 55" x 55".
Buffalo Plaid Quilt Tutorial
Fabric Requirements
- Dark Gray (DG) - 1 yard
- Light Gray (LG) - 1.5 yards
- White (W) - 0.75 yard
- Binding - 0.5 yard (assumes binding cut at 2.25")
- Backing - 3 yards
Cutting
Cut 5 1/2'' x WOF strips from each. You will need 6 strips of the DG, 9 strips of the LG, and 4 strips of the W. Each 5 1/2'' x WOF strip will yield seven (7) 5 1/2" x 5 1/2" squares. Cut the required number as shown in table below.
Quilt Assembly
Assemble 6 rows of DG and LG squares. Each row uses 6 DG and 5 LG. Press seams towards the LG.
Join rows together, alternating the DG/LG row with the LG/W row, ending with the DG/LG row. Pin at each intersection to ensure seams stay nested.
Quilt and enjoy! I used a basic large meander on my domestic machine. It only used 2 bobbins and didn't take long to quilt!
If you make a buffalo plaid quilt using this tutorial, please let me know!
Pin for later:
Have a wonderful day! Patty


Great tutorial and it looks like you found the perfect backing print, too!
ReplyDeleteHow nice of you to create this tutorial! This Buffalo print quilt is a simple, but very effective design, isn't it? Made from flannel, I'm sure it's got the wonderful cuddliness that's perfect on a cold winter evening. You've done a really nice job with this one.
ReplyDeleteThis quilt pattern and fabric choices are the perfect choices for the XY chromosome recipient (male).
ReplyDeletePlaid is a great colour. ☺ The backing is perfect.
ReplyDeleteThis quilt looks comfy and the colours are great. thank you for sharing.
ReplyDeleteSuch an "easy" make with the right things hanging around. Great tutorial! I am going to have to organize some fabric and see what might work!
ReplyDeleteThank for the tutorial Patty :-)
ReplyDeleteThanks for sharing the tutorial for this fun quilt.
ReplyDelete