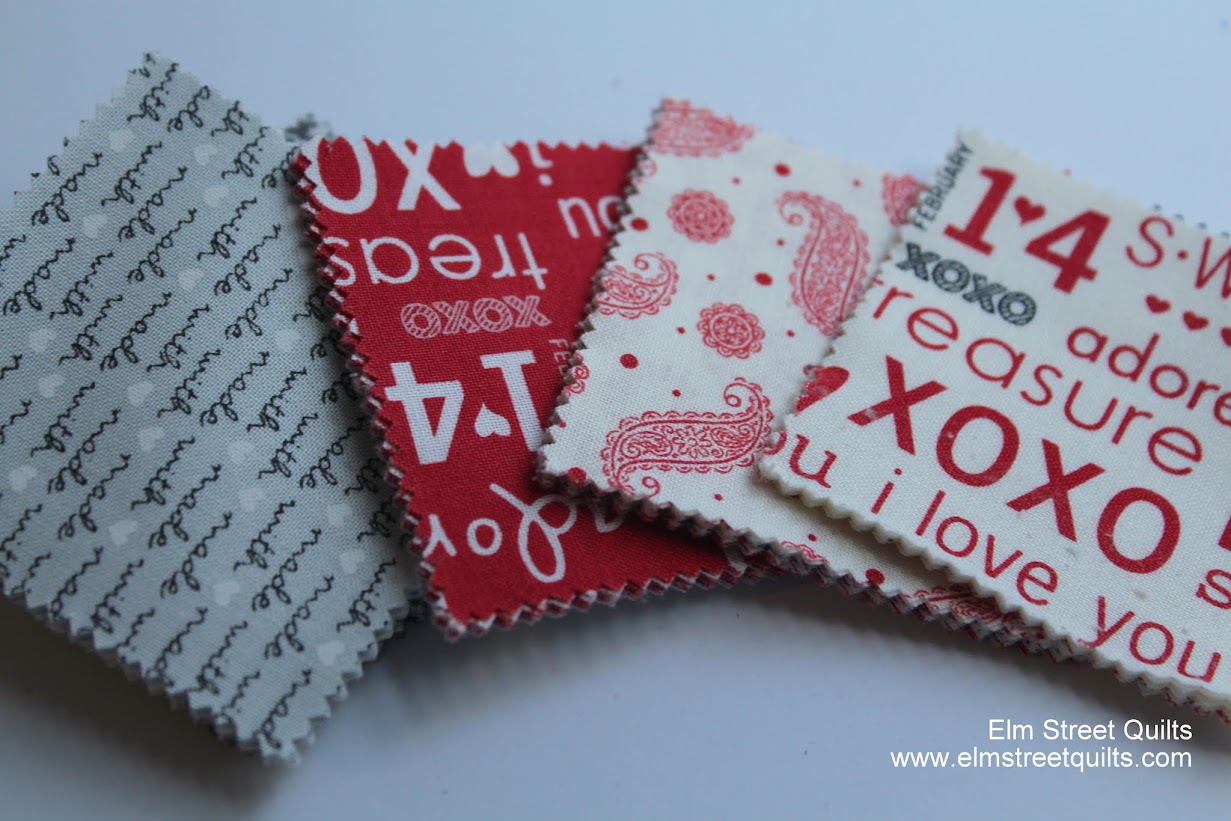
Crack open the label and spread out these goodies. What shall I make?
Sort out the reds from the lights.
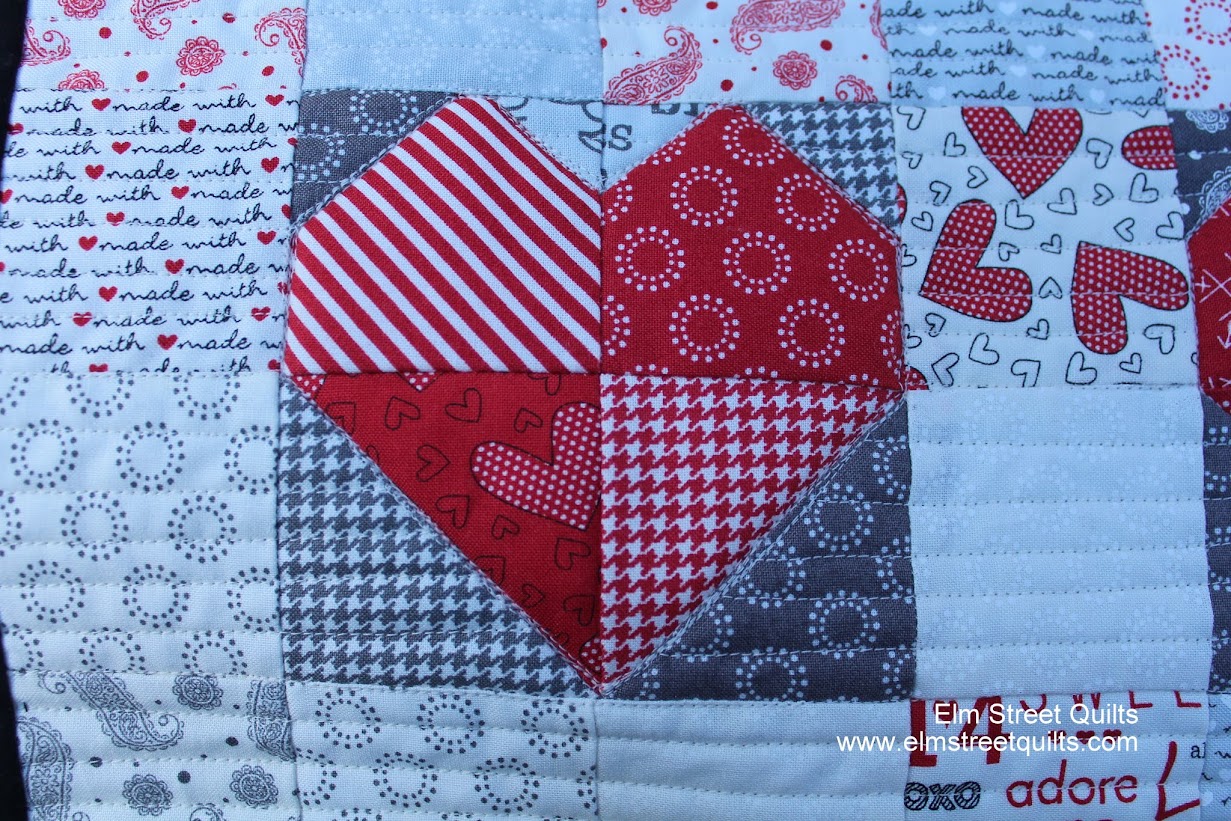
Turn those reds into a heart - making a HST with a gray square (draw a line corner to corner and sew a scant to the side of the line. You want that finished HST to be a 2 1/2 square.
Grab that scrap from the HST and position it on the corner of another red square so it lines up straight and tall at 1 1/2''
Finger press so when folded corners line up and sew. Cut off those extra dog ears.
Take another gray charm square and cut it into 4 pieces, each 1 1/4''. Use these at the other corner.
Assemble your hearts.
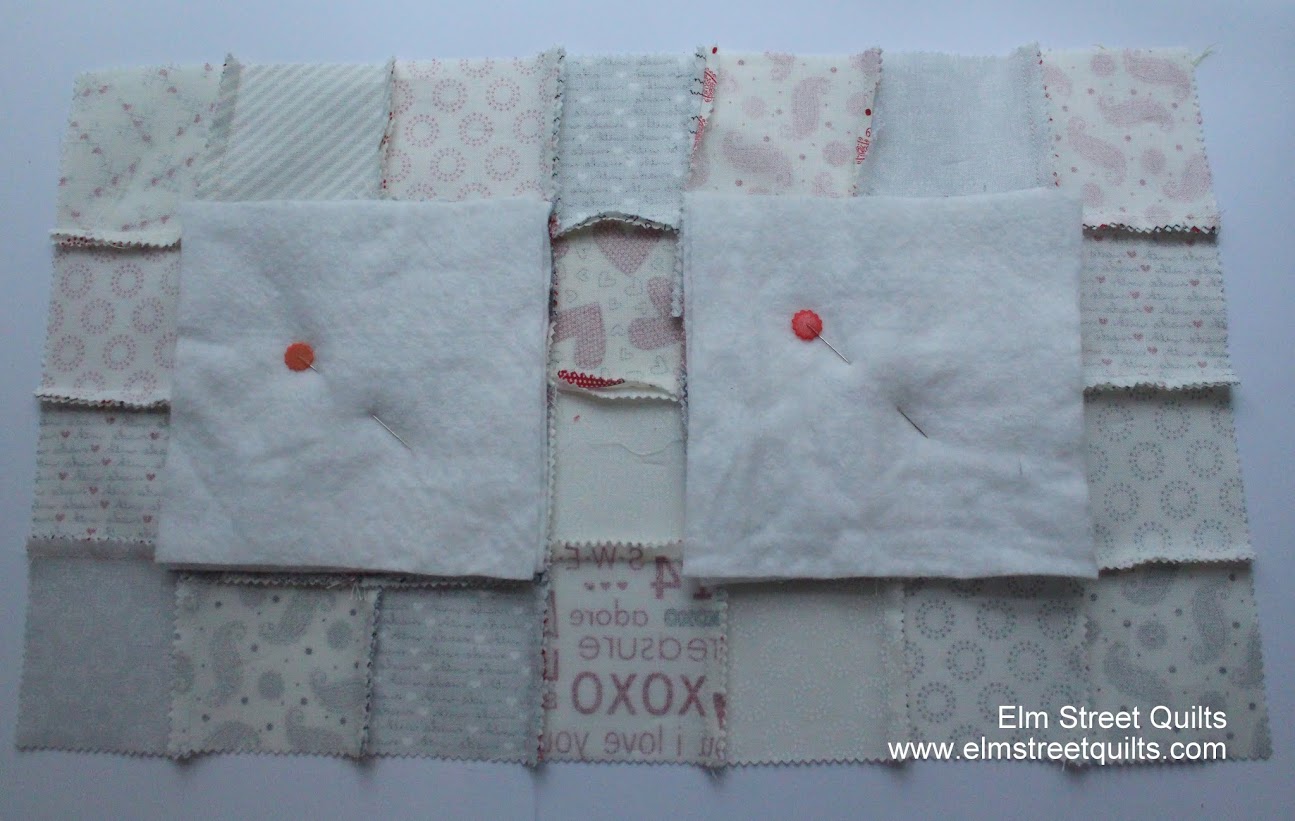
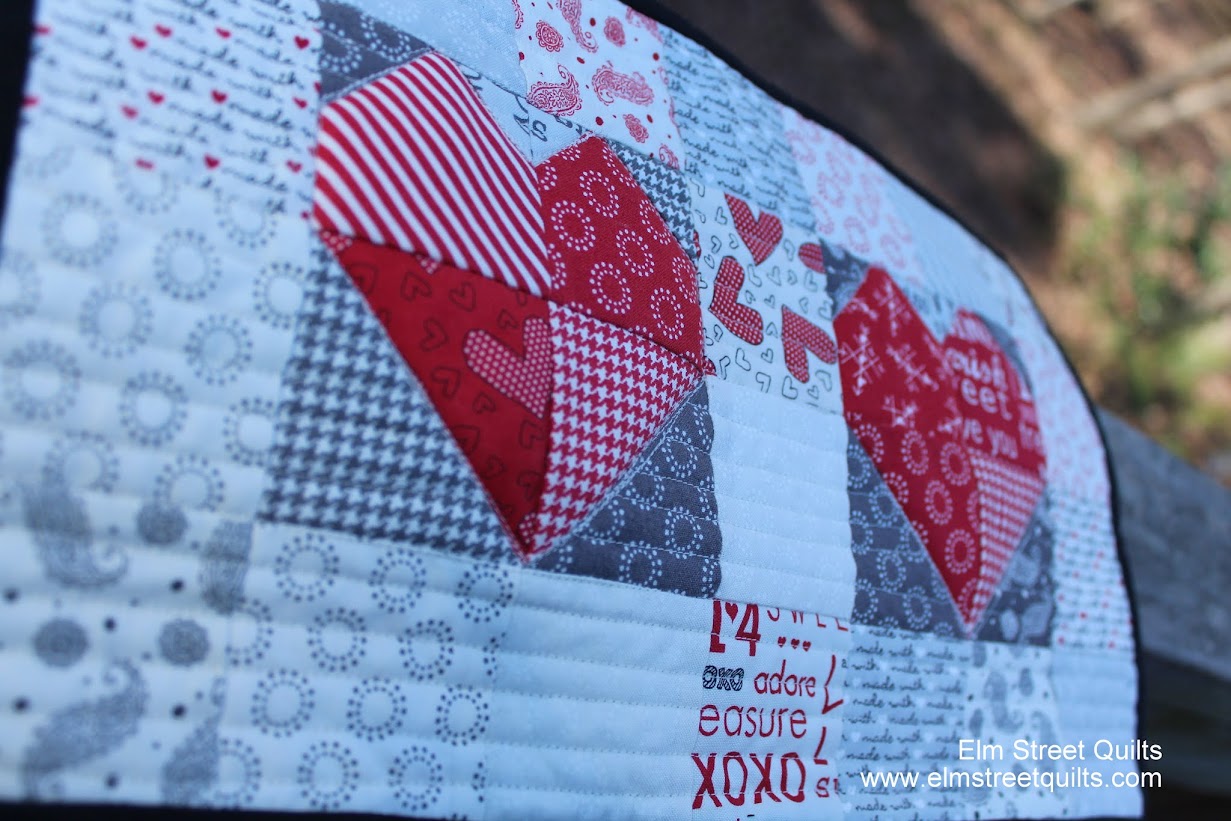
Assemble your mini quilt. Secure two squares of batting - each at 4 1/2'' square - behind the hearts and then sew around the outline.
Carefully snip away the excess batting.
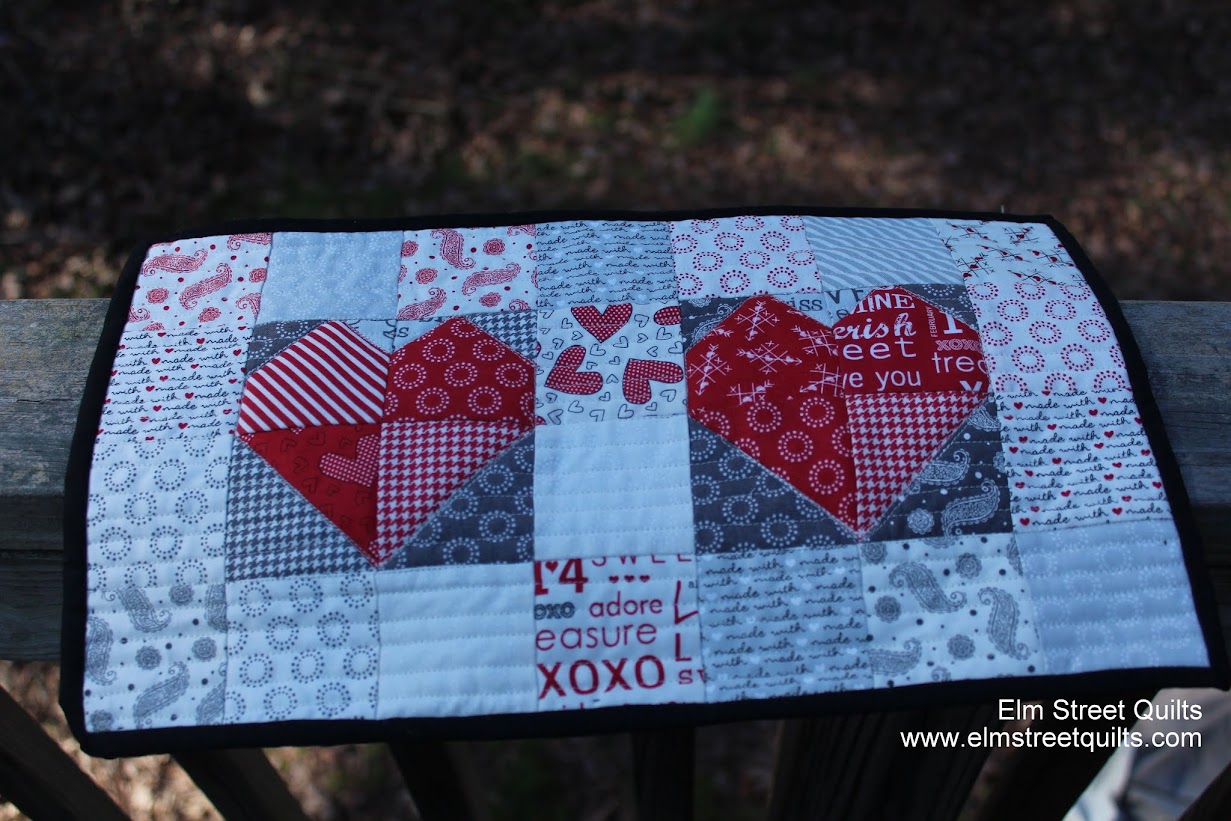
Make your quilt sandwich and then quilt.
I went with straight lines but avoided any quilting on the hearts because I wanted them to puff (or is it poof?) up. I've named this project XO!
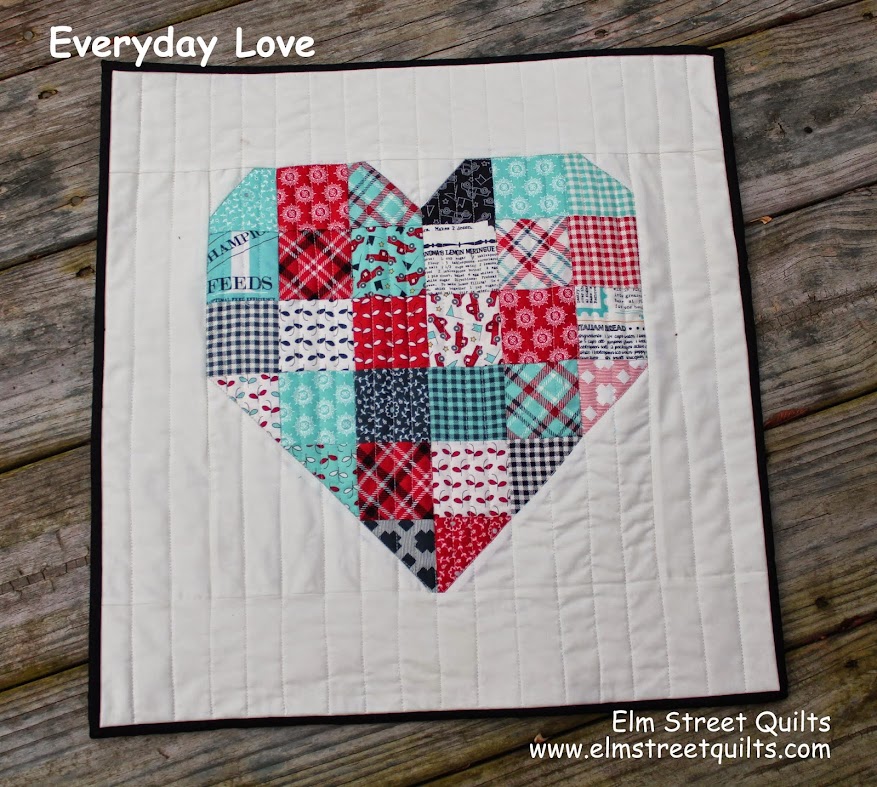
I love making projects with mini charm packs. I get all of my precuts from Green Fairy Quilts - so many precuts to choose from! In my Craftsy shop, you can find a pattern for another heart using a mini charm pack. I call this one Everyday Love.
 I hope you found this tutorial and quilting tip on a quick project to use a mini charm pack helpful. I'll be linking up here at Sew Simple Saturdays. I love the idea of sharing quilting tips each month. Here are the list of tips I shared previously:
Have a wonderful day! Patty





did you use a charm pack or a mini charm pack? love the mug rug.
ReplyDeletePatty that is really adorable and a great tutorial! Thank you for sharing and for linking up! xo
ReplyDeleteCute puffy poofy hearts :) This is a Sweetwater collection I didn't bite on...but I see I may need to take a second look and perhaps stash a few of those prints!
ReplyDeleteSew sweet! Thank you for sharing how you made this ... :) Pat
ReplyDeleteFantastic just in time for Valentines day also!
ReplyDeleteIt's like magic! Great tutorial for a sweet Valentine project. Thanks for sharing :)
ReplyDeleteWendy xo
So adorable herats.Thanks for the tutorial.That fabrics are yummiest!
ReplyDelete