Friday, November 20, 2015

Bag It Inspiration from around the world!!!


It is the end of week 3 of my Elm Street Quilts Bag It series!  

For overall information on the series, visit the main Bag It page.   A list of suggested supplies can be found here.

By popular request, I am thrilled to share just some of the bags that have been made and shared by talented people from around the world as part of the Bag It series.

Some people are sharing via Instagram - #elmstreetquilts

Others have shared on their blogs.  Here are just a sampling of these photos.  Credits and links to the blogs are below.


Row 1:  Martina from Sunshine Quilting;  Jocelyn from Happy Cottage Quilter;  Kathy from Both Sides of the Pond

Row 2:  Heidi from Red Letter Quilts;  Kathy from Running with Rocket;  Val from Val Spiers Sews

Row 3:  All bags by Sandra from Sandra Sews

Row 4:  Another from Kathy from Running with Rocket;  Pam from Threading my Way;  Janine from Crafty Tokyo Mama II

There have been beautiful photos sent in through email - here are the bags made by (left to right) Diane, Donna & Lisa.


And because they keep coming in, here are just a few more. - credits left to right to Kathy from Running with Rocket;     Pam from Threading my Way; and Anne via email.


There are almost 70 entries so far and still plenty of time to make more and submit them for more entries in the giveaway and more gifts for your friends and family completed!

I'm in love with so many of these.  Just love the fabric choices and lots of new shapes and sizes.

To make it easier to share your bags with others, come join today's linky party.

Please feel free to link up photos of any bags you've created and shared from November 2 through December 14.

Posting a photo in the linky does not - however - count as an entry in the giveaway.   You still need to  go here to officially enter!!

So create and share any bag between now through December 14 - each bag shared earns you 10 entries into the giveaway!   Entering is easy!  

 Just share a photo of your bag (or bags) on your blog, on Instagram (#elmstreetquilts), on the Elm Street Quilts Facebook page or send to me via email (elmstreetquilts at gmail dot com) and then go here to officially enter.  Enter as often as you want as you make new bags.  Any bag you make and share counts!   

Next week, I'll be featuring two kinds of bags that are great for storing headphones and jewelry.  I think you'll find more than one person on your holiday list that will love these!


Have a wonderful day! Patty

Wednesday, November 18, 2015

Bag It - Mini Storage Bags

Mini storage bag tutorial

(This post was originally published as part of the 2015 Bag It event.)


You'll find many, many uses for these mini storage bags. Put them next to your sewing machine to corral seam rippers and other tools.

Put one in the bath to collect makeup together.

Make some in holiday fabric and tuck some small gifts inside.

These bags are made identically to the large storage bags we talked about on this post.

Just the dimensions are different.

Mini storage bag tutorial

The technique for assembling these bags will seem very familiar if you've already made a zipped pouch.

For this Mini Storage Bag, you'll need the following:


  • 2 pieces of outer fabric cut at 5 x 7''
  • 2 pieces of lining fabric each cut at 5 1/2 x 7'' (the lining is cut slightly bigger so it will roll and be visible on the outside of the bag)
  • 4 pieces of fusible fleece each cut at 5 x 7''


That's it.  No zipper!

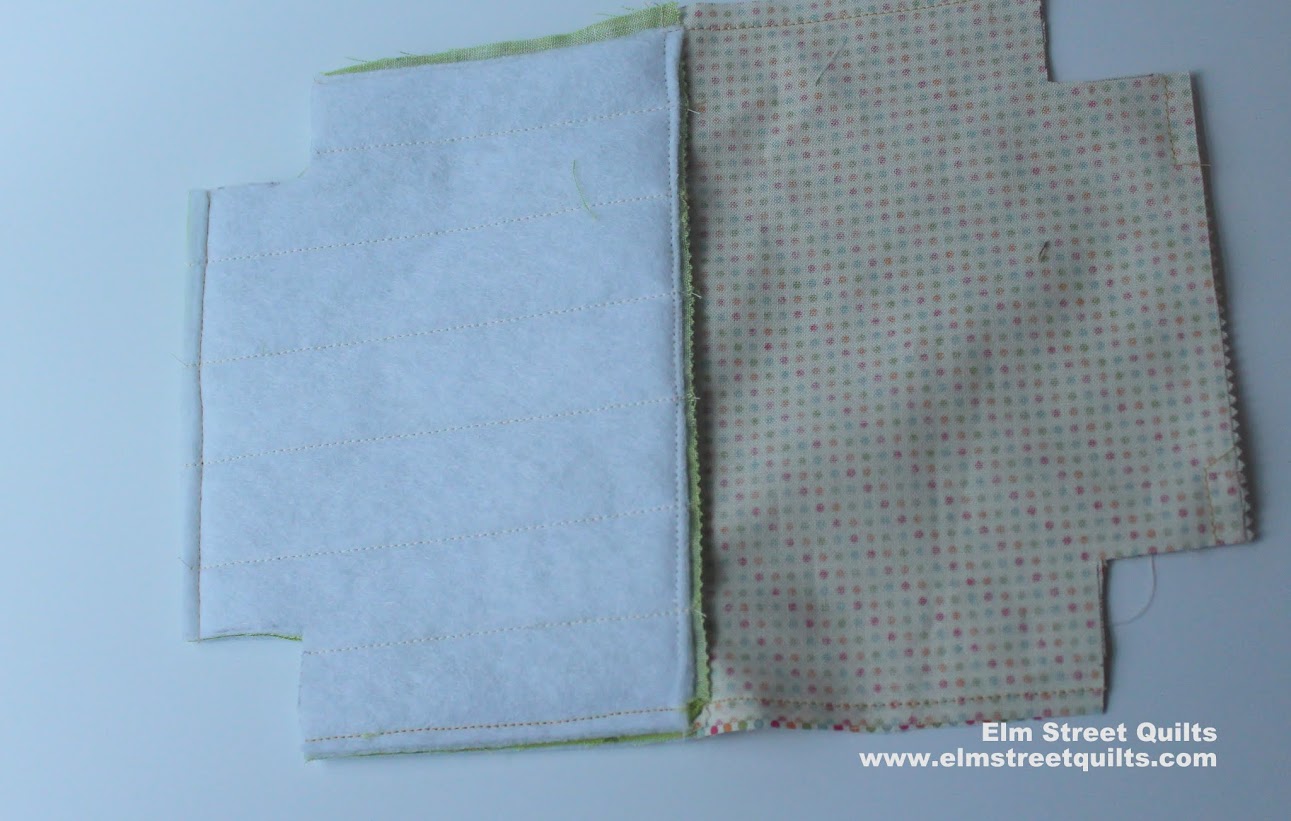
Iron 2 pieces of fusible fleece onto each of the outer fabric and quilt as desired.  This sample has 1'' quilted lines.


Put lining and outer fabric right sides together and sew a seam across the top.   No zipper to sandwich in between!


Already loving it!


Take each of your two units and put them right sides together, lining up the edges of the outer and lining fabric.


Sew around the entire unit leaving 2 to 3 '' open in the lining to allow for turning it inside out.


Box the corners of the outer fabric and the lining at 1'' from the sewn lines.

Mini storage bag tutorial

Turn inside out.


Sew the opening in the lining closed by hand or by machine.

Mini storage bag tutorial

Top stitch the top of the outer fabric to the lining.


Now make more.... and more of these.  They are seriously addicting.

Mini storage bag tutorial

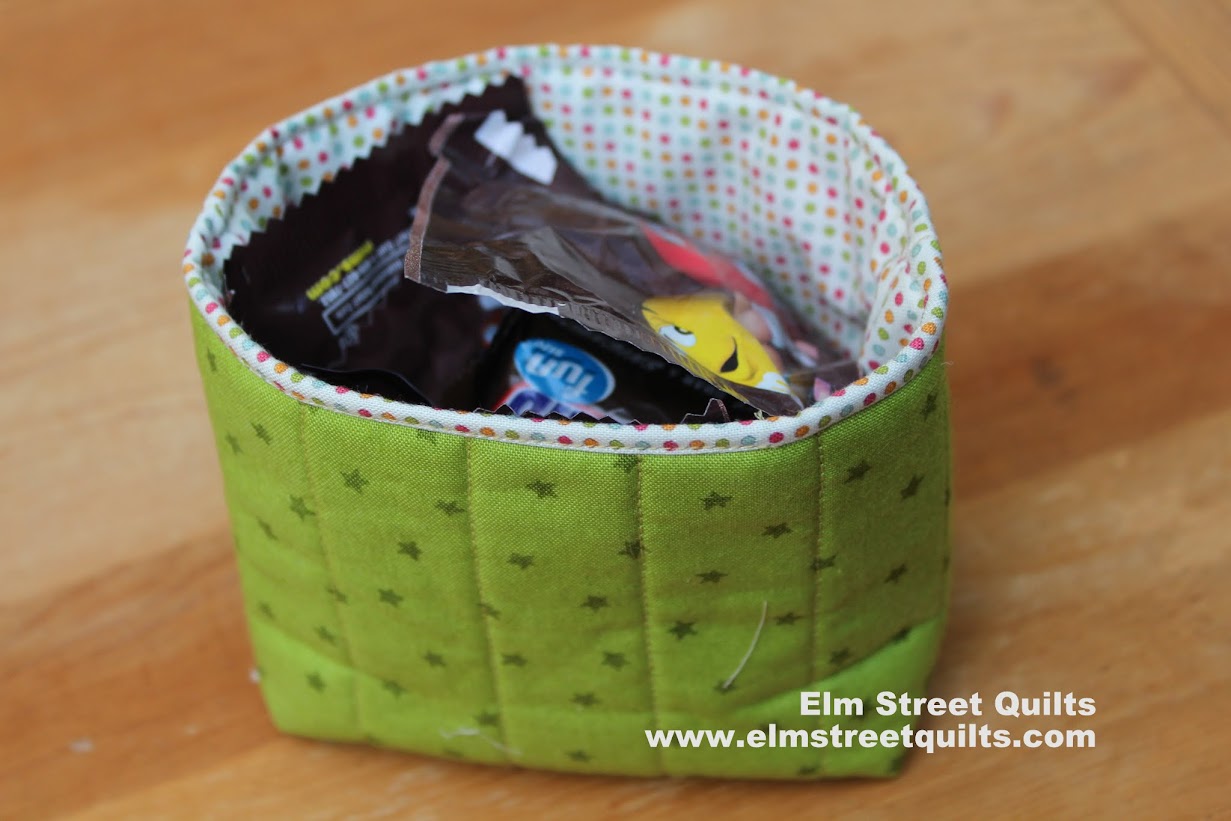
Quick and easy.  They make good little thread catchers next to your sewing machine.  Put them all throughout your house to collect little items.  Fill them with candy and now you've made a great gift extra sweet.

Mini storage bag tutorial

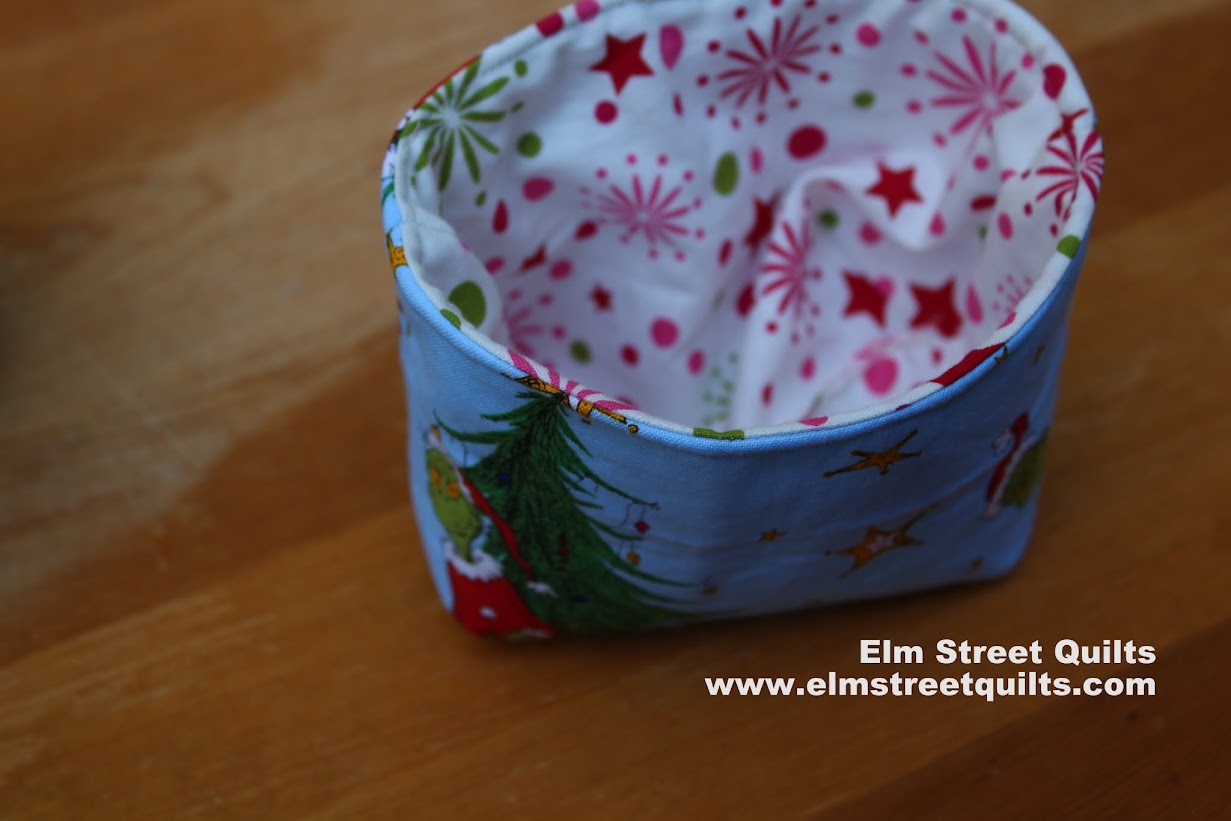
They don't take much fabric and you can even fussy cut so the Grinch peaks around the corner!


I really love the fabric I used for the lining with the Grinch - reminds me of all the decorations in Whoville.

Mini storage bag tutorial

I hope you've got great plans to make and share bags.

Mini storage bag tutorial


See the Elm Street Quilts Bag It information page for links to more tutorials.


Have a wonderful day! Patty
Monday, November 16, 2015

Bag It - Large Storage bags


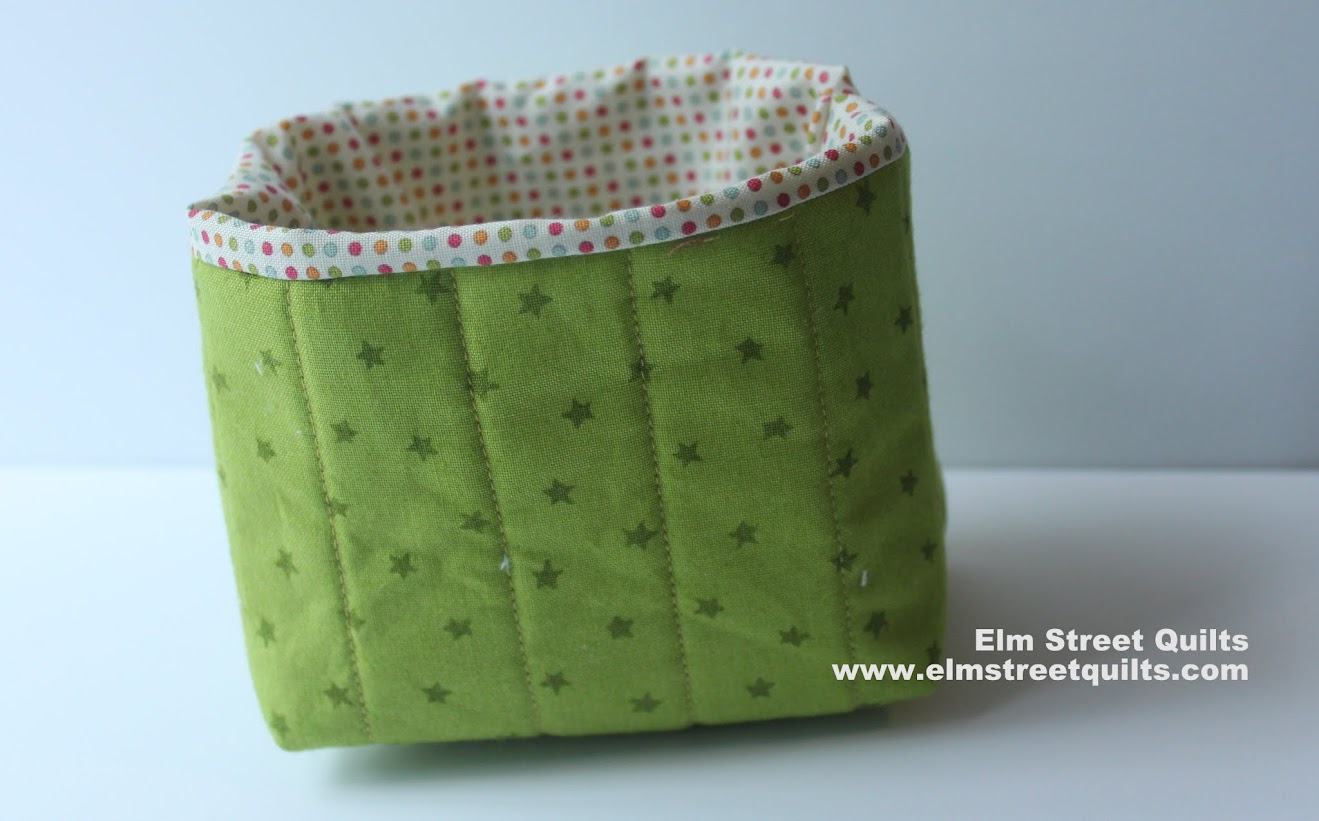
quilted storage bag


(This post was originally published as part of the 2015 Bag It event.)


Coming later this week - a mashup of photos of bags made by readers during the BagIt  Series plus a linky for sharing!!!

We've been concentrating so far on bags with zippers.

If you've been quilting along, you've made some basic zipper bags in all different sizes.


zip bag tutorial

Perhaps you made some boxy bags using solids, mini charms or some fun fabric that you've got in your stash.


boxy bags tutorial

Maybe you conquered zippers for the very first time!  (Applause!)


This week, we are going to take these same basic principles of outer fabric, lining fabric, stabilizer and boxing corners to make free standing bag you can use for just about everything!!

First up is my Santa Sack - a great option for displaying holiday cards on an entry table or perhaps small gifts for a lucky person!

santa sack pattern

The full pattern and tutorial for the Santa Sack is available in my Craftsy store.

Got some cars you need to corral?

How about using this fun truck print to create a storage sack for you car collection?


I used different stabilizers in each of these bags to demonstrate the options.

Santa Sack is using two pieces of  Pellon fusible fleece 987F.  The car sack is using two pieces of Pellon heavyweight 50.   The Santa Sack is certainly stiffer than the Car sack.  I like both options.

fabric sacks

The basics of these sacks are quite straightforward.  You start with two pieces of quilted fabric at 11 x 9'' and then box at 2''.

Wednesday's post will feature a step by step tutorial for smaller versions of these sacks.


Until then, keep making and sharing those bags!


Fabric credits:

Santa Sack: American Brand solids (Light Red (4), Gold (68), Black (3)
Car Sack:


Have a wonderful day! Patty