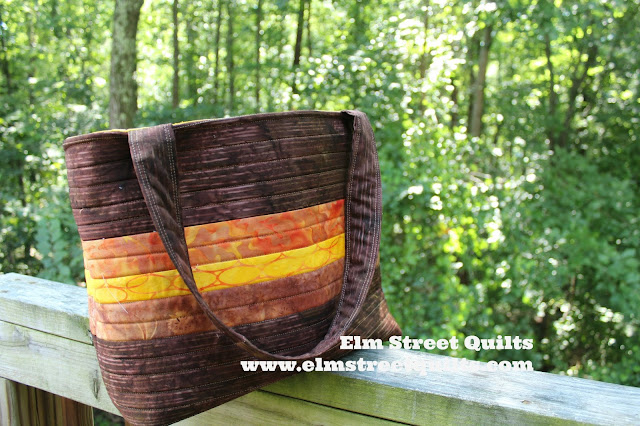
My market basket is a delight to use. My daughter says I should call the bag Safari Sunset because of the gorgeous colors. (See fabric credits at end of post.)
Plenty of space inside and the magnetic snap keeps the bag closed. The Market Basket will finish at 11'' high, 12 1/2 '' long and 4 1/2 '' wide.
Supplies (supply source information)
# pieces
|
Dimensions (height x width)
|
|
Primary fabric
|
Two
(2)
|
15
x 18 ‘’
|
Lining
fabric
|
Two
(2)
|
15
x 18 ‘’
|
Handle
fabric
|
Two
(2)
|
24
x 6 ‘’
(you
can piece several smaller pieces if needed)
|
By
Annie’s
|
Two
(2)
|
18
x 15 ‘’
|
By
Annie’s (handle)
|
Two
(2)
|
24
x 6 ‘’
(you
can piece several smaller pieces if needed)
|
Magnetic
snaps
|
One
set
|
18
mm
|
Fusible
Fleece
|
Two
(2)
|
3 x
18 ‘’ plus smaller scrap
|
Prepare Outer Bag
You can incorporate as many - or as few - fabrics on the outside of your bag as you would like. Think of it as a canvas to create! Your final masterpiece should be 15'' high and 18'' wide.
For my sample, I used three strips of coordinating fabric cut at 2'' or smaller to accent the piece. (See bottom of post for fabric credit.)
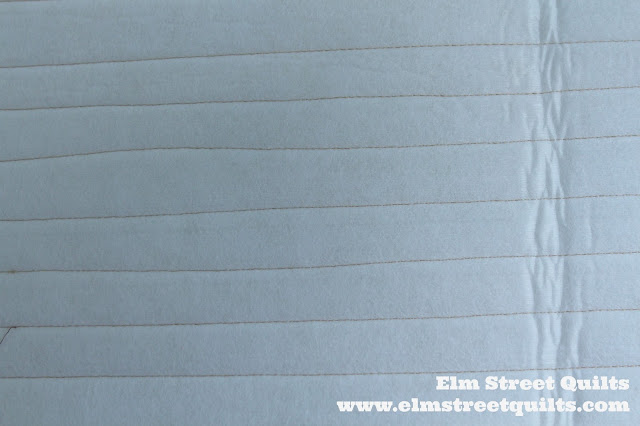
Press and smooth over a piece of By Annie's Soft and Stable. Quilt as desired - for my sample, I choose straight lines at random intervals.
If you choose not to quilt your bag, baste around the edges to secure the primary fabric to the stabilizer.
Right sides together, sew across each side as well as the bottom of the bag using ¼ '' seam.
Prepare lining
Iron fusible fleece across wrong side of lining, about ¼ '' from the top. Iron a second scrap piece roughly in the center. Sew several lines of stitching across top of lining to secure fleece. Repeat for second lining piece.
Create a template - 18'' by 3'' to aid in placement of magnetic snap. Fold paper template in half in one direction and then the other to mark center. Install magnetic snaps using this magnetic snap tutorial on each of the lining pieces.
Your magnetic snap will look like this after installation.
Place both lining pieces right sides together, sew side seams. (Note, your magnetic snaps should be snapped together.)
Sew bottom seam, leaving at least a 4'' gap for turning.
Box the corners - Outer Bag & Lining
In each corner of the primary (outer) fabric and lining fabric, mark a line 2 '' from the stitching lines. Cut out on the line. Fold, aligning seams, and pin. Sew each corner. (See this post for a boxing corners tutorial.)
Repeat for lining fabric.
Once corners are boxed, your outer bag should be looking good and stand tall. Turn outer bag right side out and lining wrong side out.
Lay 3'' piece of Soft and Stable down center of 6'' x 24'' handle fabric (photo 1). Fold over each edge of fabric (photos 2 & 3). Fold handle in half (photo 4). Sew a line of stitching down each edge. Your strap should measure 2 1/2 x 24 ''. (Note sample in pictures is (clearly) not cut the to proper length.)
Mark center of bag with a pin on each side. Baste each end of handles 4 ½ '' from center.
Assemble bag
Nest bag inside lining right sides together. Line up side seams. Use binding clips to secure lining to bag and sew around the entire top of bag.
Carefully turn inside out through opening in bottom of lining.
Use binding clips to define crisp top edge to bag and sew line of top-stitching.
As you sew top stitching, hold handles up and out of the way.
Sew gap in lining by hand or machine. (Optionally) To better secure lining to bag, run a line of stitches by hand down side seams.
I just love my finished Market Basket!
Fabric credits
| Fabric credit - Island Batik Equinox |

I'll be linking my Bag It tutorial with Main Crush Monday's, Sew Cute Tuesdays, , Freemotion by the River, WIP Wednesday's, Let's Bee Social, Midweek Makers. Fabric Frenzy Friday, Finish it Up Friday and Finished or Not Friday.
Have a wonderful day! Patty


I like the colours in this bag. I just realized I made a drawstring bag on the weekend...and gave it away without taking a photo. Sigh....
ReplyDeleteVery pretty. I love the colors.
ReplyDeleteAwesome bag! It's got my favorite corner technique to make it sit. Thanks for sharing the tutorial on Midweek Makers
ReplyDelete