This backpack isn't just an ordinary drawstring backpack - there is a twist! The twist is a hidden pocket in the side seam. My phone fits neatly inside and is nice and secure.
Supplies you will need - (supply source information)
# pieces
|
Dimensions
(height x width)
|
|
Primary fabric
|
Two
(2)
|
17 ½ x 13 ½
‘’
|
Lining fabric
|
Two
(2)
|
17 ½ x 13 ½
‘’
|
Pocket fabric
|
Two
(2)
|
11 x 6 ½ ‘’
|
Grommet tab fabric
|
Two
(2)
|
3 x 5 ‘’
|
Fusible Fleece
|
Two
(2)
|
17 ½ x 13 ½
‘’
(Note – sample used
canvas fabric and no fusible fleece was required)
|
Fusible Fleece -grommet tab
|
Two
(2)
|
2 ½ x 5 ‘’
|
Interfacing (lightweight)
|
Two
(2)
|
11 x 6 ½ ‘’
|
Cording
|
Two
(2)
|
60’’
|
Grommets
|
Two
(2)
|
7/16 ‘’ or slightly smaller
|
Zipper
|
One
(1)
|
10’’
|
Note - for directional prints the measurements are listed as height by width. So you'll need a piece 17 ½ '' high by 13 ½ '' wide.
Prepare grommet
Note - numbers in ( ) refer to the photo below. Also reference grommet tutorial.
Center fusible on grommet tab fabric and iron to wrong side of fabric. Fold in half and press. (1)
Center grommet on folded grommet tab (2)
Trace circle inside grommet. (3)
Cut fabric and fusible inside the traced circle to make hole. (4)
Fold in half along pressed line Insert grommet and trace second circle on fusible fleece of other side. (5)
Cut fabric and fusible fleece inside traced circle to make second hole. (6)
Fold over and test that grommet fits correctly. (7)
Fold raw edges over fusible fleece. (8)
Fold in half (along pressed line). The two holes should be aligned. Top stitch around 3 sides of grommet tab. (not shown)
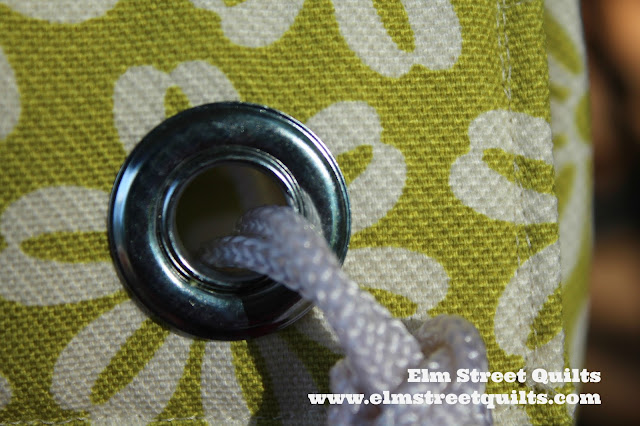
Install grommet according to directions on grommet tool. I used a large flat rock outside my home to rest the base tool on. Wear safety goggles and take care when using hammer.
Repeat for second grommet tab unit. Photo (9) above shows how grommet tab will look once installed into bag. Grommet tab unit should now measure 2 ½ x 2 ½ ‘’.
Prepare lining

Right sides together, sew side seam on both sides of lining fabric. Sew seam across bottom, leaving a 3-4'' gap for turning.
Prepare outer bag and pocket
Iron lightweight interfacing to the wrong side of each of the pockets for extra stability. Iron medium weight interfacing to the wrong side of both primary fabric pieces.
On wrong side of primary fabric piece 1, mark the following lines:
- on both the left and right sides, measured from top edge, line at 1'' and 2''
- on both the left and right sides, measured from bottom edge, line at 1''
- on the right side, measured from bottom edge, line at 3''
On wrong side of primary fabric piece 2, mark the following line:
- on the left side, measured from bottom edge, line at 3"
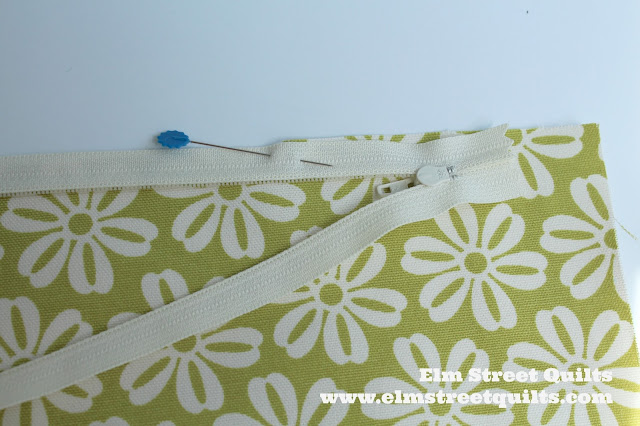
Open zipper and lay right side down against right side of fabric. Align bottom of zipper tape to the line marked on fabric.
Secure top and bottom of zipper each with a single pin.
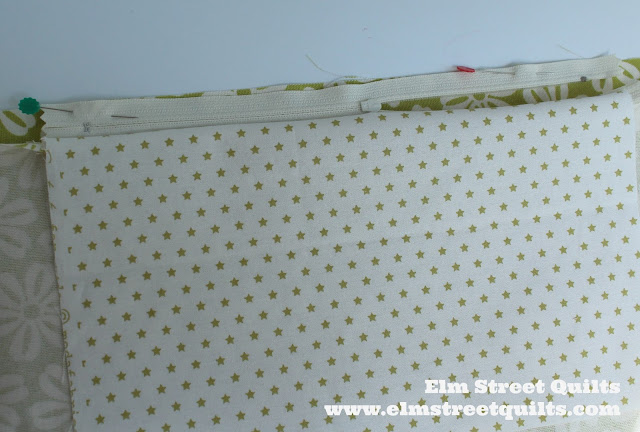
Lay pocket over zipper (right side down). The bottom of the pocket should align with bottom of zipper tape. Secure pocket, zipper and fabric with pins.
Repeat for second side of zipper attaching it to the second primary panel.
Layer pocket, pin.
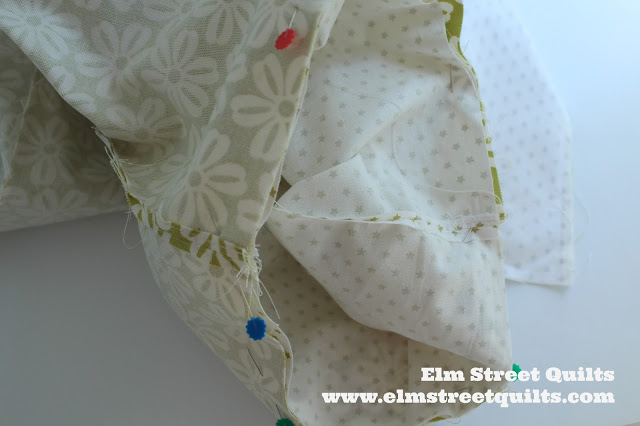
The zipper is now tucked into the side seam.
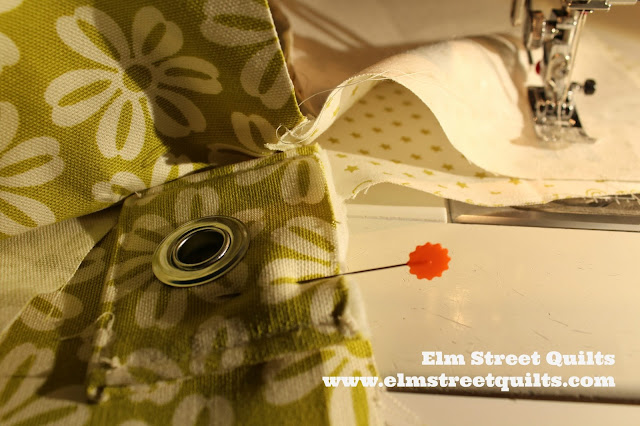
Sew side seam from bottom of zipper to bottom of bag to secure grommet tab. (See diagram below).
Pin edge of grommet tab 1'' from bottom of other side of bag. Sew side seam , leaving a gap between the marks made at 1'' and 2''. Sew across bottom side seam.
If you look carefully at the photo below, you'll see a bit of the zipper tab will show. I was fine with this so didn't fuss with a way for that not to happen.
Another view of side seam with zipper.
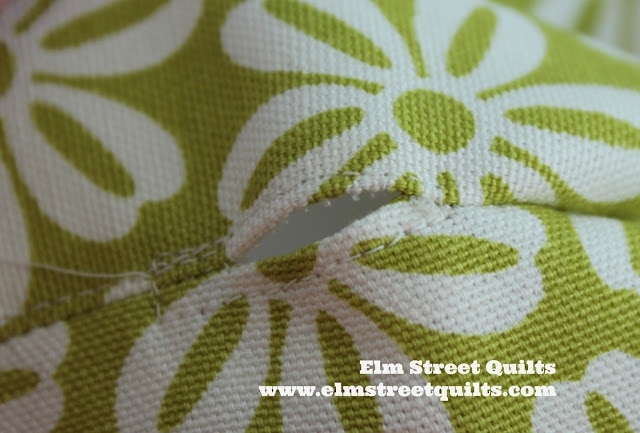
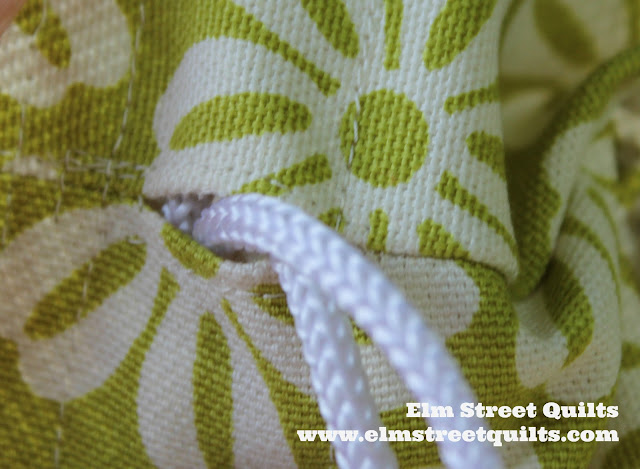
As with lining, finger press seams open around the opening for the cording.
Sew around opening to secure.
Nest the lining fabric inside the outer fabric, right sides together. Make sure the side seams align as do the openings for the cording.
Pin along top edge and sew completely around 1/4'' from the top. Turn right side out (always a fun part of the process!)
Top stitch 1/4'' from top.
Sew a second line of top stitching slightly less than 3/4'' from top and a third line of top stitching 1 1/2'' from top to create casing.
Take one piece of cording and thread it through casing starting at the side that has the zipper in the side seam. Feed these through the entire casing around the entire bag.
Repeat using second piece of cording entering the casing from the side seam that does not have the zipper.
Enjoy!

I'll be linking my Bag It tutorial with Main Crush Mondays, Sew Cute Tuesdays, , Freemotion by the River, WIP Wednesday's, Let's Bee Social, Midweek Makers. Fabric Frenzy Friday, Finish it Up Friday and Finished or Not Friday.
Have a wonderful day! Patty











The hidden pocket is genius! Great tutorial, thanks!
ReplyDeleteWhat a clever idea! I don't tend to make bags, but the ones I can seem to handle are simple drawstring bags and I will definitely come back and consider using this tutorial in the future. Thanks for linking up!
ReplyDeleteA great bag and excellent tutorial!
ReplyDeleteA gorgeous bag and a really comprehensive tutorial - thank you!
ReplyDeleteVery fun and useful. The tutorial is great too!
ReplyDelete