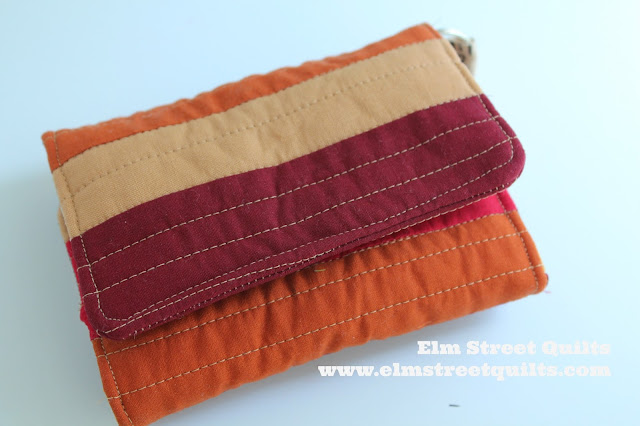
I love having a bit of hand sewing waiting for me in my bag when I've got a few minutes free. My sewing & binding kit fits the bill and it keeps those scissors from 'walking away' while I'm using them.
Supplies you will need - (supply source information)
#
pieces
|
Dimensions
(height x width)
|
|
Primary fabric
|
One (1)
|
5 ½ x 11 ‘’
|
Lining fabric
|
One (1)
|
5 ½ x 11 ‘’
|
Pocket (fabric)
|
One (1)
|
4 ½ x 9 ‘’
|
Edge for vinyl pocket
|
One (1)
|
2 x 5 ½ ‘’
|
Vinyl
|
One (1)
|
4 x 6 ‘’
(will be trimmed)
|
Fusible fleece
|
Two (2)
|
5 x 10 ½ ‘’
|
1 ½ x 5 ‘’
|
||
Interfacing (lightweight)
|
One (1)
|
4 x 9’’
|
Magnetic snaps
|
One set
|
18mm
|
Ribbon
|
Three (3)
|
Two at 5 ½ ‘’,
One at 12-18’’
|
Prepare primary fabric and edge of lining
You can use a single fabric for your primary fabric or assemble your own by sewing together charm squares or fabric strips. For my sample, I sewed together strips of some of my favorite solids from American Made Brand.
To wrong side of primary fabric, adhere two layers of fusible fleece. Center the fleece leaving 1/4 '' open on all sides. This will keep the fleece out of the seam and avoid bulk.
Quilt as desired. For my sample, I quilted randomly spaced lines.
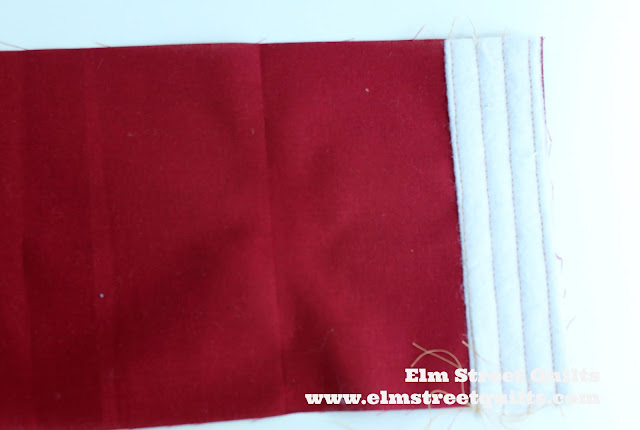
To one edge of the wrong side of the lining fabric, adhere two layers of fusible fleece (1 ½ '' wide). Place these leaving ¼ '' gap around the edges. Note that my photo doesn't show this so I had to remove the excess at a later step.
Quilt as you did for primary fabric.
 Make paper template to assist in placement of magnetic snaps. Cut scrap paper to dimensions 11 x 5 ½ ''.
Fold in half lengthwise to mark center. Draw a line 4'' from one edge. Center prongs of magnetic snap over the intersection of the fold and the 4 '' line. Snip a small opening where prongs meet template. This is for placement on primary fabric.
Using same template, mark line 1 '' from other template edge. Repeat as above to mark placement of second snap. This is for placement on lining fabric.
Lay template on right side primary fabric and use a pen to mark spots for snap prongs at 4 '' mark. Repeat for lining fabric, taking care that snap should be placed at the end with the two (2) layers of fleece.
Install magnetic snaps. Reference this magnetic snap installation tutorial as needed.
Prepare vinyl pocket
Fold 2'' strip edge for vinyl pocket in half and sew to edge of vinyl. Fold over and secure with binder clips. Top stitch in place. Trim unit to be 5 ½ x 3 ¼ ‘’.
Prepare fabric pocket
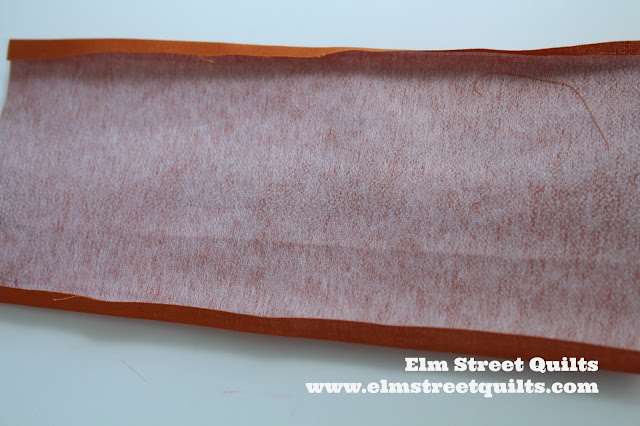
Press lightweight interfacing to wrong side of fabric leaving ¼ '' at each side. Fold up edges and press. Fold pocket in half and top stitch along top edge.
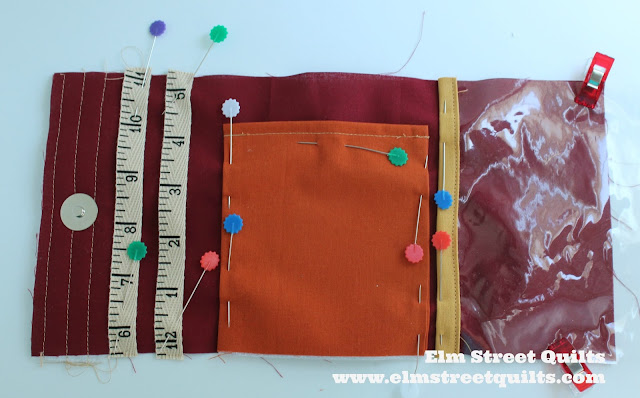
Pin fabric pocket in place - the edge of the pocket should be 3 ½ '' from top and bottom edge of the lining.
Lay vinyl pocket on lining and use binding clips to secure to sides.
Add two (2) pieces of 5 ½ '' ribbon on side of lining with snap. Baste each end to lining. (Consider also securing ribbon in middle with a few stitches.)
(Optional) Baste one end 12 - 18 '' ribbon (for securing scissors) along top edge. (Not shown in photo below.)
Baste in place with an line of stitching around all four (4) sides of the lining, roughly 1/8 '' from edge..
Final assembly
Lay lining piece on top of primary piece, right sides together. Make sure snaps are on opposite ends of bag.
Pin in place, using binding clips on edge with vinyl.
Bring to sewing machine, primary fabric layer on bottom and sew around bag, leaving a 3'' gap for turning. The gap should be in the center unit - marked at top edge by the blue and the red pin.
Trim excess in seam. (Note, in my sample, the fusible fleece was full width of fabric instead of the measurements in this tutorial so I trimmed it before turning.)
Lay flat and work on shaping of corners. Sew line of top-stitching around the entire unit.
Tie scissors to ribbon and fill with binding clips. I like my needles to be secure so I use those needle boxes you sometimes get as a free sewing kit in an hotel and often replace them with my own needles.
I love having the scissors attach to the kit - keeps me from loosing them as I work!

I'll be linking my Bag It tutorial with Main Crush Mondays, Sew Cute Tuesdays, , Freemotion by the River, WIP Wednesday's, Let's Bee Social, Midweek Makers. Fabric Frenzy Friday, Finish it Up Friday and Finished or Not Friday.
Have a wonderful day! Patty


I think I have to stop with the quilt I'm working on to make this kit, Patty. I really like it! Thanks!
ReplyDeleteAnother very clever bag tutorial! Wow! You really blow me away with all your ideas! XO
ReplyDeletePretty and colourful ♥
ReplyDeleteGreat tutorial. Thanks for sharing!
ReplyDeleteI love how useful this bag is with all the pockets and places to keep the essentials. Thanks so much for sharing it on MCM!
ReplyDeleteAnother great tutorial! Thanks for sharing on Midweek Makers
ReplyDeleteLove this tutorial and I can see a couple other uses for the little bag. Thanks for sharing a well-written tutorial.
ReplyDeleteWow, wonderful work! Thanks for linking up to Finished or Not Friday!
ReplyDelete