About a year and a half ago, I discovered yoga. My neighbor was studying to become an instructor and I wanted to attend one of her classes. However, I didn't want to embarrass myself at my very first class so I started with an online yoga class that I really enjoy.
My new yoga bag keeps my mat ready to go when I need it.
Supplies you will need - (supply source information)
#
pieces
|
Dimensions (height x width)
|
|
Primary fabric
|
One (1)
|
30 x 17 ‘’
|
Primary fabric (for bottom)
|
One (1)
|
7 x 7 ‘’
|
Primary fabric (for strap)
|
One (1)
|
37 x 6 ‘’
|
Lining fabric
|
One (1)
|
30 x 17 ‘’
|
Lining fabric (for bottom)
|
One (1)
|
7 x 7 ‘’
|
Interfacing medium
weight
|
One (1)
|
30 x 17 ‘’
|
Fusible fleece
|
One (1)
|
7 x 7 ‘’ (bottom) and
1 ¾ x 37 ‘’
|
Cording
|
One (1)
|
24 ‘’
|
Toggle
|
One (1)
|
Sized for cording
|
Assemble strap
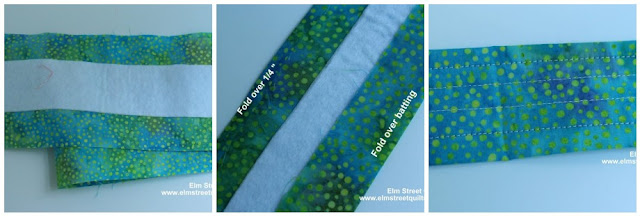
Iron fusible fleece in middle of strap fabric. Fold one edge of fabric to middle of fleece. Fold other edge a ¼ '' and fold again, covering the edge of first fold. Top stitch across length of strap.
Prepare bottom
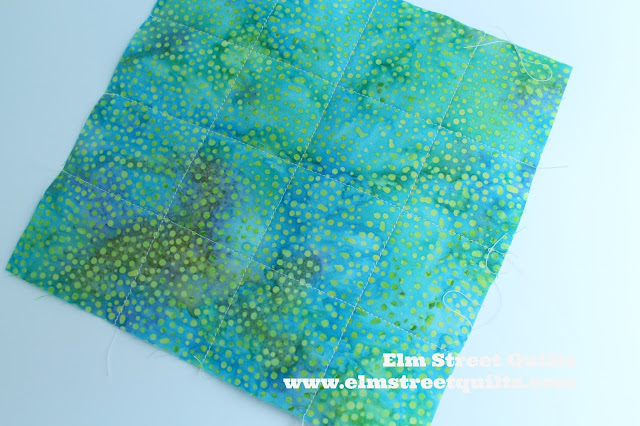
Iron fusible to primary fabric 7'' square. Sew some straight lines with walking foot to add texture and secure the fusible. Cut a circle with a 6 ½ '' diameter.
Assemble outer bag
Iron on fusible medium weight interfacing. Consider (optional) sewing a few line to keep it from shifting in use.
On wrong side, mark at 1 '' from top, 2 '' from top, 7 '' from top and 6 ½ '' from bottom. (figure 1)
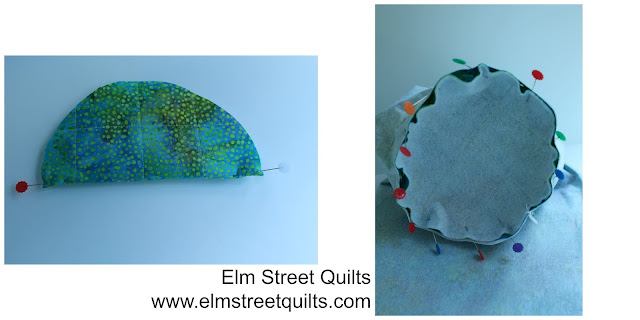
Fold circle in half and mark each edge at fold with a pin. Fold bag in half and mark pin at seam and at fold line. Align pins and then carefully pin bottom circle to bag. Sew.
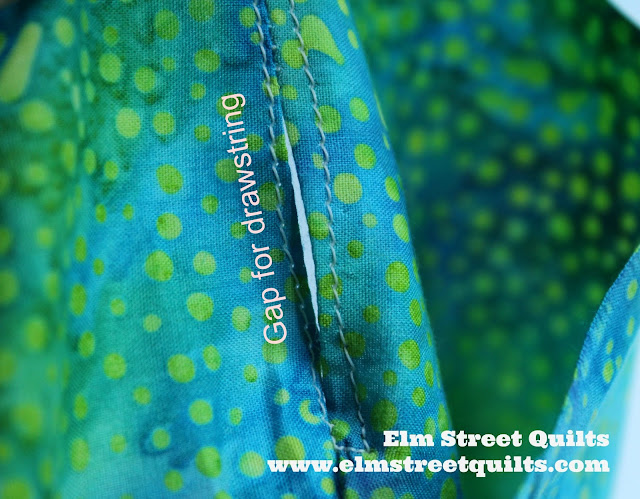
Turn right side out. Finger press the seam flat at top of bag and sew a line of top-stitching around bag at the gap left for casing.
Assemble lining
Sew side seam leaving a 4'' gap for turning. As with outer bag, attach bottom of lining to lining. (Note, I used identical fabric for lining and outer bag.)
Assemble bag
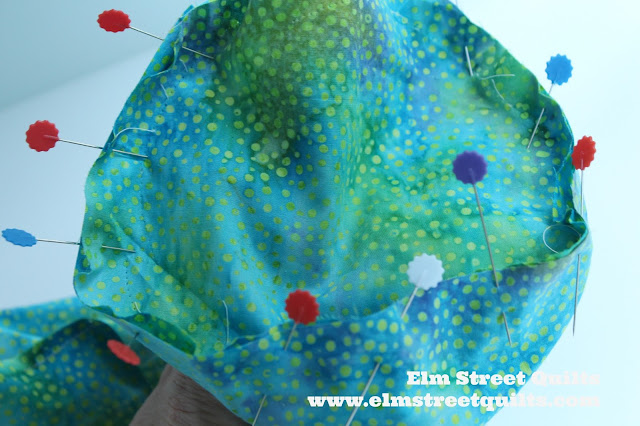
With outer bag right side out and lining wrong side out, nest outer bag inside lining. (Right sides will now be together.) Align side seams and sew completely around bag.
Reach through hole in lining and turn bag right side out. sew a line of top stitching ¼ '' from top of bag. Put line of stitches about ¾ '' from top and then about an inch below that line to form casing.
Reach through hole in lining and turn bag right side out. sew a line of top stitching ¼ '' from top of bag. Put line of stitches about ¾ '' from top and then about an inch below that line to form casing.
Sew gap opening in lining. Feed cording through hole left in side seam and around through casing. (See tutorial as part of Game Piece Bag.) Insert cording through toggle, knot ends and enjoy the bag!
Even if you don't go off to a yoga class, it is nice to keep your bag stored away when not in use.
Namaste.
I'll be linking my Bag It tutorial with Sew Cute Tuesdays, , Freemotion by the River, WIP Wednesday's, Let's Bee Social, Midweek Makers. Fabric Frenzy Friday, Finish it Up Friday and Finished or Not Friday.
Have a wonderful day! Patty





A sterling tutorial, not to mention an excellent idea! This ones a winner! XO
ReplyDeleteLove this Yoga Bag and the tutorial is spot on.l Great job!
ReplyDeleteLove this! Thanks for the tutorial. Your bag looks amazing!
ReplyDeleteThanks for the tutorial on the mat bag, and for sharing on Midweek Makers!
ReplyDeleteLovely little bag, and I can see it being so useful, too. Thanks for linking to Finished or Not Friday and TGIFF at Busy Hands Quilts.
ReplyDelete