What a great excuse to pull out fun fabric from your stash and put it to good use. Make a pencil roll for each of the kids and the adults on your holiday list.
Supplies you will need - (supply source information)
# pieces
|
Dimensions
(height x width)
|
|
Primary fabric
|
One
(1)
|
10 x 12 ½ ‘’
|
Lining fabric
|
One
(1)
|
10 x 12 ½ ‘’
|
Pocket fabric
|
One
(1)
|
10 x 12 ½ ‘’
|
Fusible Fleece
|
One
(1)
|
9 ½ x 12 ‘’
|
Ribbon
|
One
(1)
|
Roughly 30 ‘’
|
Note - for directional prints the measurements are listed as height by width. So you'll need a piece 10'' high by 12 1/2 '' wide.
Prepare and Attach Pocket
Fold pocket fabric in half, press and sew a line of tops-stitching close to the folded edge.
Pin the pocket to the lining fabric, aligning the bottom edges.
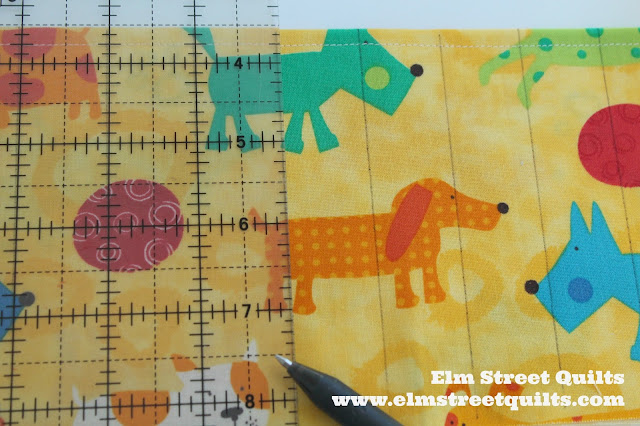
Sew on each of the marked lines. Start at the top of the pocket and back-stitch to secure stitching. As necessary, remove any of your pen marked stitching lines.
Sew on each of the marked lines. Start at the top of the pocket and back-stitch to secure stitching. As necessary, remove any of your pen marked stitching lines.
Prepare Primary Fabric
Iron fusible fleece onto wrong side of primary fabric. Notice how the fusible is framed by the fabric in order to keep it out of the seams to reduce bulk.
Do some light quilting - this sample had some minimal straight line quilting.
Assemble Pencil Roll
Fold ribbon in half and sew to left edge of pocket - lining unit.
Assemble Pencil Roll
Fold ribbon in half and sew to left edge of pocket - lining unit.
Pin lining plus pocket unit and the primary unit right sides together.
Sew around all four sides and leave an opening about 3 - 4'' for turning on the side of the unit without the ribbon. Make sure the ribbon is tucked inside - maybe in one of the pockets you made - so it doesn't get caught in the stitching.
Turn inside out. You can tug on the ribbon to help things get started. Fix corners and press if needed.
Pin gap opening closed. Sew a scant line of top-stitching all the way around. (That should be sufficient to close the opening but you could always stitch it closed by hand before top-stitching.)
Fill up with your pencils and enjoy!
Pull out all the novelty fabric from your stash and make one for everyone who likes to color, regardless of their age!
Have a wonderful day! Patty


Absolutely cute ♥
ReplyDeleteThat a cute gift idea and wonderful tutorial. Thank you so much for linking up!
ReplyDeleteSo cute! You could easily adjust the size of this and use for knitting and crochet needles, right?
ReplyDeleteAdorable project. Thank you for sharing.
ReplyDeleteToo cute! Thanks for sharing the tutorial on Midweek Makers
ReplyDeleteVery cute -- nice tutorial! Wendy at piecefulthoughts@gmail.com
ReplyDeleteSuch a cute project, thank you for the tutorial!
ReplyDelete