

My family and I are seriously addicted to games like Scrabble and Rummikub. The games are fun but laying out all those tiles in the beginning is a drag. Creating a game piece bag is fun and easy and will bring an extra amount of fun to your game night!
And clearly drawstring bags are useful for so, so many other things - even wrapping up gifts!
Typical bag tutorials assemble the primary fabric into a bag shape and then the lining. This tutorial does something different - the bag is made in two halves by first sewing one lining piece to one primary piece and then seaming this all together.
Supplies you will need - (supply source information)
#
pieces
|
Dimensions
(height x width)
|
|
Primary
fabric
|
Two (2)
|
11
½ x 8 ½ ‘’
|
Lining
fabric
|
Two (2)
|
11
½ x 8 ½ ‘’
|
Interfacing
(medium weight)
|
Two (2)
|
11
½ x 8 ½ ‘’
|
Cording
|
One (1)
|
24
‘’
|
Toggle
lock
|
One (1)
|
Sized
for cording
|
Iron fusible interfacing to wrong side of primary (outer) fabric.

(Optional) With Frixon pen, draw a line 6 ½ '' from top of bag and write the word 'fun' on bag. Stitch with contrasting thread.

On top of wrong side of primary (outer) fabric, mark a line 1'' and 2 '' from the top right corner.

Place right sides together, sew one piece of lining fabric to one piece of primary (outer) fabric to create one bag-unit. Repeat for second bag-unit. Finger press seam open.
 Place bag-units right sides together and sew side seam on the right side (same side as your marks). Stop and backstitch at the 1'' mark. Restart (and backstitch) at the 2'' mark and continue to bottom edge to create the right side seam. (figure a)
 Finger press right side seam open. On right side of unit, topstitch around gap opening. (see photo below)
Place side units right sides together and sew remaining bottom and left side seam, leaving a 3'' gap in the lining side seam for turning. (figure b)
 |
| Top stitch around casing gap opening |
Box the corners
In each corner of the primary (outer) fabric and lining fabric, mark a line 1 ½ '' from the stitching. Cut out on the line. Fold, aligning seams, and pin. Sew each corner. (See this post for a boxing corners tutorial.)

Create casing
Sew top-stitching ¼ '' from top edge, ¾ '' from top and 1 ¾ '' from top edge.

Feed cording through the casing - using a safety pin on one end will make it easier to pull through.
Once complete, align both ends of cording and feed through toggle opening. (Securing ends together with tape will make it easier to get through toggle opening.)
Remove tape and knot each end of cording.

Finish bag - let the fun begin!
Close opening in lining with hand stitching or by machine.
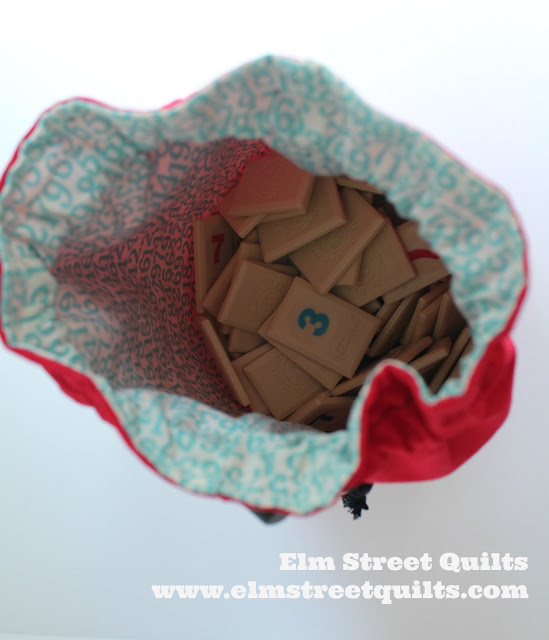
Invite the family over for some fun!

(Hmm, do I see any wild card tiles in there?)

(Hmm, do I see any wild card tiles in there?)


I'll be linking my Bag It tutorial with Sew Cute Tuesdays, , Freemotion by the River, WIP Wednesday's, Let's Bee Social, Midweek Makers. Fabric Frenzy Friday, Finish it Up Friday and Finished or Not Friday.
Have a wonderful day! Patty
I like your bag! Such bags are very useful. I've made a few myself, though my casing gap openings are not as neat as yours... ;-) Thank you for the tutorial!
ReplyDeleteI like the idea of stitching on a label or descriptive word on the outside of the bag. Great tutorial and thank you so much for linking up!
ReplyDelete