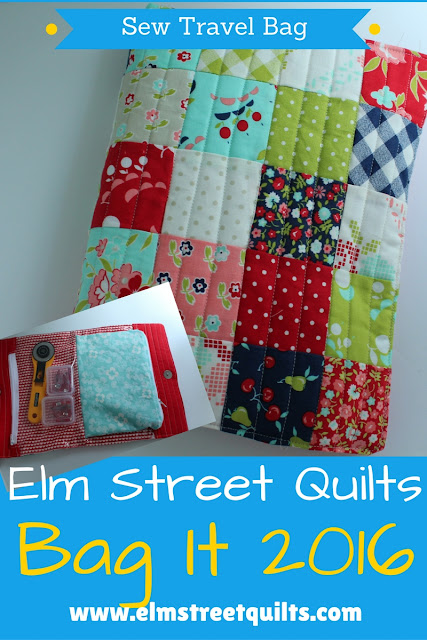
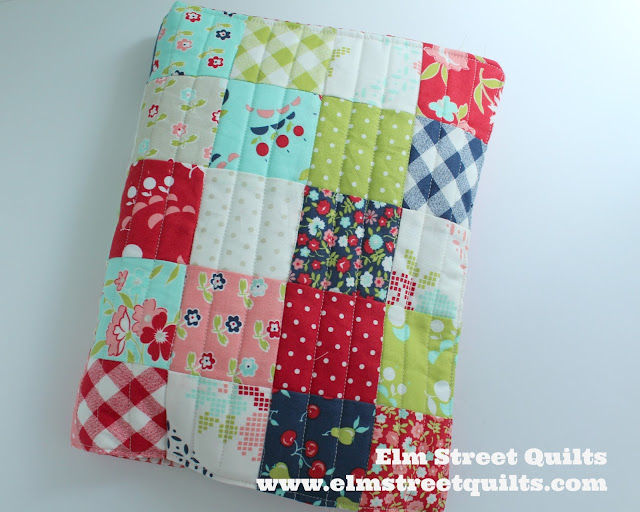
Whether you are heading off to a retreat or packing your machine up to bring on a family vacation, it is wonderful to have a bag designed to carry your quilting supplies. This Sew Travel Bag is very versatile - easy to change up the basic concept and tailor it to your own needs.
This bag has multiple steps and multiple pieces and is not recommended for the beginner. It assumes the maker has knowledge of zipper installation and has made at least simple zipped bags.
Supplies you will need - (supply source information)
# pieces
|
Dimensions
(height x width)
|
|
Primary
fabric
|
One
(1)
|
10
½ x 16 ½ ‘’
|
Lining
fabric
|
Two
(2)
|
10
½ x 8 ½ ‘’
|
Pocket
fabric
|
Two
(2)
|
6 ½
x 9 ‘’
|
Pocket
lining fabric
|
Two
(2)
|
6 ½
x 9 ‘’
|
Snap
tab fabric
|
Two
(2)
|
10
½ x 2 ½ ‘’
|
Fabric
for bottom of vinyl pocket
|
Two
(2)
|
10
½ x 2 ‘’
|
Zipper
tab fabric
|
Six
(6)
|
2 ½
‘’ square
|
Interfacing
(lightweight)
|
Two
(2)
|
9 x
6 ½ ‘’
|
Clear
vinyl – 8 guage
|
Two
(2)
|
11
x 7 ‘’
|
Fusible
Fleece - outer fabric
|
Two
(2)
|
10
x 16 ‘’
|
Fusible
Fleece – snap tabs
|
Four
(4)
|
10
x 2 ‘’
|
Magnetic
Snaps
|
One
set
|
18
mm
|
Zippers
|
Three
(3)
|
9
‘’ or larger
|
Prepare fabrics and zippers
Primary fabric - Center two pieces of fusible fleece onto wrong side of fabric and iron. (Placement of the fusible fleece should leave a gap of ¼'' around all edges to avoid bulk in seams. Quilt as desired. For my sample, I did straight line quilting about ½ '' apart.
Snap tabs - Iron fusible and quilt similar to primary fabric. Make two (2). For the snap tabs, I choose contrasting thread but I would actually recommend matching thread. (During construction, you'll sew right over one of these lines again so unless you are super, super accurate, go with matching thread!)
Inner pocket - Iron lightweight interfacing onto wrong side of each of the pocket fabric pieces.
Inner pocket zipper - Use a 2 ½ '' fabric square to make fabric zipper stops. (See tutorial.) You can use this step to size down your zipper if needed. Finished zipper plus fabric zipper stops should be 8 ½'' long.
Vinyl pocket zippers - Use a 2 ½ '' fabric square to make fabric zipper stops. You'll need to make sure to have a clean finished edge to the fabric tab against the bottom edge of the zipper. Finished zipper plus fabric zipper stops should be 10 ½ '' long. The purpose of these fabric zipper tabs is to reduce the bulk of the zipper from the seam. My zippers are shorter than I would like and I would recommend the useable zipper part to be about 9'' long.
Prepare Vinyl Pockets - Make two (2)
Vinyl can be a bit finicky to work with so I always start with a piece a bit bigger then required and trim later. Using a bit of tissue paper can make sewing easier.
Lay zipper right side up on top of vinyl pockets and sew across. (I often add a 2nd line of stitching across the zipper.)
Place snap tab right side towards right side of zipper and sew across. Flip up and top stitch.
Measure from top and sides edges of snap tab, trim the snap tab-vinyl pocket unit to be 10 ½ x 8 ½ ''.
Create paper template 10 ½ x 2 '' . Fold in half and in half again to mark center point. Center snap over center points and press lightly to make slight indentation in paper template. Use ruler to confirm placement and then cut two small openings in paper template at marks. Test snap.
Prepare Standalone Pocket
Sandwich zipper between primary pocket fabric and lining to sew one side and then the other. This is essentially a zip bag (without a bottom seam) so if you need some instructions, this tutorial will help. Right sides together, sew each side seam. Turn inside out. Trim bottom if needed.
Attach Vinyl Pockets to Lining
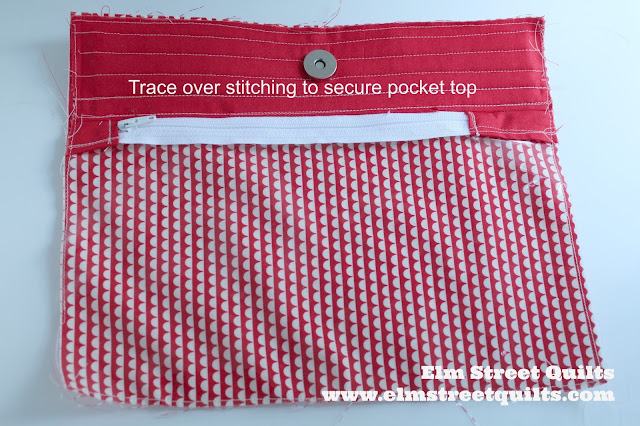
Place the vinyl pocket unit on top of one lining unit and machine baste around all sides, close to the edge. Do a line of stitching between snap and zipper to secure top of pocket. For my sample, I sewed on top of a line of stitching that was already in place. Repeat for other pocket.
Complete Lining
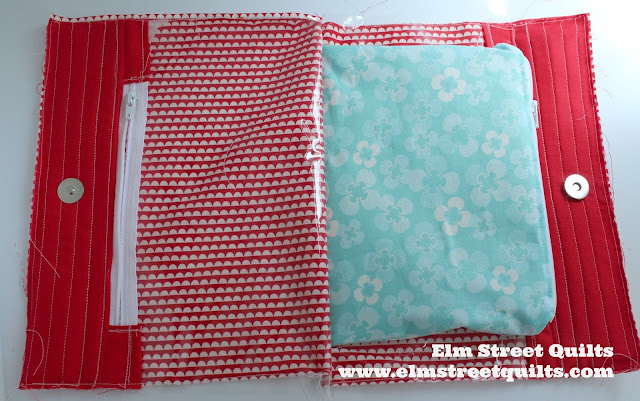
Center the inside pocket on top of one snap tape-vinyl pocket unit. Mark sure zippers are all going in the same direction. Baste inner pocket to bottom of vinyl pocket.
Snap one snap tab-vinyl pocket unit to the other and align bottom. Stitch seam to complete lining unit.
Finish Sew Travel Bag
Lay lining unit onto primary fabric, right sides together. Sew around unit, leaving a 4'' gap on one side for turning.
Sew together with the primary fabric layer being on the bottom and use a quarter inch seam.
Finger press the un-sewn opening ¼'' .
Deep breath, smile and turn inside out. Carefully push out corners and seams. Use binding clips to secure edges.
Whip-stitch gap opening closed by hand. Top stitch around bag.
Fill and enjoy!
I'll be linking my Bag It tutorial with Sew Cute Tuesdays, , Freemotion by the River, WIP Wednesday's, Let's Bee Social, Midweek Makers. Fabric Frenzy Friday, Finish it Up Friday and Finished or Not Friday.
Have a wonderful day! Patty


Love it! Going on my to-do list!
ReplyDeleteWhat a great bag, it can hold all kinds of goodies!
ReplyDeleteWhat a great bag! Thank you so much for linking up. :)
ReplyDeleteA very handy bag! And so pretty in its scrappy way))
ReplyDeletedarling bag - thanks for the tute
ReplyDeleteThat is a sweet bag - thanks so much for the tutorial, and linking up with Midweek Makers. I sense a feature for next week!
ReplyDeleteSp cute! Have you made any of these to sell?
ReplyDeleteGreat bag and tutorial!
ReplyDeletevisiting from crazy mum quilts. A great tutorial
ReplyDelete