

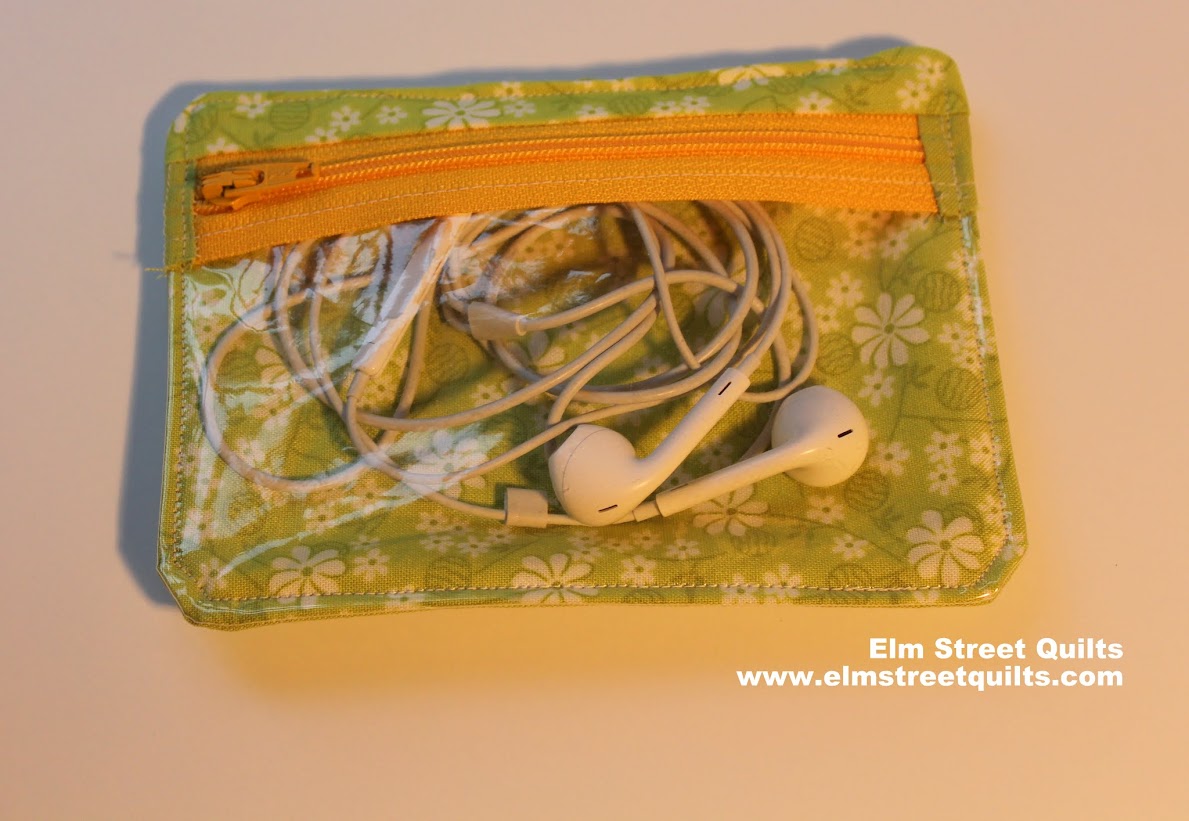
I've made myself a whole collection of bags and pouches and this one is probably the most useful. Instead of throwing my headphones in my purse allowing them to get tangled, I use this pouch with the clear vinyl pocket. Don't they look great in there?
Want to make one for yourself? Or maybe make a whole bunch of them as gifts? They go together very fast!
But before we get started, I am excited to announce that I opened an Etsy store!! I assembled a headphone pouch supply kits for these headphone bags. I've only a limited supply of these so don't delay if you want one. (I've only figured the shipping costs for US. If you want one for outside of the US, email me and will figure it out.)

Ready?
In these instructions, the term 'back' will refer to the part of the bag that is not visible through the vinyl. The term front will refer to the fabric that is visible through the vinyl. You can choose the same fabrics or different fabrics. A leftover layer cake square works great to get a match between front and back.
In my sample, the solid green will be the back and the green flowers will be the front.
You'll need the following:
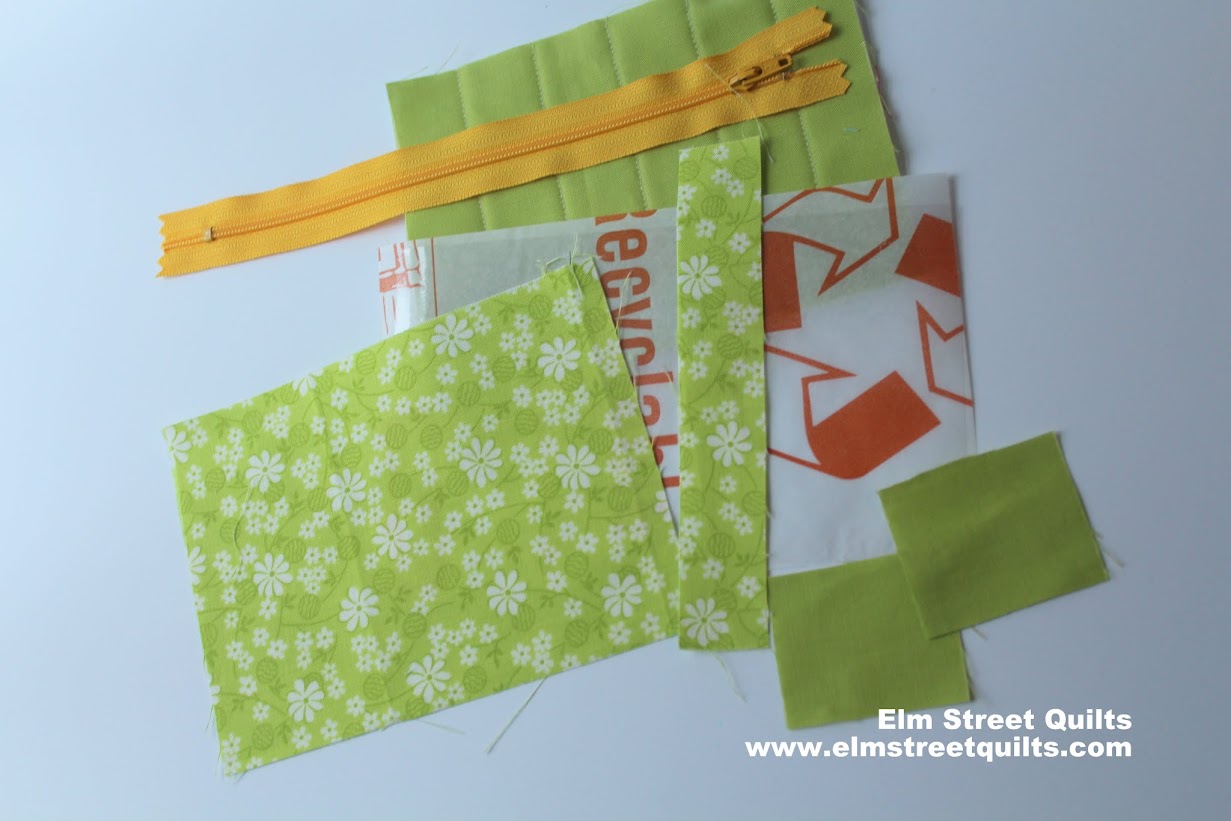
- two (2) pieces of fabric each 4½ x 6''
- one (1) piece of fabric at 1 x 6''
- one (1) zipper at least 7'' long
- one (1) piece of fusible fleece cut 4½ x 6''
- one (1) piece of clear vinyl 8 gauge 5 x 7''
- Clover clips
I've made headphone pouches with and without zipper fabric stops. I like them better with the fabric stops so that is what I'll cover in this tutorial. (I'll put a photo at the end to show the alternative without zipper fabric stops.)
Cut off the end of the zipper and sew and flip a piece of contrasting fabric. Although I did not do this in this photo, I highly recommend you fold over that bottom edge of the fabric stop so that you aren't left with a raw edge. You'll see why later.
Open zipper.
Lay rule so that the top of the fabric stop is at 5 1/2 ''. On the other end, mark a line at the 1/4 '' mark. Cut your zipper at your pencil mark.

Sew and flip to add another fabric stop.

Trim to 6'', having roughly 1/2" of the fabric stop on each end of the zipper.
Sew the smaller piece of fabric (1 x 6'') to the top of the zipper.

Lay the zipper right side down and place the vinyl along edge of zipper so that you are sewing it to the wrong side of the zipper. The vinyl piece will be trimmed at a later step.
For some of these, I actually made two trips across the zipper tape and vinyl to make sure the vinyl was really secure. The two stitching lines look just fine and blend right into the zipper.

Alternatively, if the vinyl is statically clinging to the paper tissue, go ahead and leave this on and sew through it. It can make the vinyl easier to handle. (And made things easier to see in this tutorial photo!) Once you sew it to the zipper, remove the paper tissue.

Sewing vinyl isn't difficult just take it slow and don't use pins (they'll leave permanent holes.) One reason the vinyl pieces are cut larger than the fabric is so that you've got some 'wiggle' room.
Open the zipper slightly and lay this unit on top of the front fabric. Sew across the top at a seam slightly less than 1/4 ''.

Carefully sew across the other 3 sides of the bag again at something less than 1/4 ''. Think of this as basting the vinyl piece onto the lining.
I sewed each side first and then went across the bottom.

NOW trim the vinyl carefully with scissors.
Make a sandwich - lay the back (quilted) fabric right side facing up and place the front fabric (with the vinyl) facing down. Use Clover clips to secure. Sew around the bag, leaving an opening at the top for turning.
You seam should be 1/4''. Slightly larger is fine - you just want to make sure you are sewing bigger than your basting seam.
Leave an opening in the top about 2 inches so you can turn inside out.

All sewn.

Trim off as much of the excess batting as you can and turn inside out. Because of the bulk, these corners will be slightly rounded.


Carefully top stitch around the entire unit to create a polished look.
Doesn't it look pretty?
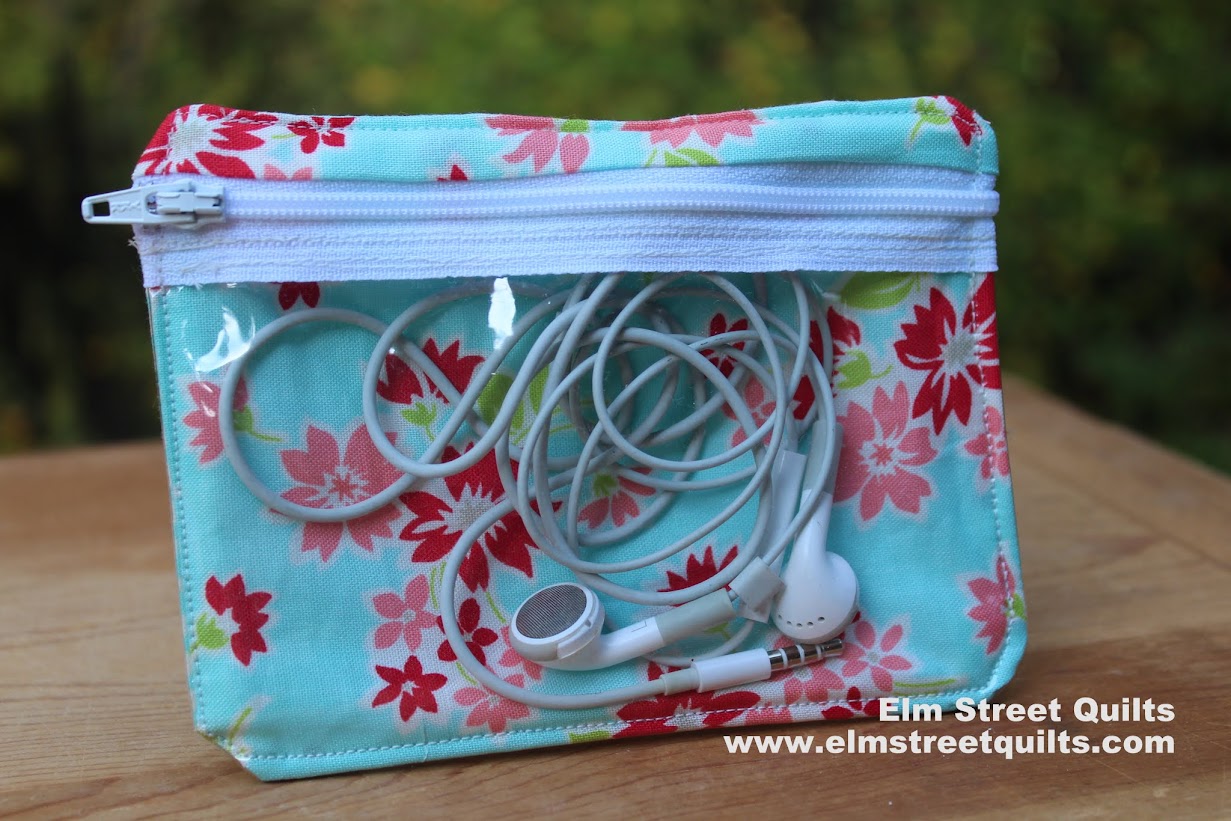
Now I made a bunch of these without adding that fabric stop to the zipper. You can compared these two photos to see the difference. You get a little more bulk in that seam because the zipper coils are in there.


Now grab your headphones and welcome them to their new home!!
With one done, it is time to make more - maybe for every teenager on your list? Makes a great teacher gift too!
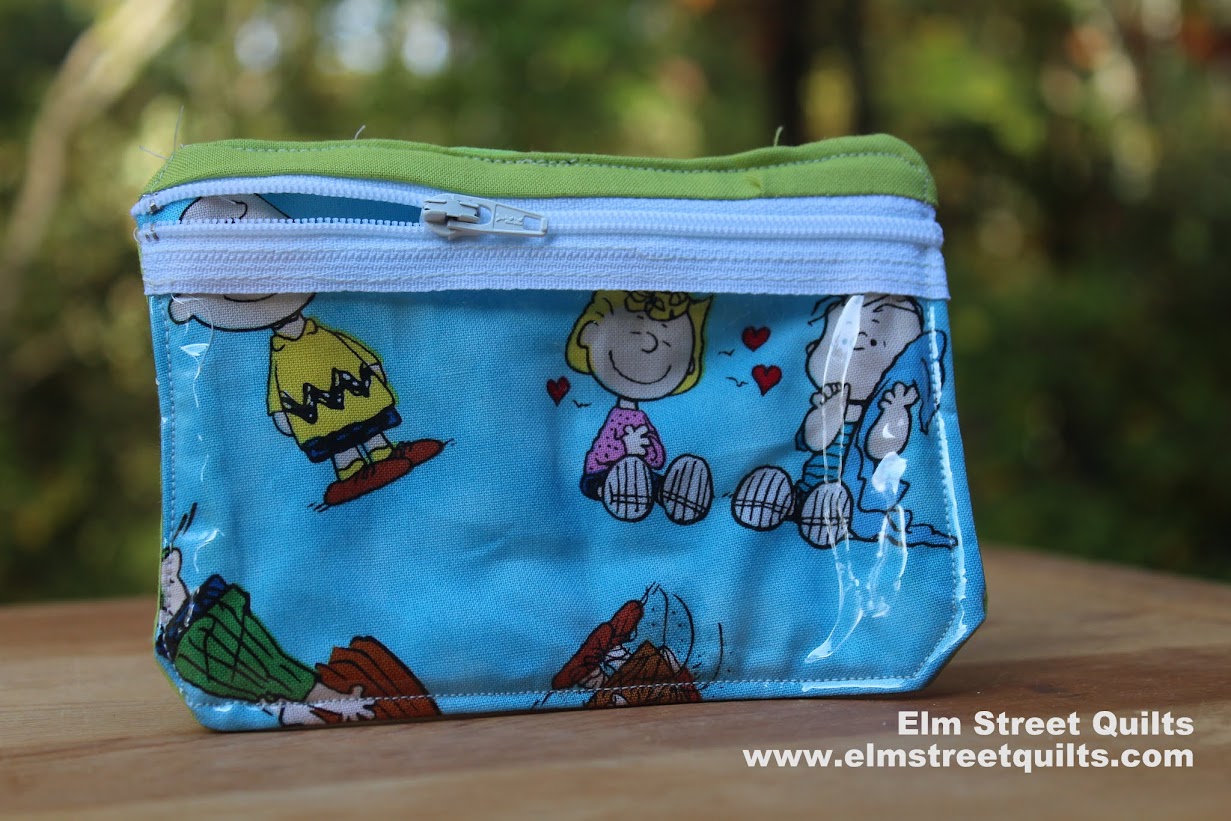
So far I've made 6 - they go together so quick I'll be making some more!


This post was sponsored by Zipit, an Etsy store as part of 2015 Bag It
Have a wonderful day! Patty
Yes, they do go together quickly - and oh MY they are cute, lol! I happened to have bought a couple of inexpensive vinyl shower curtains a few weeks ago to try some vinyl bags - as soon as I saw your post I grabbed one of them to use. When I opened the bag, though, the chemical smell was quite strong, so I hung the curtain out on the clothesline to air out, then I cut up the vinyl bag that it was in, and whipped up a little zippy! They're good for pens and notepads too - who knew? ;) Thanks for such a cute idea - I'm definitely making more of these little sweeties!
ReplyDeleteWhat a cute little Headphone pouch! I can see making one for all that loose change that finds its way to the bottom of our purses. Thanks for the tutorial :-)
ReplyDeleteterryscwayons(at)yahoo(dot)com
Patty, I have really enjoyed this series. I make pouches also as they make great little gifts. I have used vinyl as well altho' I have always framed my vinyl piece with a strip of fabric on four sides, 'windowing' it. So your method was a different perspective. Thank you.
ReplyDeleteChristine from Ontario
This is one I will try, looks useful for anything you want to keep track of and see what's inside :) Thanks for all the tips!
ReplyDeleteYou're a genius! They are great!
ReplyDelete