Several of the Elm Street Quilts Bag It tutorials use magnetic snaps. Frankly, I never used them before making these bags and I just love them.
The magnetic snaps are made of four pieces as shown in the photo above. There are two snap pieces, one thicker than the other, and two washers.
Your bag tutorial will provide guidance on placement. Wherever possible, make yourself a paper template. You'll be using the actually prongs on your magnetic snap to mark the spot where it will be installed. Pushing the snap onto paper gives you a slight indentation to mark where the fabric should be cut. While not required, the template makes the whole process go much smoother.
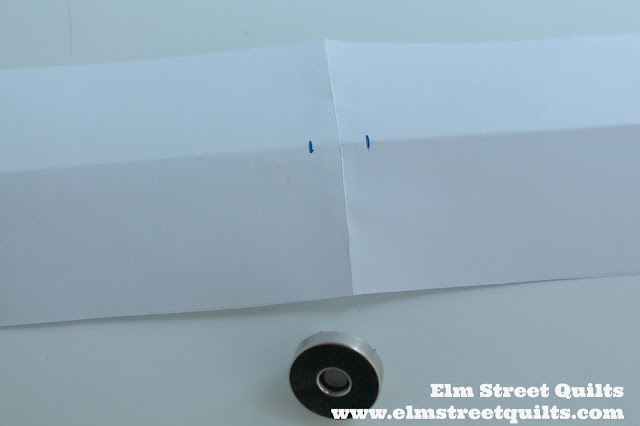
Use your ruler to identify the center spot for your magnetic snap. In my template above, I was able to fold my paper in half in each direction and my center spot is marked with the folds intersect.
Center your snap over this center spot in the paper and press down. The prongs from the snap will create slight indentations in your paper. Fill those in with a pen as shown in the photo above.
Using sharp scissors, snip a small hole in the paper template at that spot.
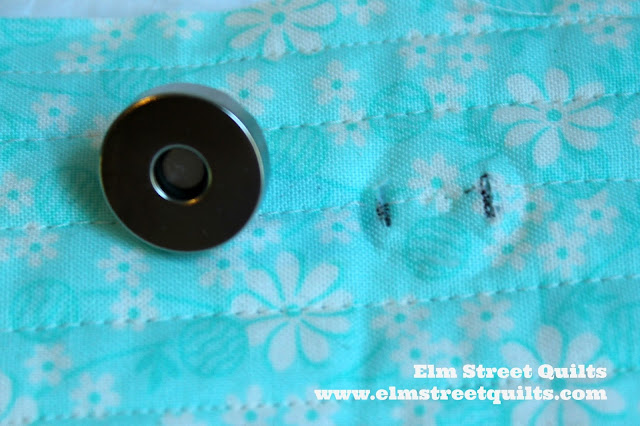
Transferring the template markings to your fabric is as simple as using a pen to mark through the small holes you just created onto the right side of the fabric.
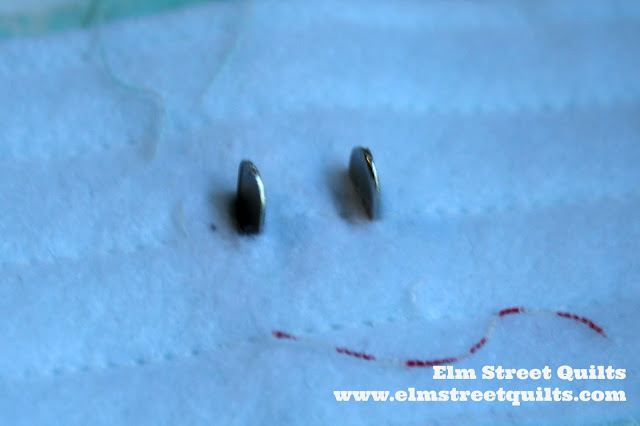
With those same sharp scissors, snip through the fabric and your layer(s) of fusible fleece to create small holes for the prongs.
Test your snap and if needed take some additional fabric snips. You want your holes to be just large enough for the prongs but not too large.
Once you are satisfied, push the magnetic snap through and place your piece right side down on a hard surface.
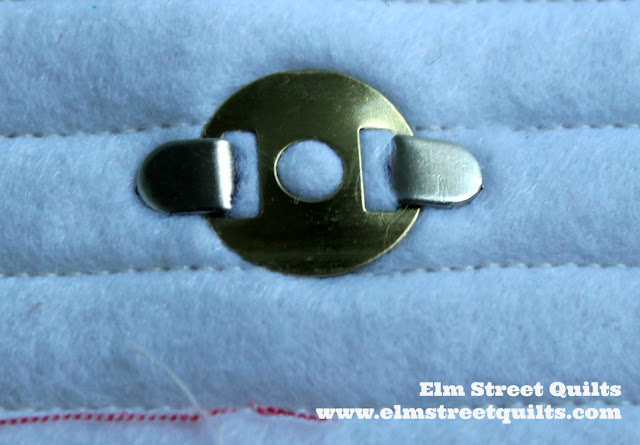
Put the washer over the prongs.
Using your fingers or a firm object to push the prongs outwards to secure. (I used the handle of my seam ripper to give me the leverage I needed.)
This doesn't take long but it is important to make sure you've gotten this nice and tight.
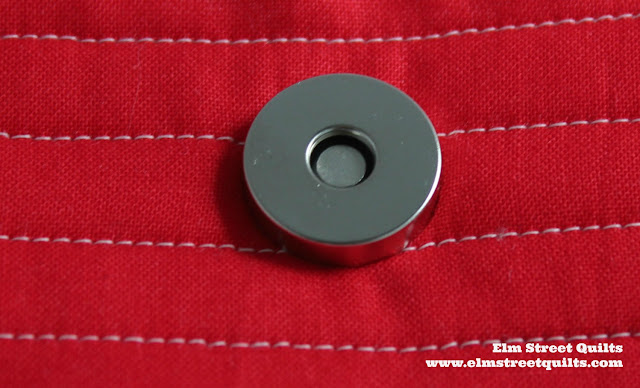
Beautiful, isn't it?
Have a wonderful day! Patty




Thanks for the tutorial, I might have the courage to give these a try!
ReplyDeleteThank you Party..this will be a first for me also.
ReplyDelete