These purse packs are quick to make and can be used many different ways. You can easily carry along some tea bags, extra tissues or tuck away your credit cards and use this as a wallet.
I'll be making more of these for my holiday gifting!
Supplies you will need - (supply source information)
# pieces
|
Dimensions (height
x width)
|
|
Primary fabric
|
One
(1)
|
5 x
7 ½ ‘’
|
Lining
fabric
|
One
(1)
|
5 x
7 ½ ‘’
|
Pocket
fabric
|
Two
(2)
|
5 x
7 ‘’
|
Fusible
Fleece
|
One
(1)
|
4 ½
x 7 ‘’
plus
two scraps
each
at 1 ½ ‘’ square
|
Fusible
interfacing (medium weight)
|
Two
(2)
|
5 x
7 ‘’
|
Pair
of Hidden Magnetic Snaps
|
Two
(2)
|
12
mm
|
Prepare primary fabric
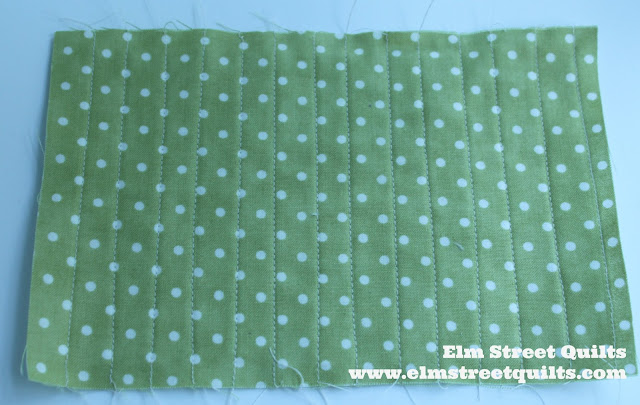
Adhere fusible fleece to wrong side of primary fabric. The fleece is cut slightly smaller in order to reduce bulk. Quilt as desired. This sample has quilting lines roughly ½ '' apart.
Prepare magnetic snaps
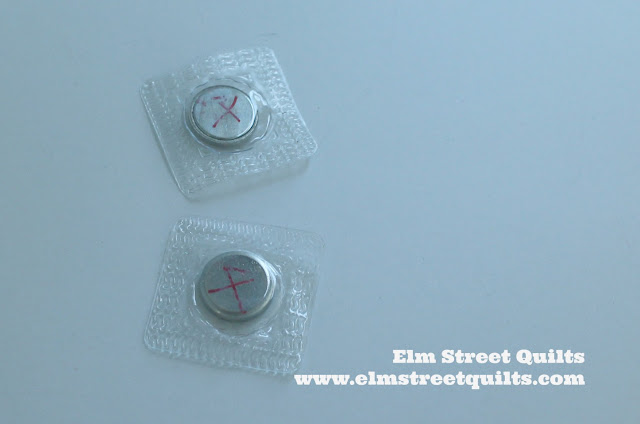
Magnets come with a north side and a south side and you'll need to determine which sides of the each magnet attracts to the other (vs repels.) Place an X using a sharpie on the side of each hidden magnetic snaps that will attract. Then test to make sure!
With the X side facing up, sew each hidden magnetic snap to a 1 ½'' square of fusible fleece. Trim off excess fleece to edge of plastic (see photo below on top right.)
Prepare pockets
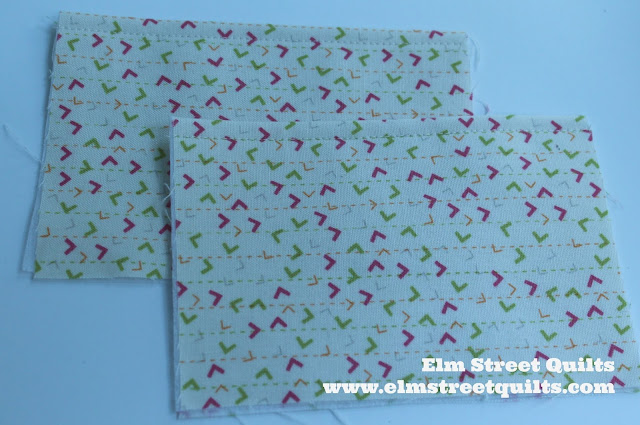
Iron fusible interfacing to wrong side of pocket fabric. Repeat for other pocket. Fold in half and press. (Pocket will measure 3 ½ x 5 '' when folded.)
On the fusible, draw a line ¼ '' from edge and mark center of this line, i.e. 2 ½ '' from each side.
Center prepared magnet on this mark, aligning edge to the ¼ '' drawn line. Fusible fleece side of the hidden magnetic snap unit is facing down, the X is facing up.
Sew to attach to pocket.
Refold pocket and sew a line of top stitching along folded edge.
Assemble Purse Pack
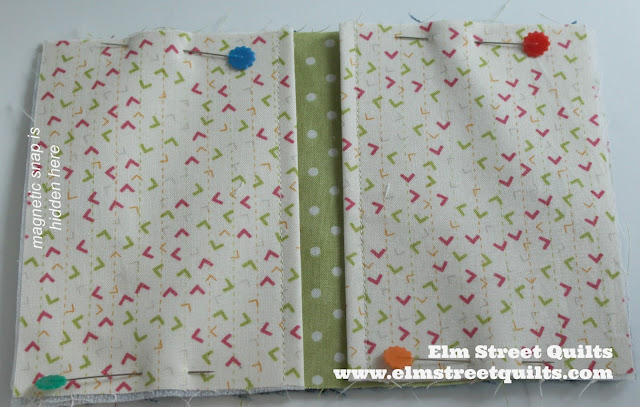
Place each pocket onto right side of lining fabric, making sure folded edge is towards center. Flip pocket so that stitching for hidden magnetic snap is not visible. Baste roughly 1/8 '' to secure pocket.
Place right side of primary fabric on top of lining fabric / pocket unit and pin.
Sew ¼ '' around all sides, leaving a gap for turning at the top.
Turn inside out and close gap with pins. Top stitch around edge.
Enjoy! I made this one out of an outgrown pairs of my daughter's jeans.


I'll be linking my Bag It tutorial with Sew Cute Tuesdays, , Freemotion by the River, WIP Wednesday's, Let's Bee Social, Midweek Makers. Fabric Frenzy Friday, Finish it Up Friday and Finished or Not Friday.
Have a wonderful day! Patty


I would love one of those! Cute purses ♥
ReplyDeletesummerdaisycottage.blogspot.com
These are so cute! Thanks for sharing, Patty. I need more little projects to start socking away for gifting.
ReplyDeletea purse pack...how clever! I think I have some magnetic snaps tucked away! I'll have to dig around and see what I can come up with. Thanks, Patty! XO
ReplyDeleteFun design. Thanks for the great tutorial. I'm looking forward to making some of these.
ReplyDeleteQuiltShopGal
www.quiltshopgal.com
These look cute and easy to make! I'll have to get some magnetic snaps!
ReplyDeleteSuper cute and easy gifts to make. Thanks so much for sharing today. I see an assembly line in my future!
ReplyDeleteGreat tutorial, thanks!
ReplyDeleteThank you for sharing! This is definitely a great idea and I so appreciate you sharing! You know, I could never create a sewing pattern on my own so I truly appreciate the bloggers that do and then share so generously of their talents. Thank you! Blessings!
ReplyDeleteOh these look like they are easy to make and so versatile....perfect for holding a gift card for those hard to buy for friends and relatives!
ReplyDelete