Bags that stand on their own need their corners boxed. Since several of the Bag It tutorials will require boxing corners, a detailed tutorial will be helpful if you've not boxed corners before.
At a point during the construction of the bag and lining once side and bottom seams have been sewn, the instructions will call for boxing corners at a specific measurement.
The photos below show a corner boxed at ¾ '' , You'll follow the measurement in the tutorial or pattern you are using.
Step 1 - Align your ruler markings against the line of stitching and not the edge of your fabric bag. Mark wrong side of fabric with a fabric marking pen or a pencil.
Step 2 - Remove the corner by cutting on the marked line.
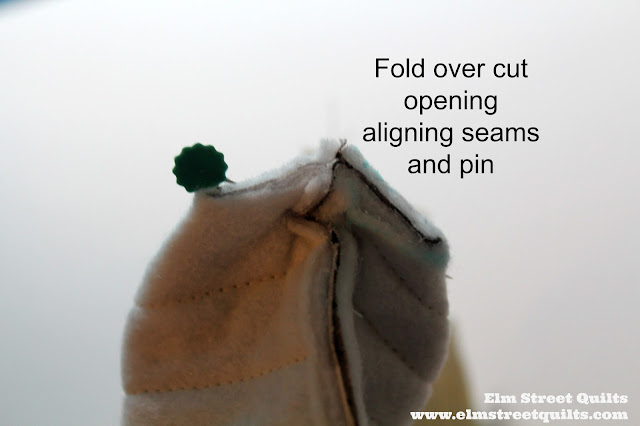
Step 3 - Fold over corner aligning the seams from the side and bottom of the bag. Pin closed.
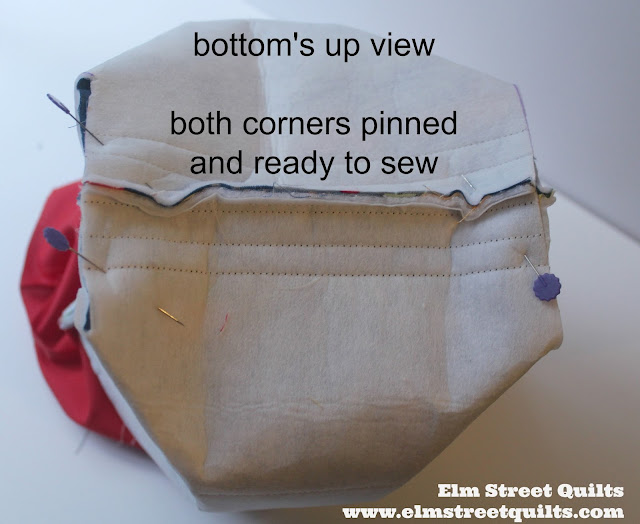
Need another picture to help you understand what is going on? Check out this bottom's up view.
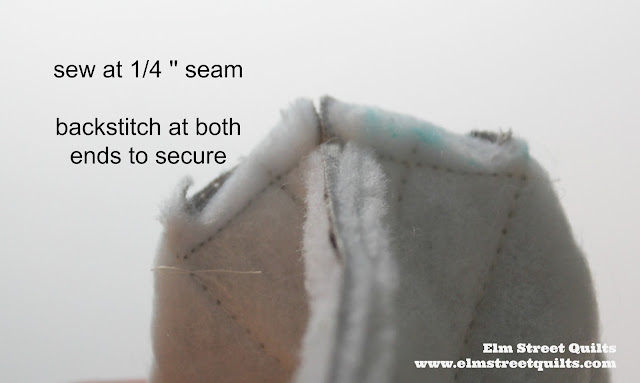
Step 4 - Sew this corner seam using ¼ '' (or as specified by the tutorial or pattern.) Make sure you back stitch at each end to secure. I sometime use my walking foot because of the bulk. Move slow and keep those seams aligned.
That's all there is to it!


This is how I like to box my corners as well!
ReplyDelete