Saturday, October 31, 2015
Bag It - Zippers
Let's talk zippers.
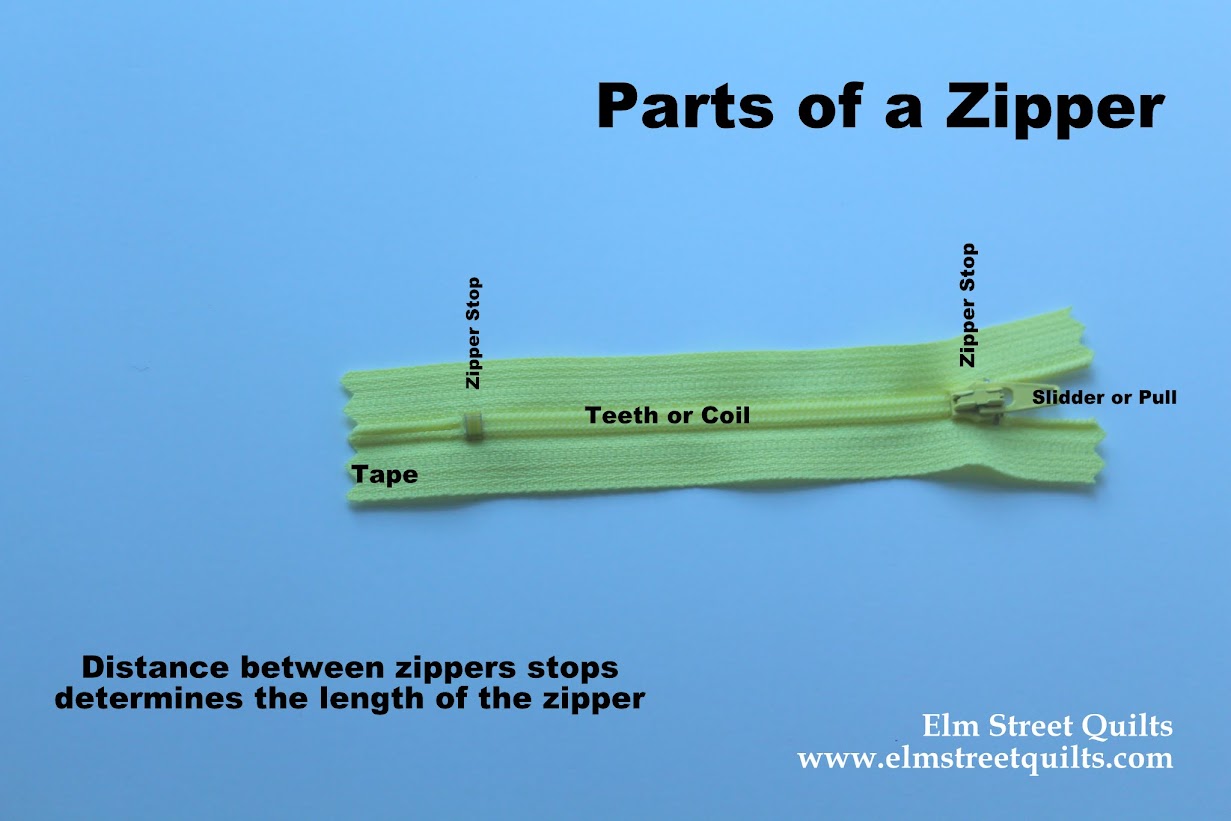
To open or close a zipper, you use the zipper slider (or pull) to open or close the zipper teeth (or coils) between the two zipper stops. To attach a zipper into a bag (or clothing), you'll sew on the zipper tape.
Now you know the basics.
You order zippers by a length. A 5'' zipper means there is 5'' between the zipper stops.
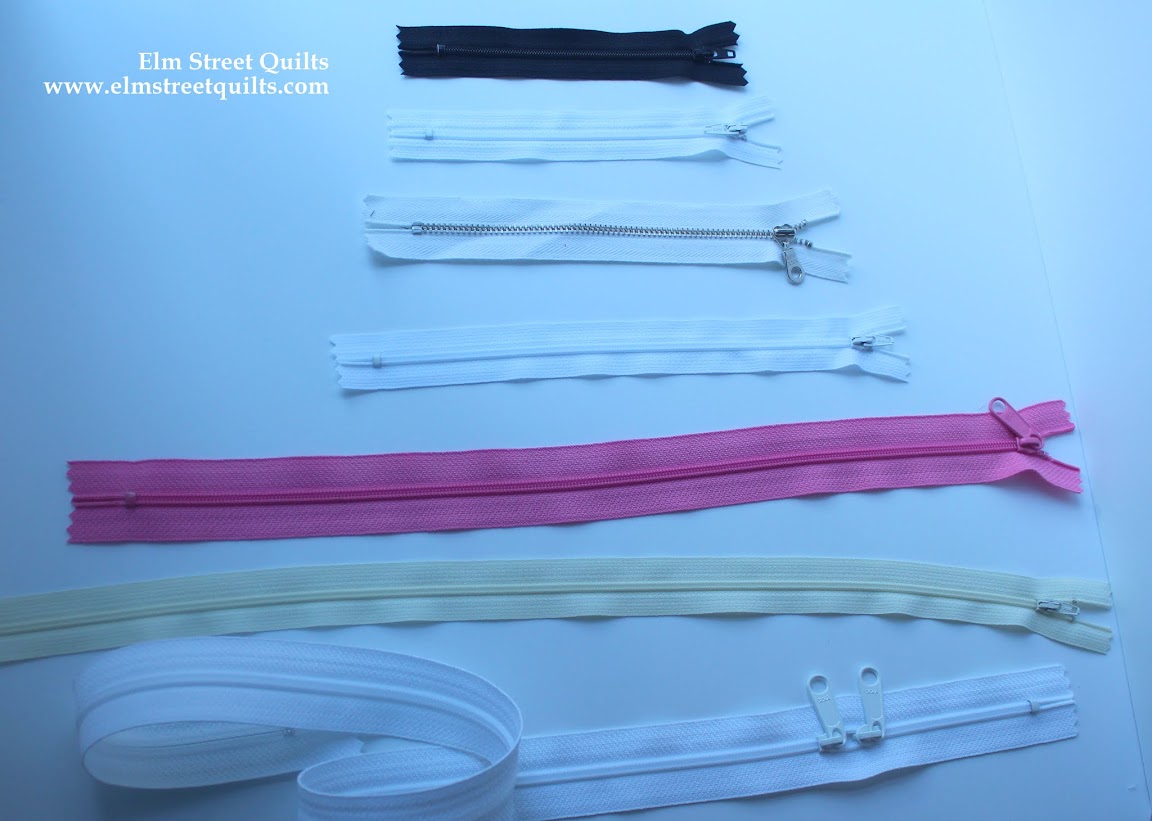
Zippers are available in what seems like an endless lengths and colors. (From top to bottom, this is a 5'' (black), 6'' (white), 7'' (metal teeth), 9'' (white), 16'' (pink), 20'' (cream) and 30'' (double slider). Except for the metal one, the rest of the teeth are all nylon coil.
In my stash of zippers, I've got a selection of two different kinds of zipper sliders. I like the larger one for larger bags.
For a really large bag - perhaps a duffle bag or a backpack - you can get zippers with a double slider.
Because I never know when the mood (or need) to make a bag will strike, I keep a stash of zippers on hand which are 6'', 9'' and 16''. I then cut those down to fit any size I need.
Yes, I cut the nylon zipper down to size! There are two advantages for doing this. Besides the obvious advantage that you can cut to size the zipper you need, you also get a nice finished edge when you create your own zipper stop.
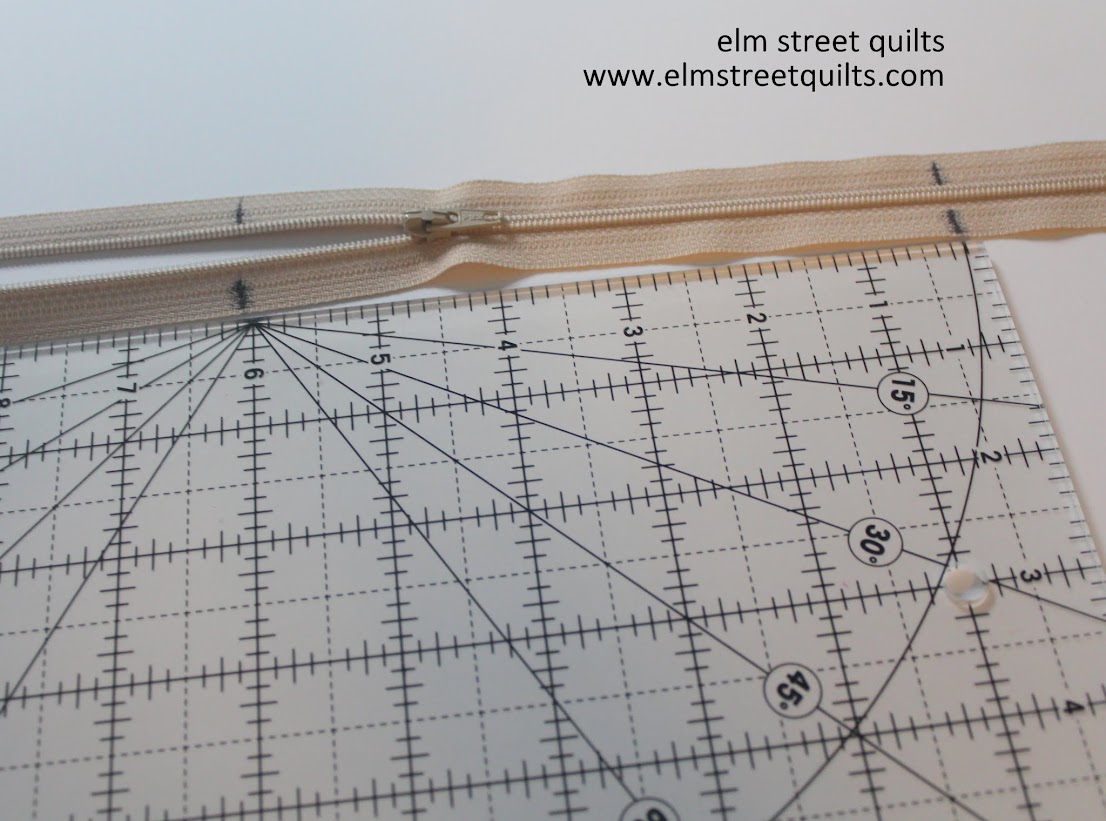
To re-size your nylon coil zipper, measure out the size you need. Put that zipper slider in the middle.
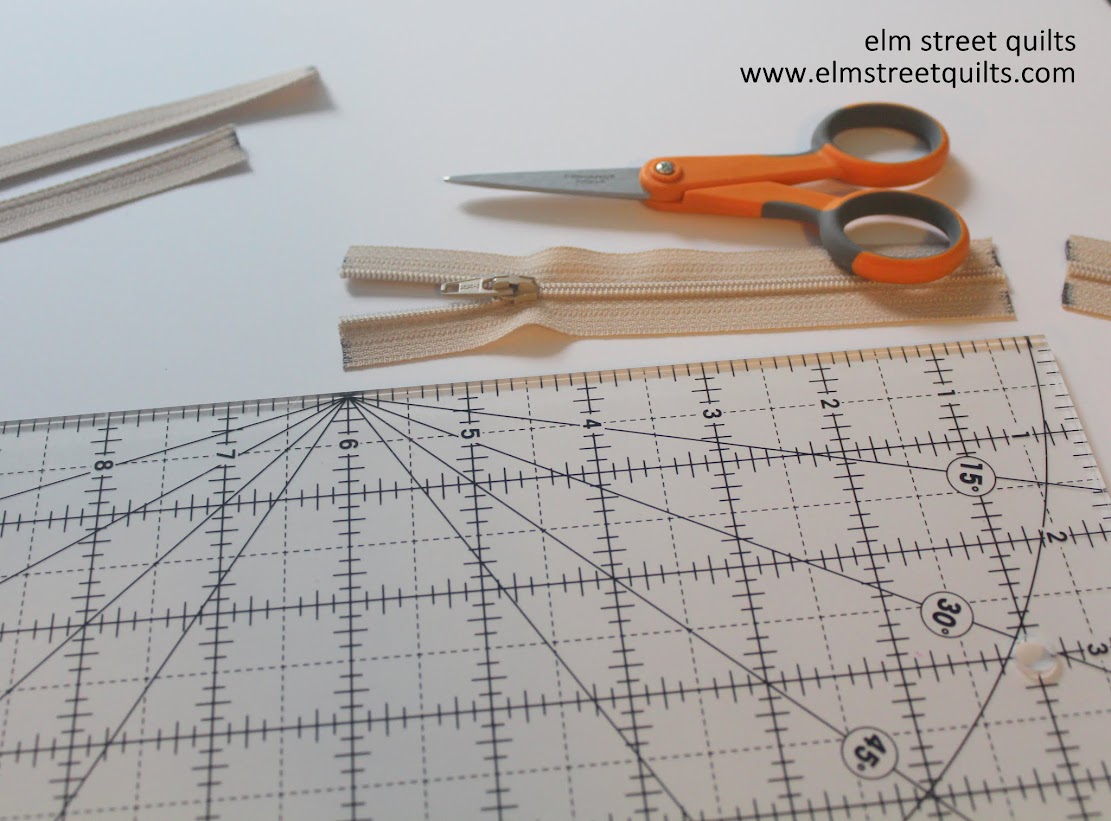
Cut on those lines.
Take a piece of fabric roughly 2 1/2 '' and fold it in half and in half again.
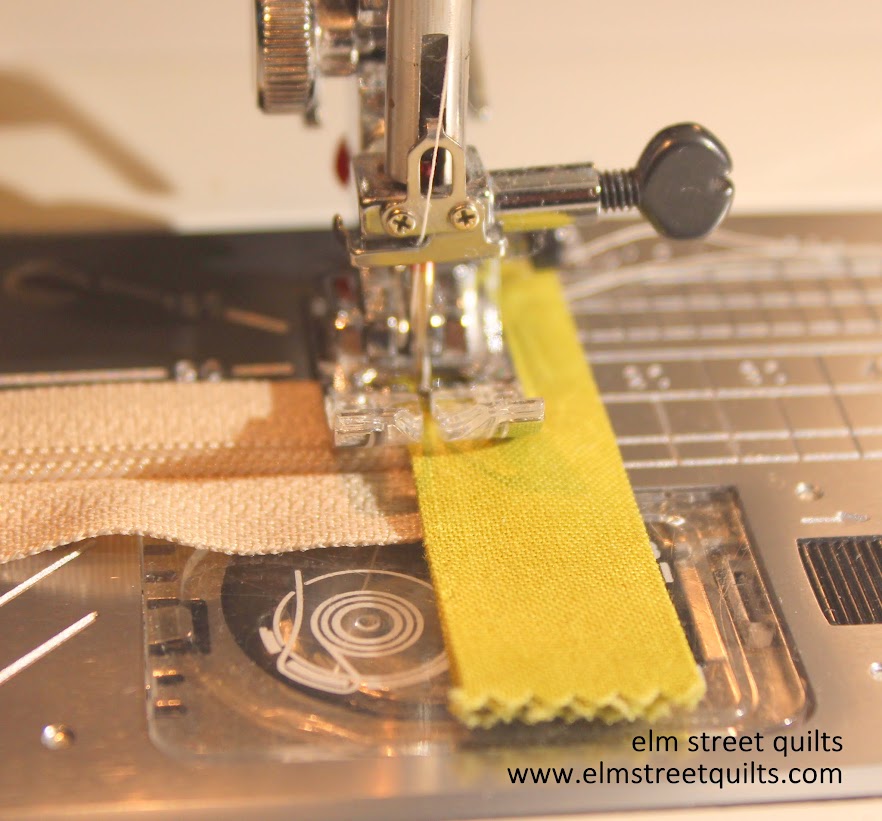
Nestle the edge of the zipper inside and sew directly across. Your machine should handle the nylon coils just fine. Take it slow.
Repeat on the other side and you've now got a zipper just the size you need. (Trim to width of zipper.)
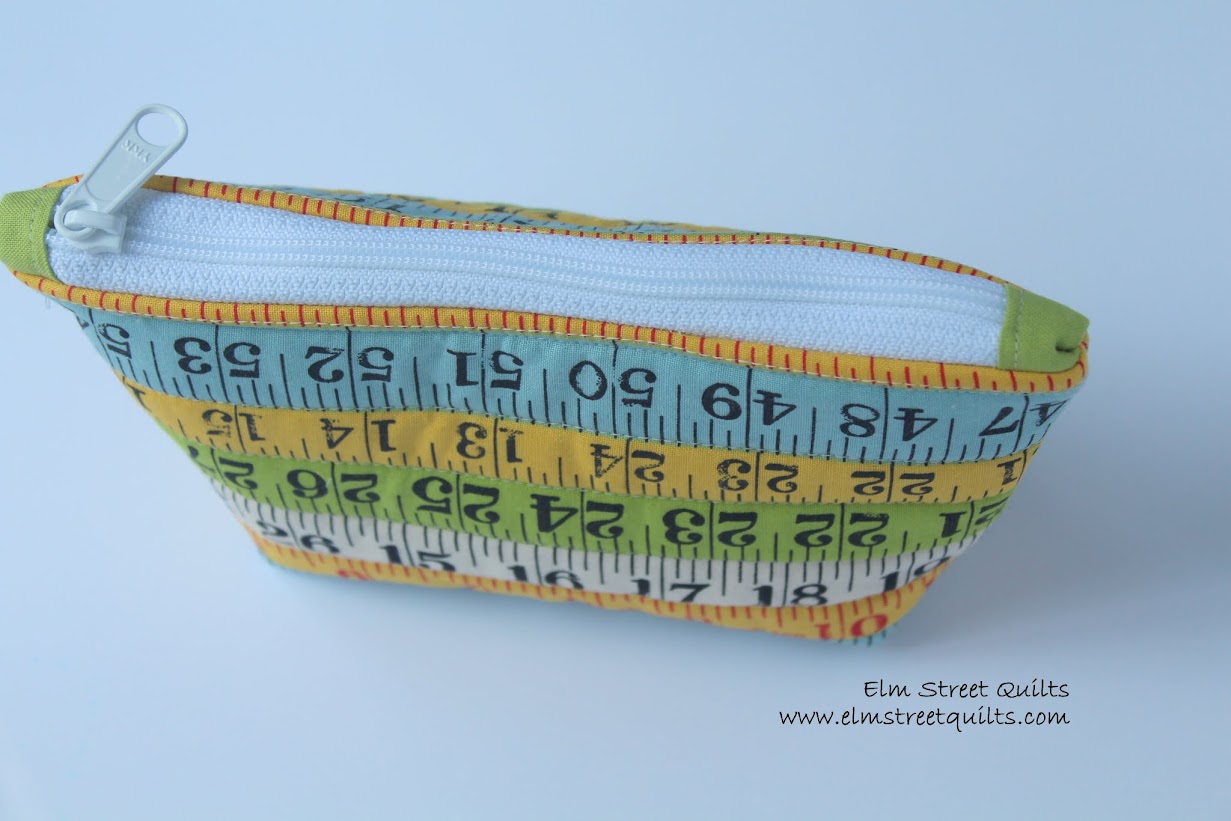
See how the zipper is now sewn into the bag? (Bag tutorial coming next week!)
The zipper length you should cut to should be the width of your bag fabric minus 1/2 '' to allow for your seam allowance of 1/4 '' when you construct the bag. You don't want to get the fabric zipper stop caught in your stitching.
I love the extra pop of color that these fabric zipper stops bring to a bag.
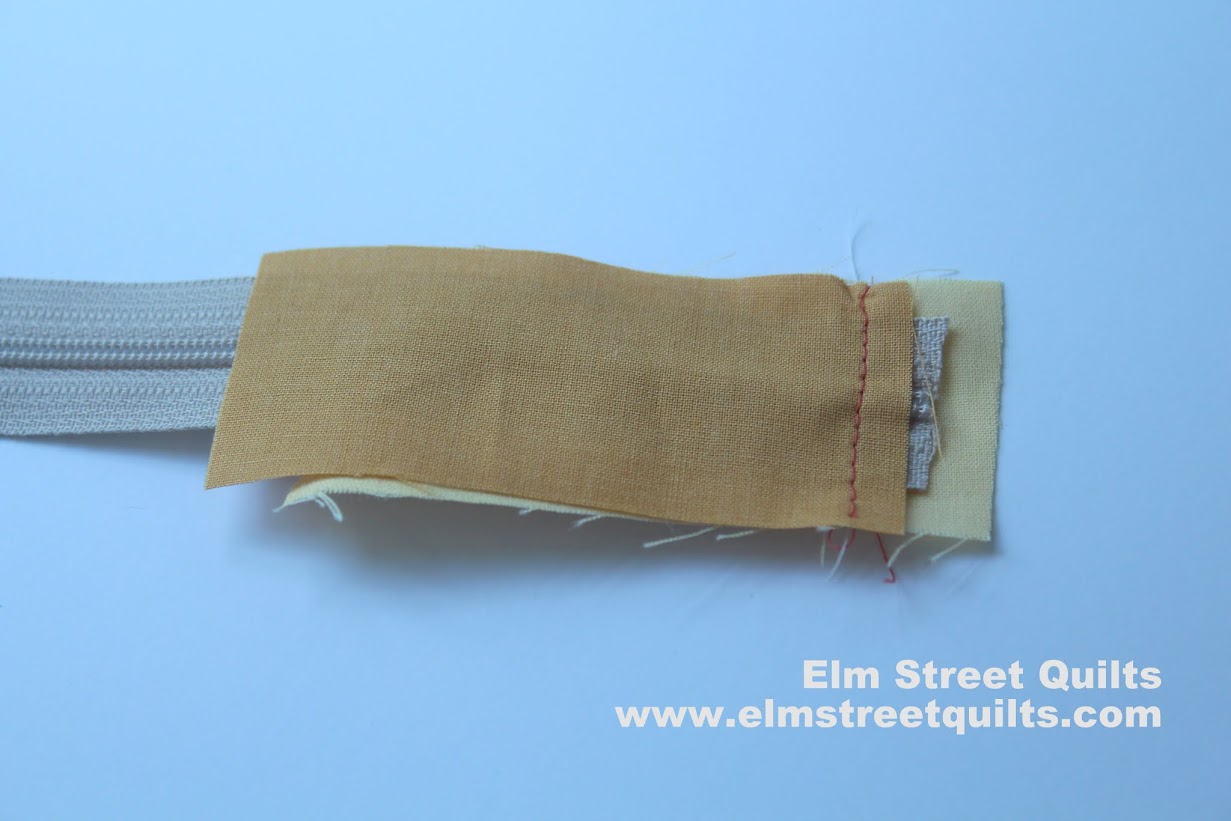
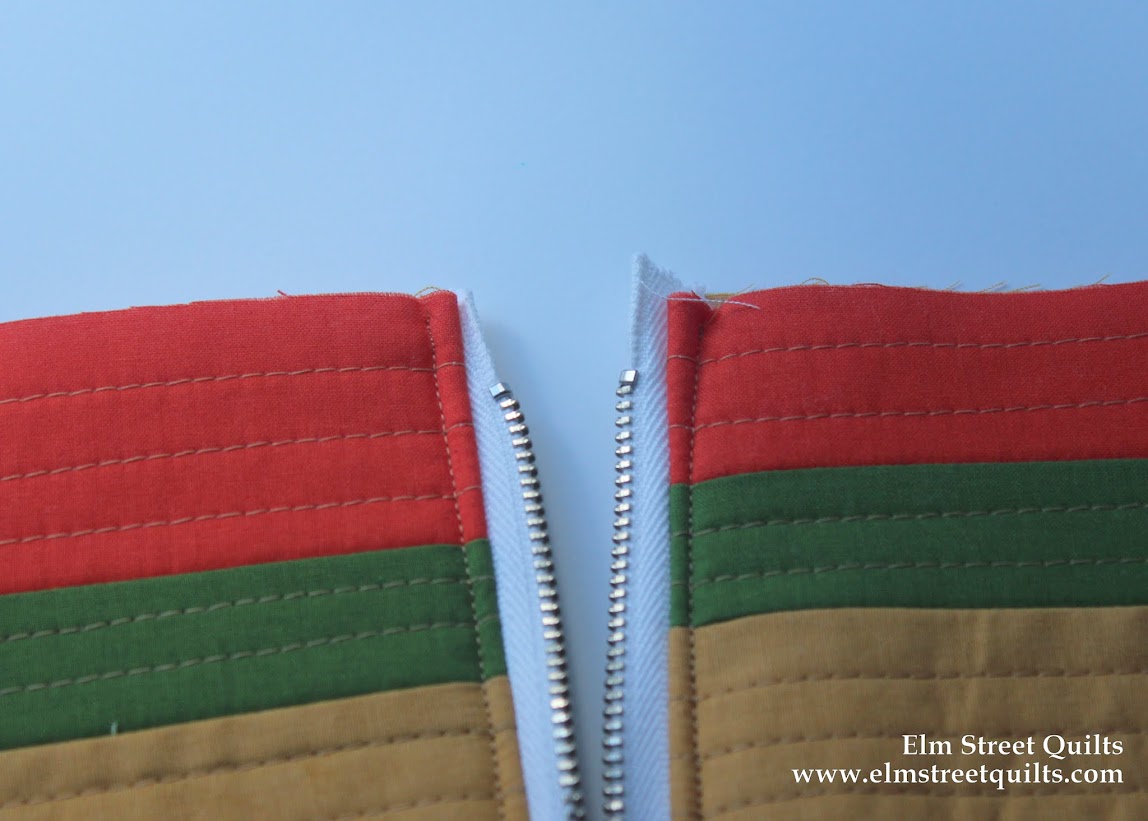
For the boxy bags we'll make, I'll do my zippers fabric stops a big differently. Instead of folding a piece of fabric and nestling the zipper inside, I take two pieces of fabric and sandwich the zipper inside.
Sew across and then flip open and topstitch.
There are advantages to this method for boxy bags that you'll see in an upcoming tutorial.
Clearly, you can just buy your zippers the correct length that you need and skip the whole thing!! I do that too!!
Find the look you want for your bag and make it happen!
With the basic of zippers as a reference, it on to bag making!
You can find more information on where I buy my zippers on this supply post and find more information on the Bag It series on this post.
Have a wonderful day! Patty
Labels:
Bag It,
Quilting Tip
Subscribe to:
Post Comments (Atom)









Good post. I'm looking forward to this project.
ReplyDeleteThis was a great tutorial. I'm excited for the rest as well! Thank you!
ReplyDeleteGreat tutorial! I haven't installed a zipper since eighth grade Home Ec class (that was several decades ago).
ReplyDeletePerfect post! Thanks for taking the time to s-p-e-l-l it all out and making it easy peasy!
ReplyDeleteI've switched to the Nancy Zieman zipper tabs. Cut a scrap of fabric that is 3x the width of your zipper. by 2 or 3" long. Take your scrap and place face down on your nylon zipper with most of the scrap towards your middle. Wrap around zipper tape. And sew at your zipper 'end' point. Trim end of zipper. Flip your scrappy fabric back over your stitches and you have a good looking tab! This is a great way to keep zipper teeth out of your seam and lessen bulk.
ReplyDeletehttp://wpt.org/SewingWithNancy/Video/sew-simple-rectangles-squares-part-1 (around 4.50 )