Monday, November 30, 2015

Bag It - Triangle Bags


It is day 11 of my Elm Street Quilts Bag It 2015 series!


For overall information on the series, visit the main Bag It page.

We've done rectangles and boxes - today we are going to make a triangle!

This bag looks harder than it actually is.  And it is so cute - I've made a whole bunch of these to give away as holiday gifts!

Ready to get started?  
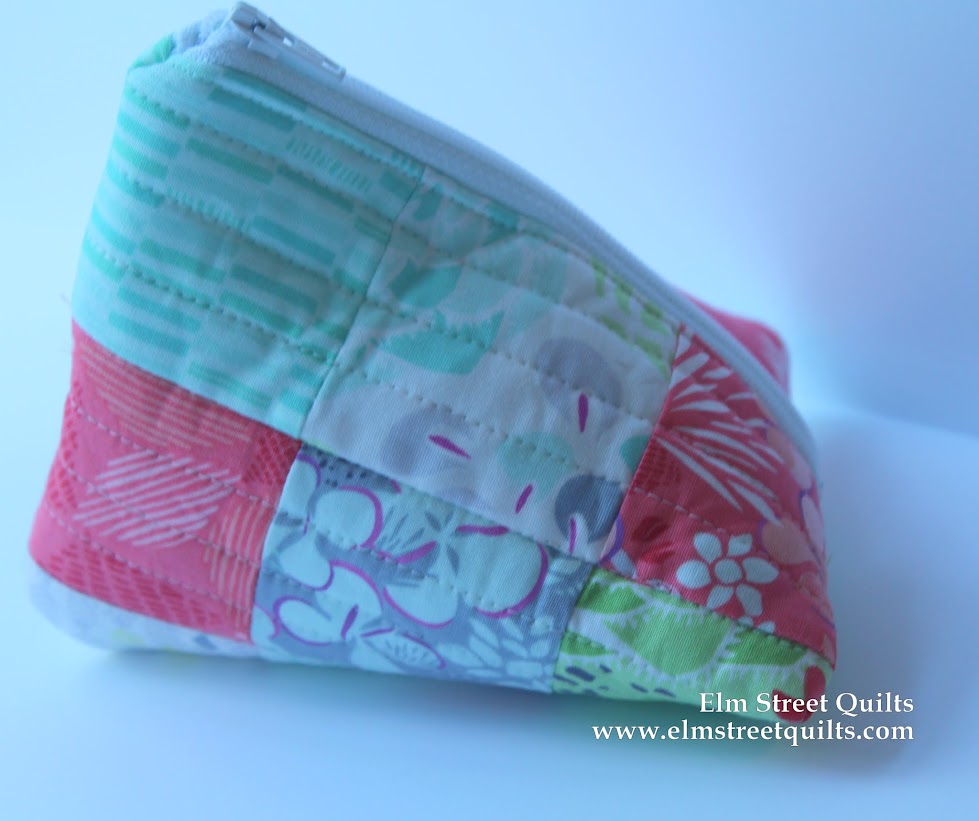
triangle zip bag tutorial


You'll need the following:

triangle zip bag tutorial
  • Fifteen (15) mini charms at 2½''
  • Lining fabric at  6½ x 10½''
  • Two (2) pieces of fusible fleece each at 6½ x 10½''
  • Six (6) inch zipper


Sew the 15 mini charms together to create your outer fabric measuring 6½ x 10½’’.  Iron on two (2) pieces of fusible on the wrong side and then quilt as desired.  For this sample, I quilted lines about 3/8'' apart.

Pin 6'' zipper to quilted outer fabric with two pins on either end making sure either ends of the zipper are the same distance from the edge. As always, you can start with a larger zipper and then add a fabric zipper tab at the bottom to size it correctly.


Pin the lining fabric (right sides together) to the zipper and sew zipper.  Make sure you start and stop roughly 3/8 '' from each edge.


Open zipper and pin quilted outer fabric to the other side of the zipper.  Pin the lining fabric (right sides together) to the zipper and sew zipper.  Remember to start and stop roughly 3/8'' from each edge.


This is an important step and if you are used to making bags with two pieces of fabric, it could be confusing so take a moment to really look at the photo below.  See how the quilted outer fabric is right sides together and how the lining is right sides together - each making a shape like a tear drop?


Once things are sewn, it will look like this.  Look carefully in the photo below.  The zipper is open all the way and you can see how the lining and the outer fabric are attached.


On the edge of the bag with the closed zipper end, find center of quilted outer fabric by folding and putting pin in fold to mark center..   Fold over aligning center of zipper tape with the pin marking center of the quilted outer fabric.    Fold back the lining similar to what was done in the boxy bag.  Sew.


Repeat for lining, again this is the same technique we used in boxy bag to first sew the outer bag and then the lining. You do want to catch the zipper tape in both.


Now you've got a nice neat seam on the bottom of your triangle bag.


To secure the top, you are going to fold the lining and the outer bag fabric in half and pin.   Leave about 2 or 2½'' from folded edge of lining open and sew from this point across lining, zipper tape and to the edge of the quilted fabric.    See where that blue pin is on the lining fabric?  That is the staring point.


This is what it will look like before you turn it right side out.


Carefully push the bag right side out through the gap in the lining.  (Always feel like there should be a drum roll for this step!)


Ta Da!!  Look what you made!
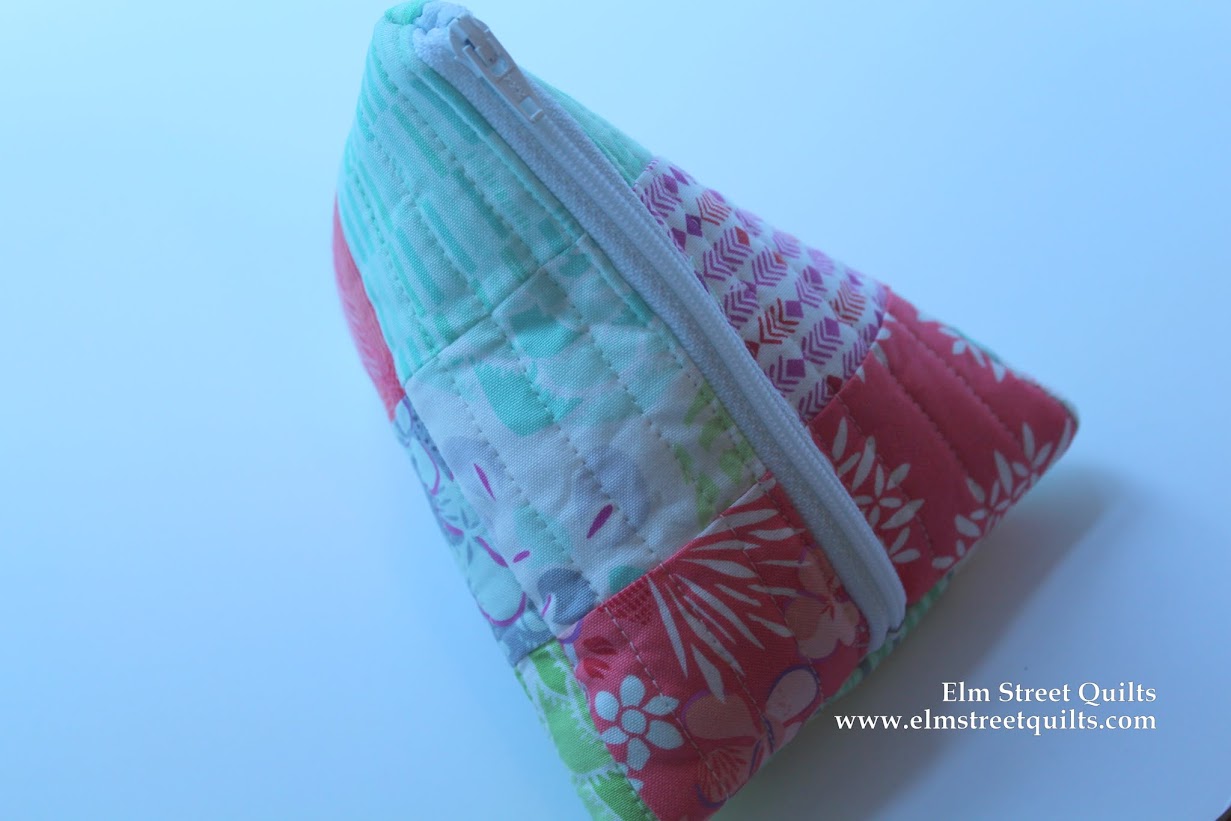
triangle zip bag tutorial

Secure the gap in the lining either by hand or machine.

I had some leftover flying geese blocks lying around - they made a quick and fun triangle bag!
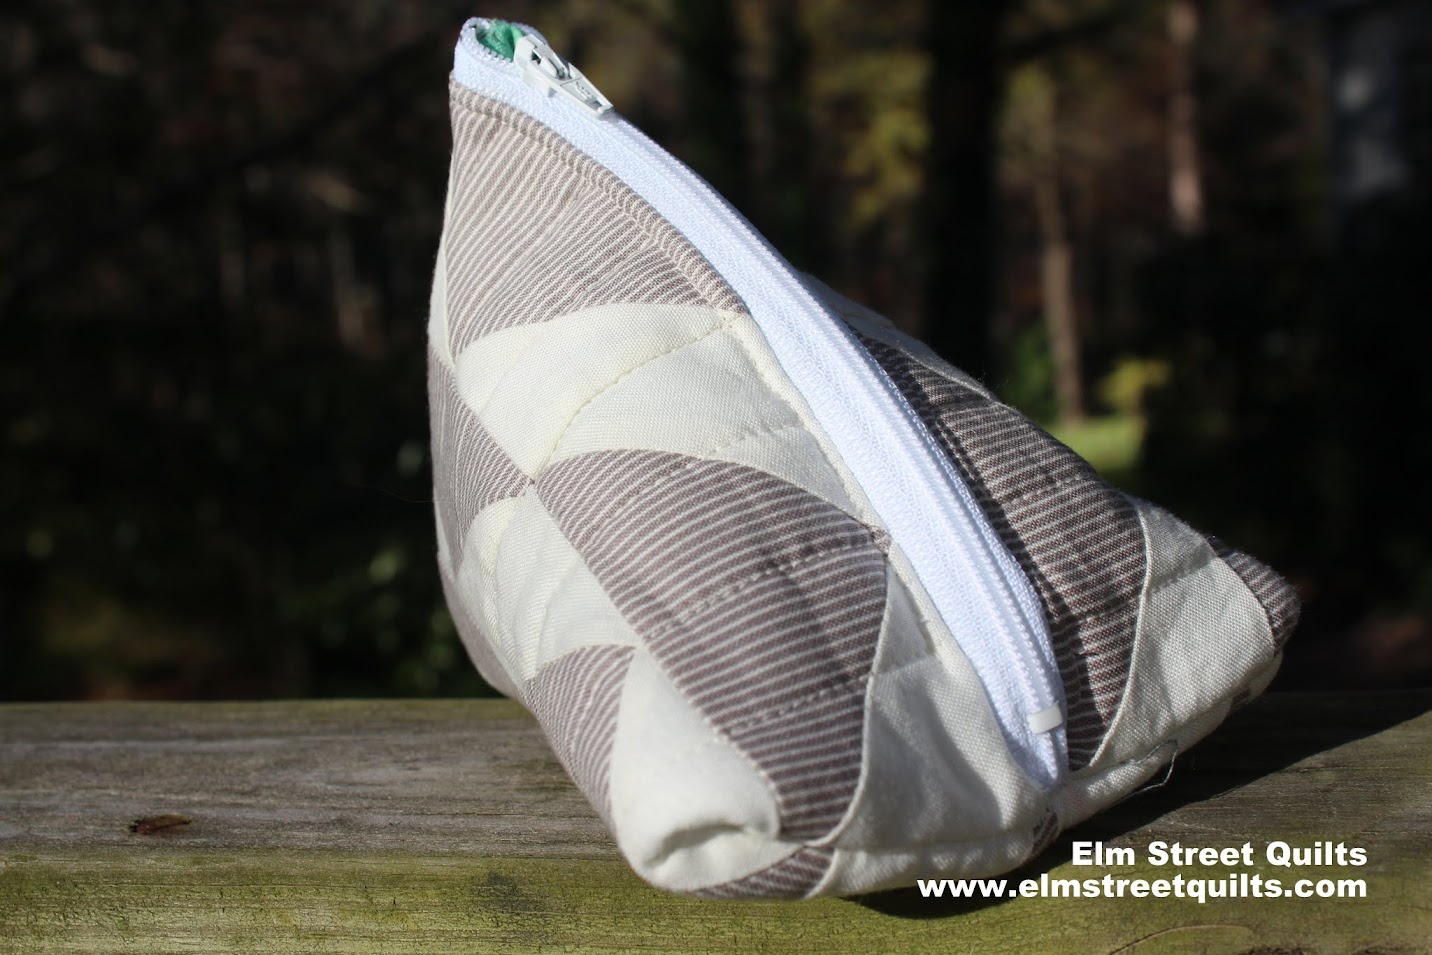
triangle zip bag tutorial

And since I had more charm squares left, I just need to made another!
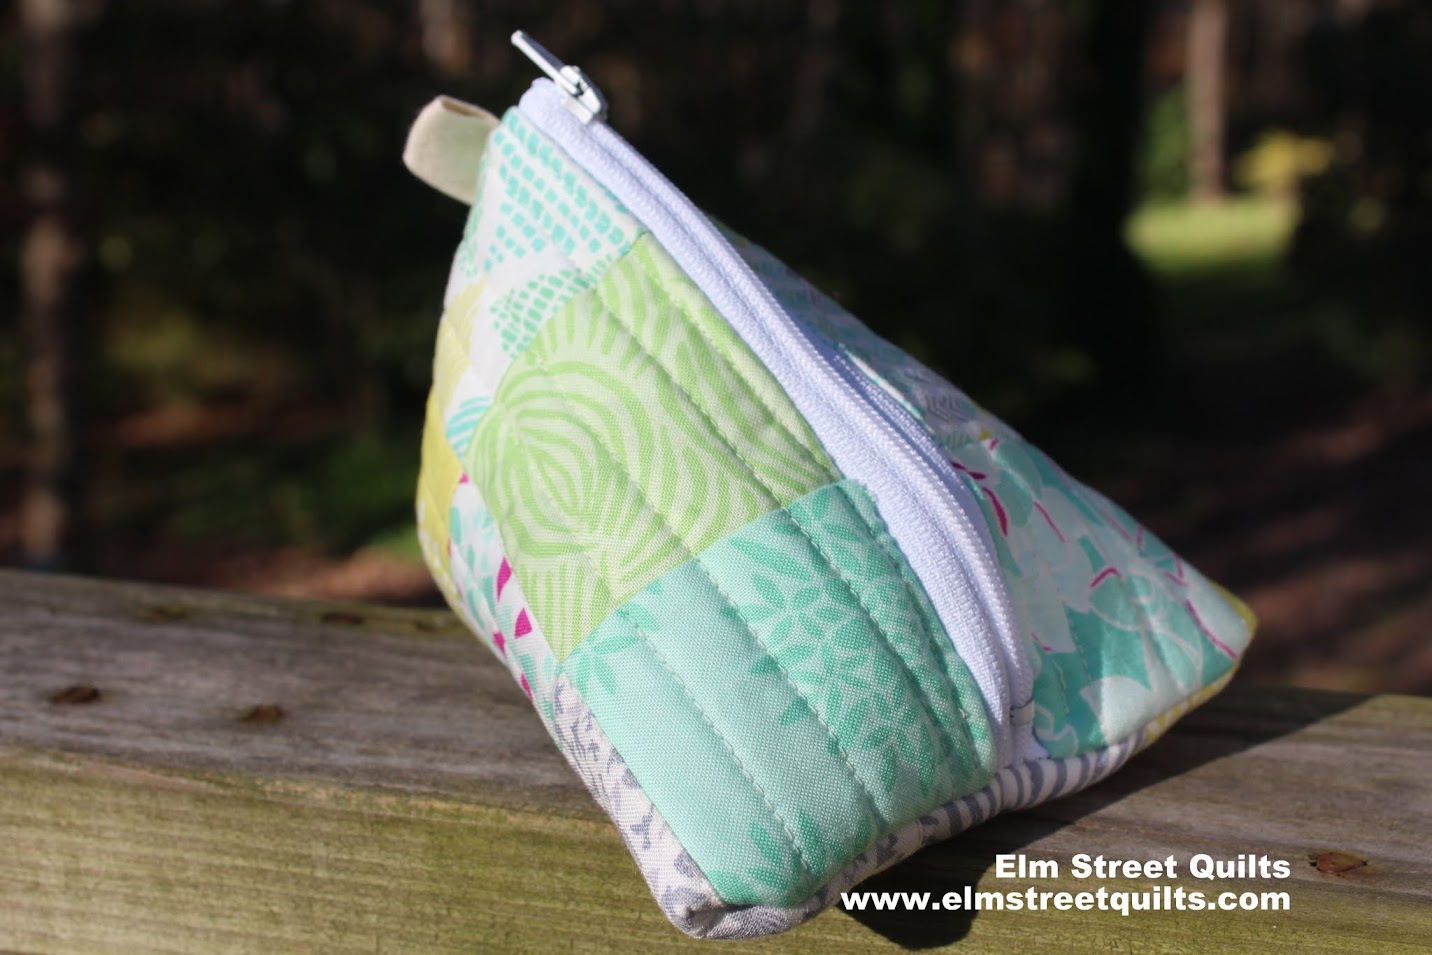
triangle zip bag tutorial

There are lots of options here.  For this last bag, I used a piece of twill tape to make a handy pull to hold onto while you unzip the bag.  I just sewed it into the seam on that last step.

Aren't these fun?  I'll be back with one more post on triangle bags to discuss some size options.
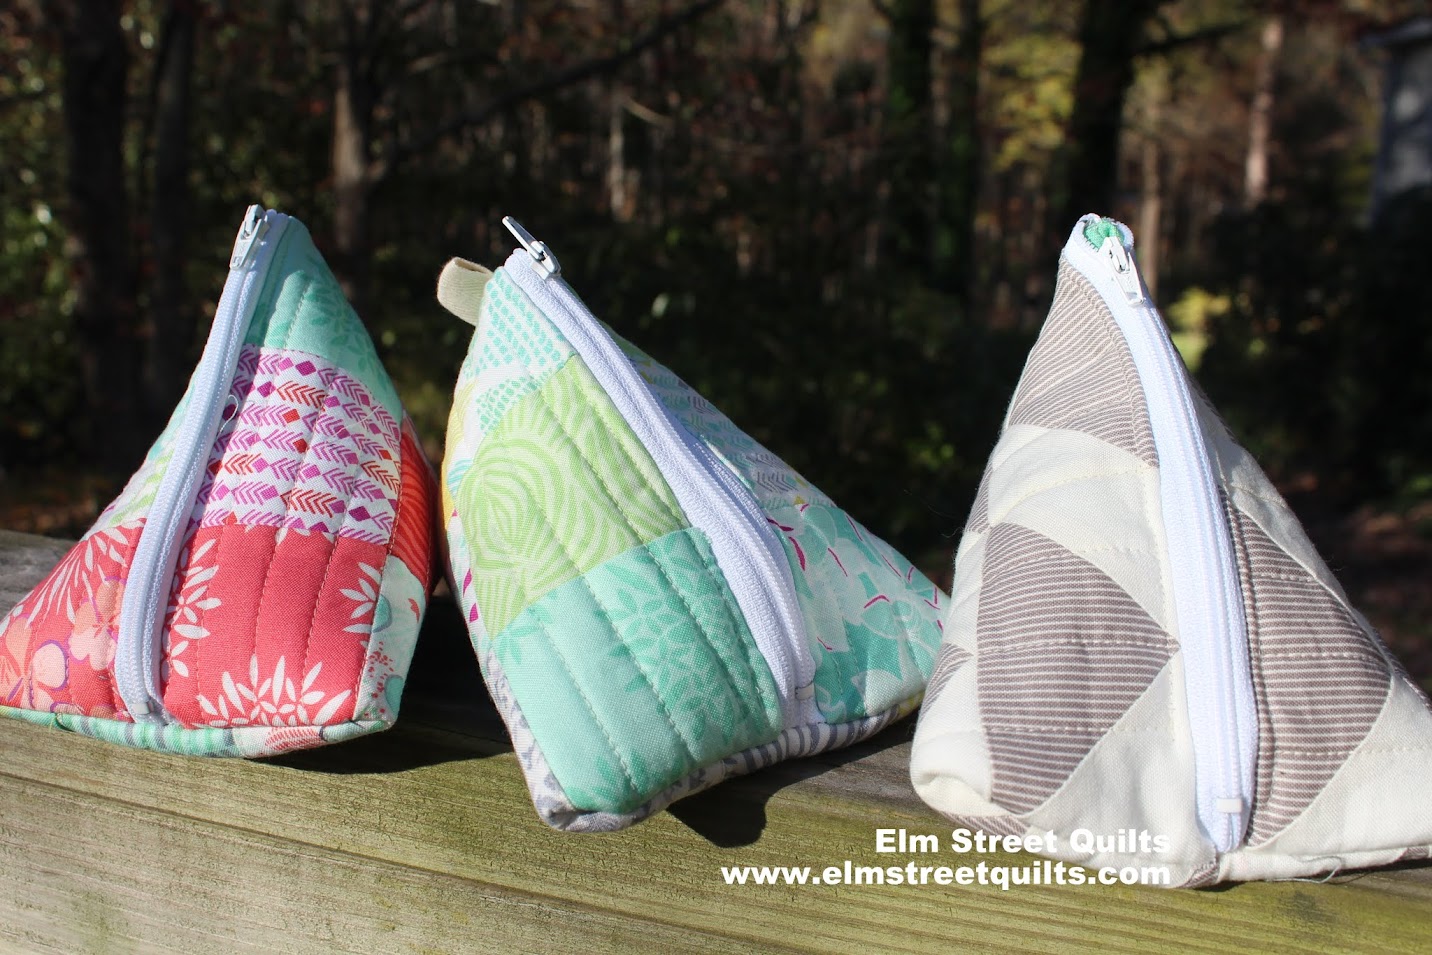
triangle zip bag tutorial


This post was sponsored by Zipit, an Etsy store as part of the Bag It event in 2015.


Have a wonderful day! Patty


Friday, November 27, 2015

Finishing up week 4 of Bag It!

Even I can't believe how many bags I made to create this Bag It series!  

And you know what? I'm still making them!


This picture is only some of them!   There is one more tutorial coming on Monday for the bags I call triangle bags.  It is a neat fun shape that you can make in all different sizes.

In case you missed it - maybe getting ready for Thanksgiving - this week posts covered two kinds of bags that incorporate clear vinyl.  They've got all sorts of uses but I personally use mine to keep my headphones secure and to keep jewelry from getting tangled.


The tutorial for the headphone pouch is here and I put together a supply kit to make two of these - you just add fabric!  Check out my Etsy store where I've a limited set of supply kits available. 

The pattern for this jewelry travel roll can be found in my Craftsy store. It is one of my most popular patterns.  

And don't forget, once you make and share a bag, follow the instructions below to enter the giveaway. ANY bag you make and share counts - it doesn't have to be one that I've written a tutorial on.

Ready to enter?
  1. Visit the sponsor post.  (You can earn up to 9 entries.)
  2. For each bag you create and share between now and 8pm on December 14, you earn 10 entries into the giveaway!   Entering is easy!   Just share a photo of your bag (or bags) on your blog, on Instagram (#elmstreetquilts), on the Elm Street Quilts Facebook page or send to me via email (elmstreetquilts at gmail dot com) and then go here to officially enter.  Enter as often as you want as you make new bags.  Any bag you make and share counts!   

See the Elm Street Quilts Bag It information page for more information.

I'm carrying forward the linky from last week so keep adding to it.  It is great to share those bags with everyone.  (Don't forget however, to officially enter the giveaway.)


Have a wonderful day! Patty

Wednesday, November 25, 2015

Bag It - Jewelry Roll

jewelry travel bag tutorialWelcome to day 10 of the Elm Street Quilts Bag It series.   It has been so very exciting to see all the photos of bags posted and fun to share this series with everyone!

For more information about the series, including sponsors and giveaways, visit the main Bag It page.

If you've been following along through the series, you might remember the post where I used fabric strip scraps from my AMB fabrics and created new fabric for a bag?  (The post was called Make your own fabric.)

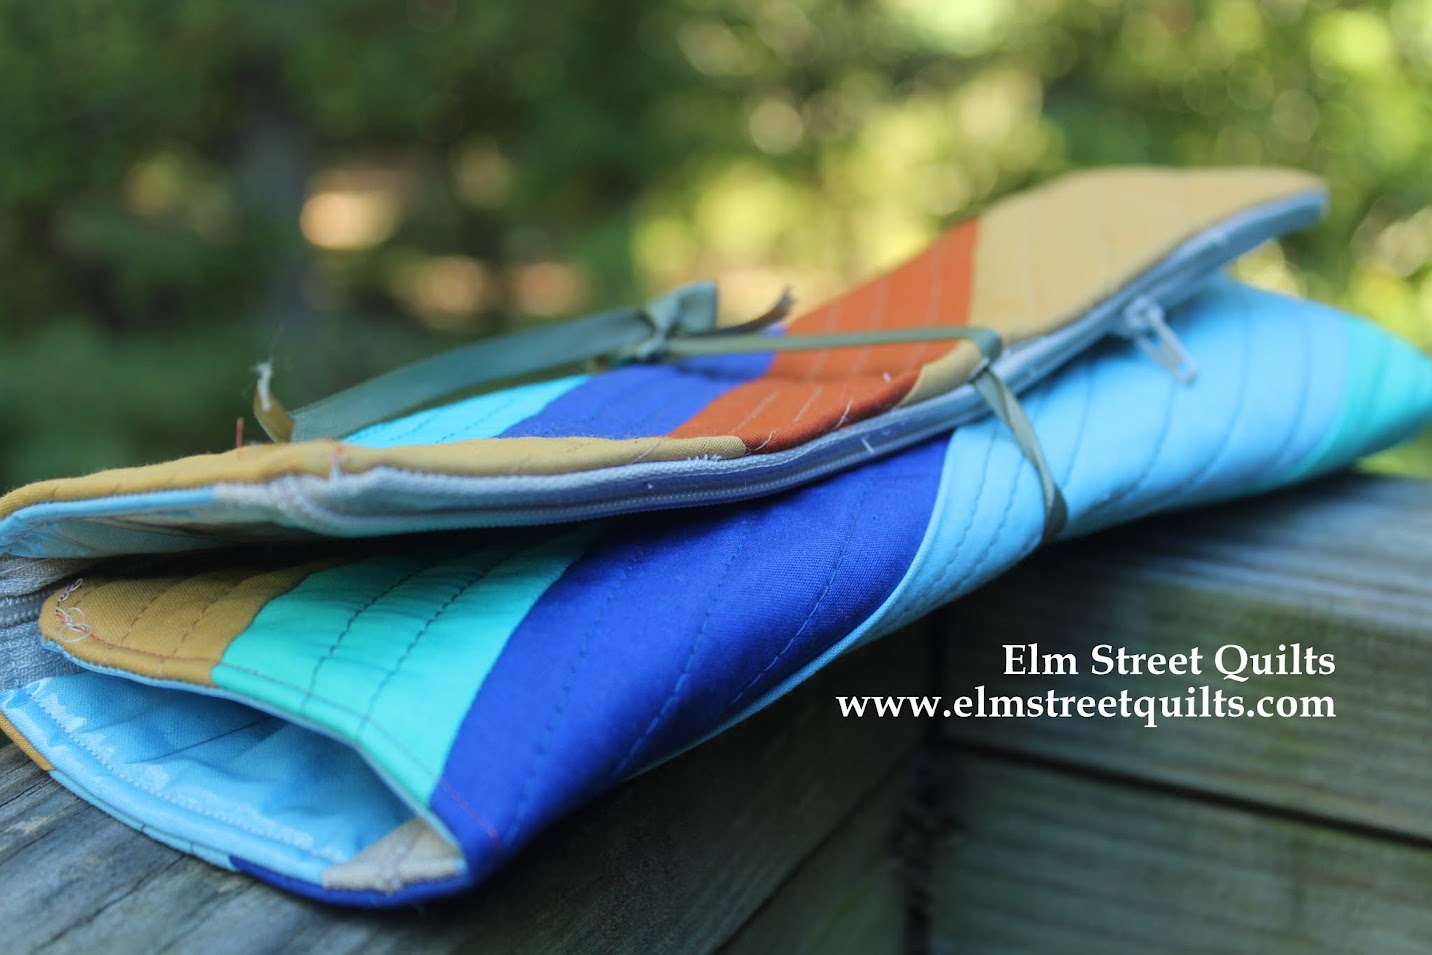
I used that fabric to make the outside (back) of a Jewelry Roll.


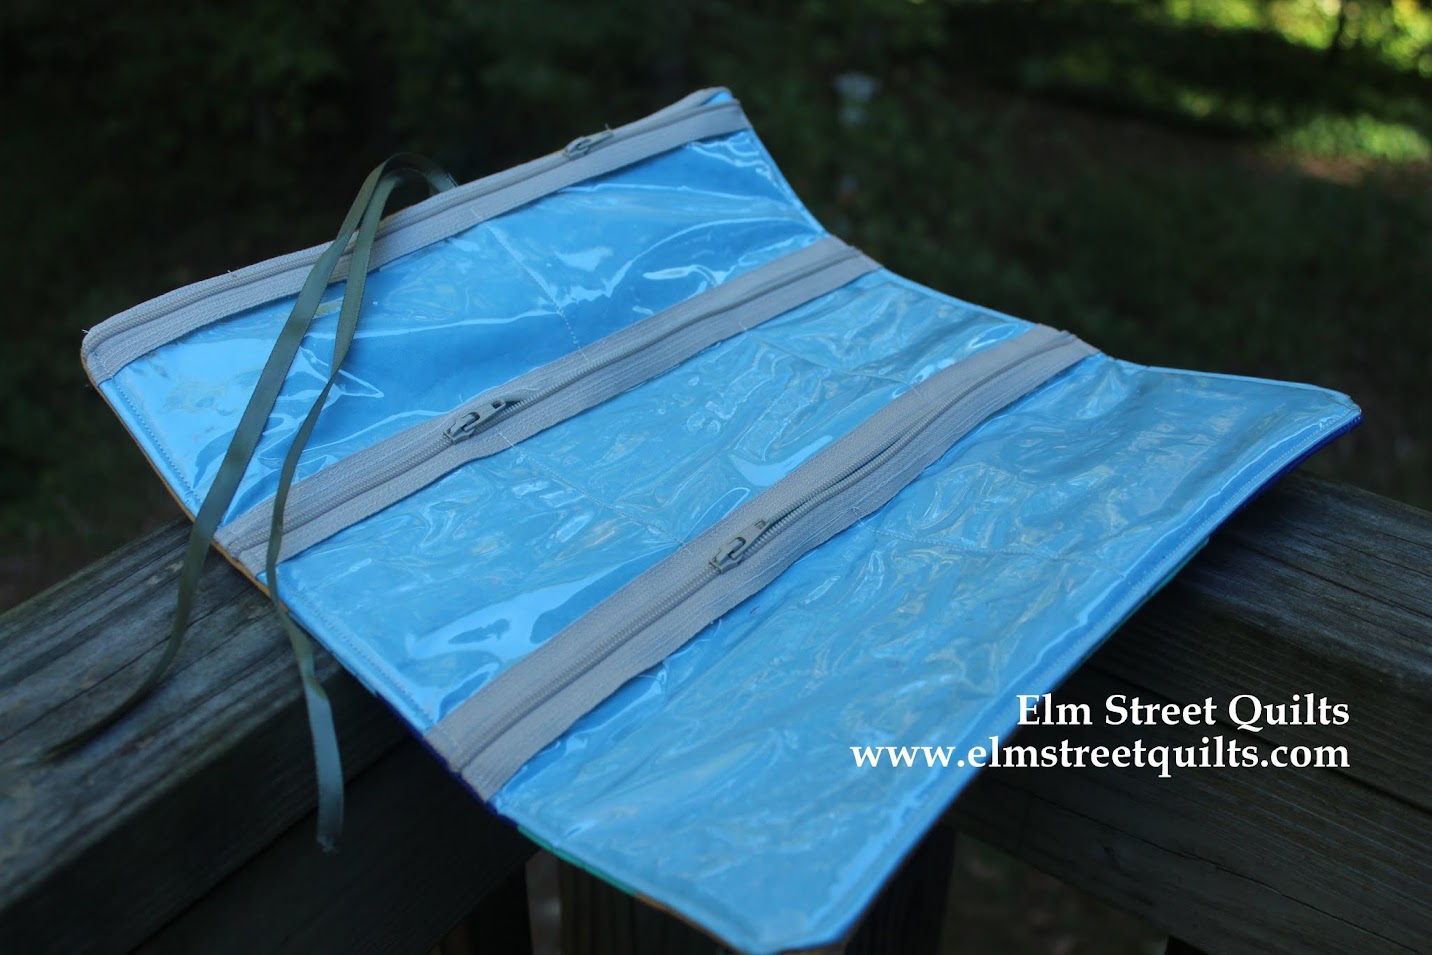
Inside, I've got 3 nice big pockets which have been further divided.  Hard to see in the photo but the top and bottom pocket have been divided in half and the middle one into thirds.

jewelry travel bag tutorial

Before your next trip, zip your bracelets, necklaces and rings away safely and then roll up the jewelry travel roll and tie.  It will tuck into your suitcase quite easily and all your jewelry will stay in one place and will not get tangled!!

jewelry travel bag tutorial

These make wonderful gifts.  I first designed these several years ago and gave them to each of my sisters for Christmas.  For those, I choose this pretty print that was left over fabric from a quilt back.  (I've still got some of this left and now it is being used in my Farmer's Wife quilt!)

jewelry travel bag tutorial

You can see the pockets a bit more clearly in this photo.  See how all the jewelry tucks in quite nicely?  I still get thanks from my sisters about these - they use them all the time.

jewelry travel bag tutorial

And look how nice my new jewelry roll matches two of the other bags I made for this series.  (This post and that post for more information.)  Looks like I am ready to travel ... just need somewhere to go!!


The pattern for this jewelry travel roll can be found in my Craftsy store. It is one of my most popular patterns.

jewelry travel bag tutorial


This post was sponsored by Zipit, an Etsy store as part of Bag It 2015.


Have a wonderful day! Patty