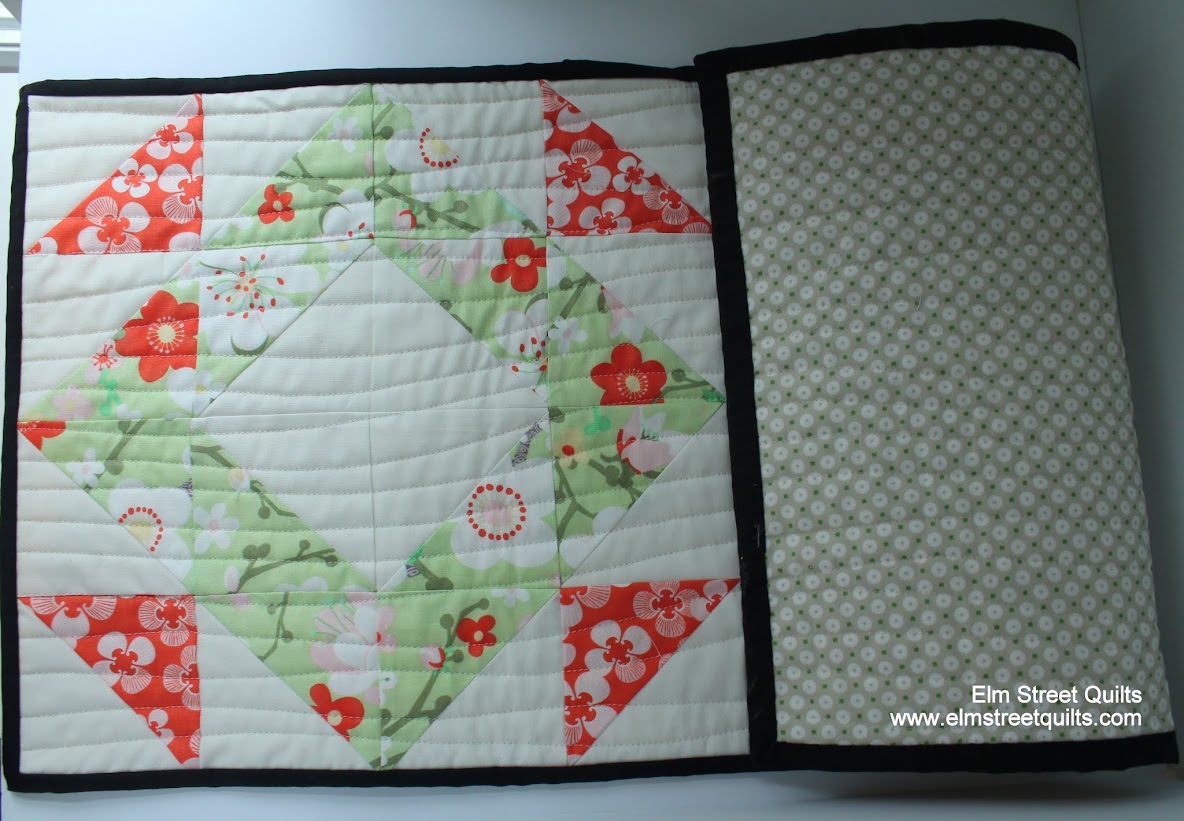
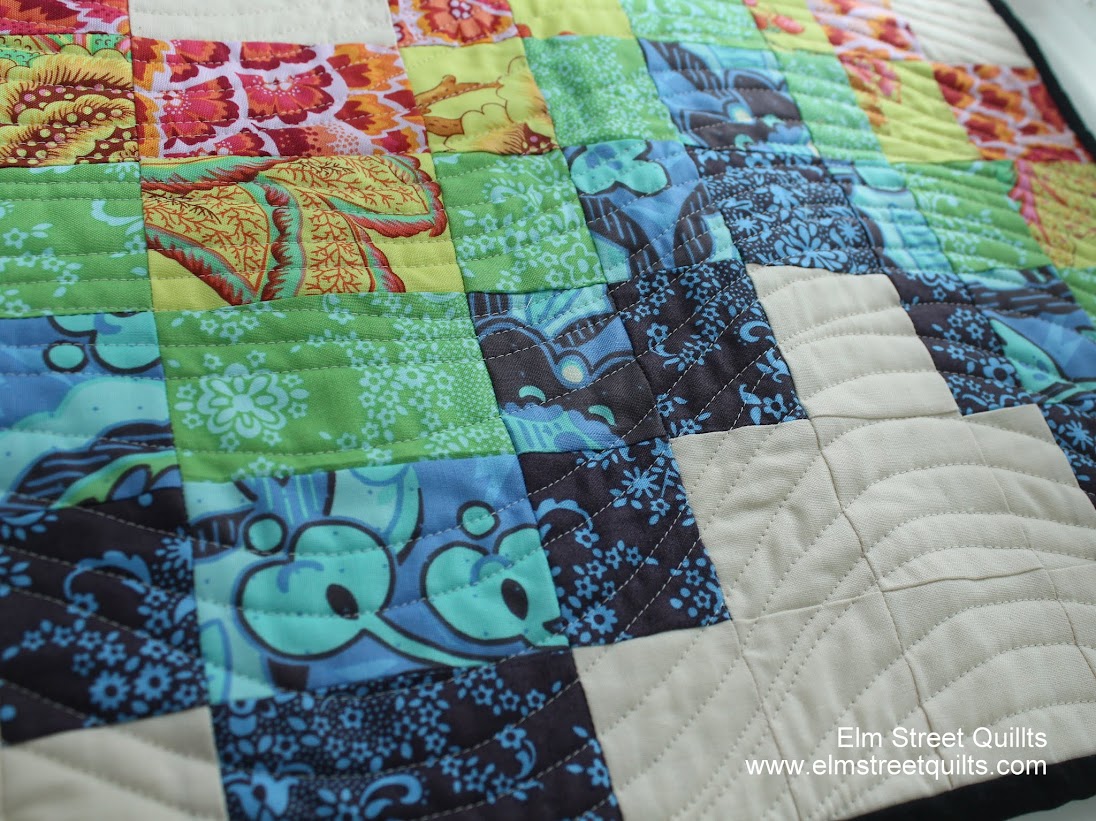
One of my favorite ways to quilt table runners and wall hangings is a technique called 'organic wavy lines'.
Organic means your quilting lines aren't marked ahead of time.
Wavy means not straight.
Lines means, clearly, lines!
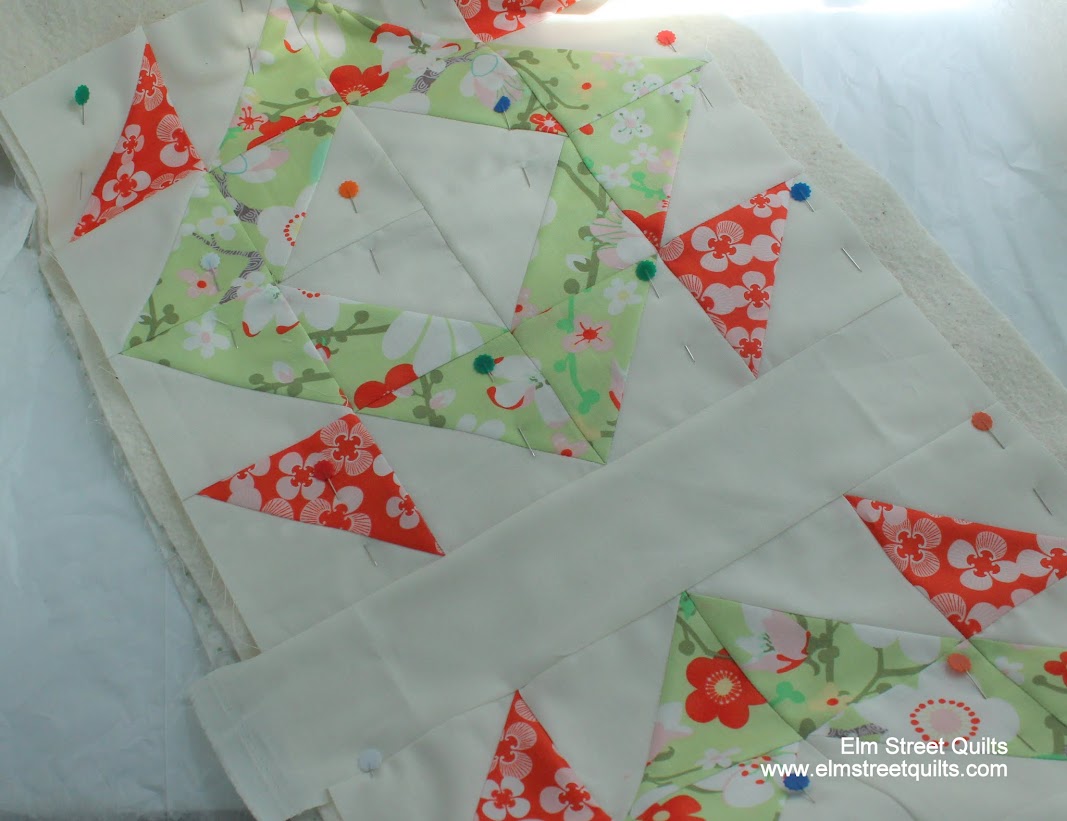
My table runner is a two block runner which measures 12'' by 26''. I basted this using straight pins and then added pinmoors to secure the pins.
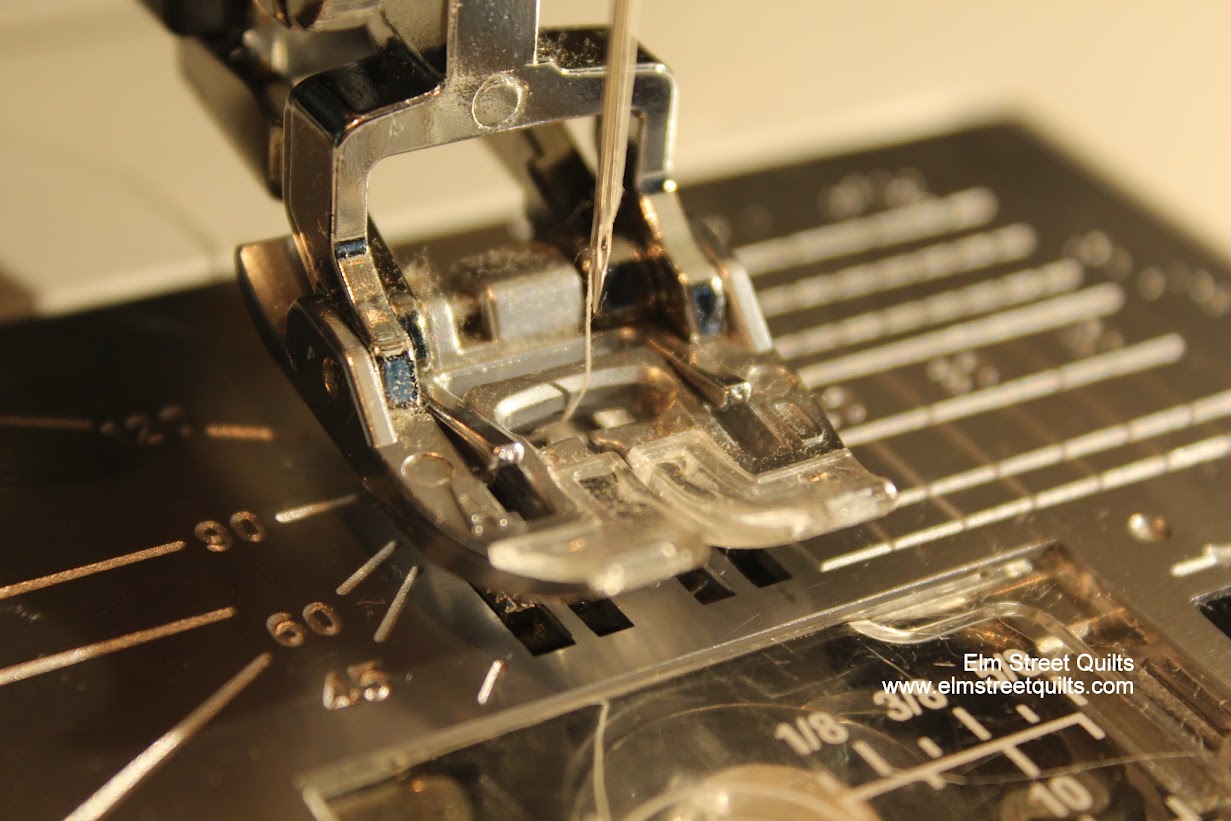
Use your walking foot on your sewing machine and set your stitch length to 3.
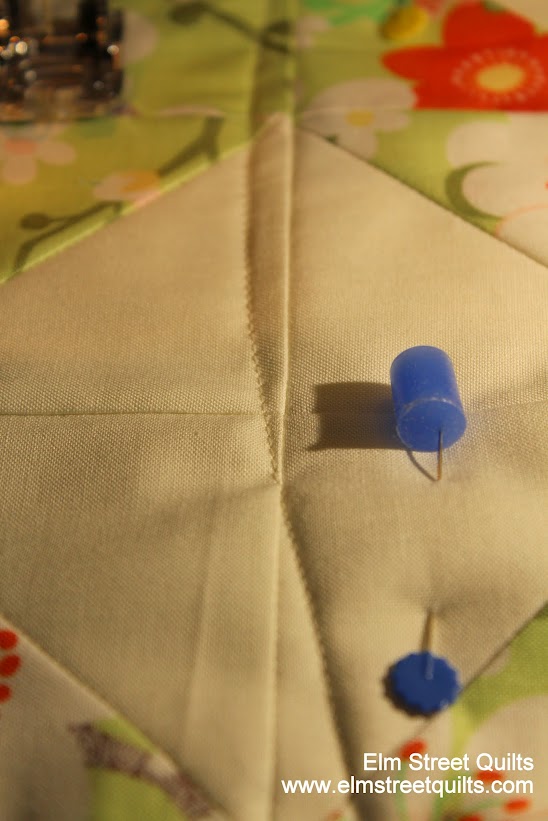
Stew a straight down the long edge of your piece to add stability and keep everything from shifting. (Note, don't sew over pins! I removed it before continuing.)
Starting in the middle of the quilt / table runner right at a seam in a block. Secure your first (and last) stitch in each row with a quick backstitch.
Using the seam as a guide, sew your wavy line crossing back and forth across the seam. You aren't going for a wiggly line so plan to cross the line about every 9 inches.
For the next line, and the all the lines after than, follow the wavy line you established but vary the distance between your presser foot and the prior line. In this first photo, I am sewing very close to the prior sewn line.
And then I increased the gap to create some interest.
Unlike FMQ when my hands are on the quilt to move it around, I like to hold the piece up and 'steer' it much of the time.
Continue making your wavy lines until you've quilted from the center to one edge and then go back and start from the middle and quilt the other half.
I hope you found this tutorial and quilting tip on quilting organic wavy lines helpful. I'll be linking up here at Sew Simple Saturdays. I love the idea of sharing quilting tips each month. Here is a list of some of tips shared previously:
Also check out my other tutorials!
This block was Pat Sloan's Triangle Challenge #1. I'll be linking up at her blog here and here.
First time visiting? Checkout my Bargello QAL - great prizes from sponsors for participants. I used a version of my organic wavy lines to quilt the bargellos, following along on the curve!
Linking up with Fort Worth Studio, Quilt Shop Gal, Confessions of a Fabric Addict, and Sew She Can.







Hi Patty,
ReplyDeleteI love your Organic Wavy line quilting. That is really cute and maybe something I could do! Thank you for the tutorial. Maybe now I will finish some of my table runners first and then some of my little quilts! Thanks for linking up! xo jan
Thanks for the tutorial, good to know for smaller projects.
ReplyDeleteI like it! Looks really easy too!
ReplyDeleteThank you, Patty. This inspires me. I don't have a walking foot yet and can see this is absolutely necessary if I'm going to finish the pieced blocks I have! New to all this.
ReplyDeleteThank you Patty, I love the really curvy OWL quilting!
ReplyDeleteAbsolutely gorgeous!
ReplyDelete