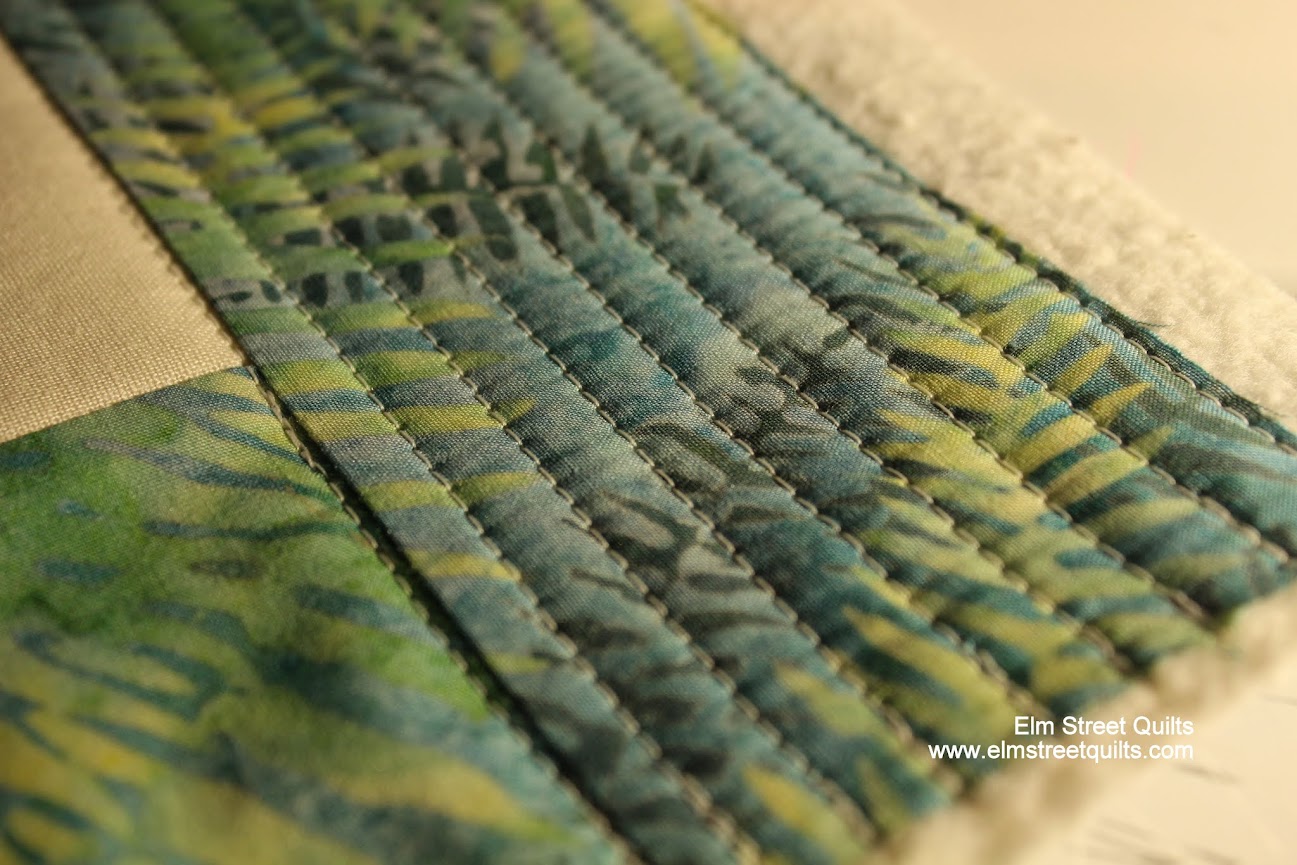
When I make small mini quilts, I often like to quilt them using my walking foot with dense straight lines. I call this Matchstick quilting.
Want to try?
Prepare your quilt sandwich as normal. In this stitching project, there was a layer of fusible fleece behind the stitching and then sandwiches with a batting scrap.
We'll be match stick quilting in 4 sections.
Roughly a forth of the way from the top and bottom of your piece, draw a straight line with your ruler across the piece (See this
tutorial to mark quilting lines.) This tutorial will reference these markings at the
1/4 piece mark and the
3/4 piece mark.
Alternatively use a straight seam in the quilt for the first line of stitching. I used the seam from on the border pieces.
I like to set my stitch length to be longer than usual - around 3.0. Sew across the piece on your
1/4 piece mark and the
3/4 piece mark. Back stitch at each side to secure stitches.
Then sew along the top and bottom of the pieces as close to the edge as you can.
If you look carefully at the photo, you'll see these sewn lines. The piece is now stable and the remaining pins can be removed.
Find a spot on your walking foot that you can use as a consistent distance for each of your subsequent rows of stitching. I've marked the photo below with mine - I bit of an opening in the foot that becomes my stitching guide. See where my seam ripper is pointing? I've lined that up right over the
1/4 piece mark line of stitches.
Continuing to consistently use that same spot in your foot, continue to sew across to the top edge.
Now mark the center of your piece -
the 1/2 piece mark. I used this
method of marking quilting lines - which you can see as a shadow across the middle of the photo
.
Sew on the
1/2 piece mark the next line to sewn on and then continue to work from that point up towards the
1/4 piece mark line.
Then start working up from the
3/4 piece mark line to the
1/2 piece mark line.
Repeat for the bottom portion of the piece.
Clearly you could get this same effect by starting at the top of your piece and working down without doing this in sections.
However, chances are your lines may not be all straight when you are done. If you are a little bit off in one part, that little bit off will start to add up and suddenly you aren't going straight anymore.
By starting from the three lines that were marked at the 1/4, 1/2 and 3/4 point, you keep resetting yourself back to straight!
I just love the end result and think you will too!
If you liked this tutorial, check out my others tutorials for
circular quilting and quilting
organic wavy lines.
Have a wonderful day!
Patty