Saturday, March 5, 2016

Labeling your quilts

Do you label your quilts?   Record at least your name and the year the quilt was made?

Today I want to share some of my favorite labels and a tutorial of the most common way that I attach a label to a quilt.

First, some favorite labels which offer some different ideas on how to make a label.

I created this label for my New Jersey quilt (gifted to my mom) at Spoonflower and attached it to the back of the quilt after quilting.

Quilt Label Example

The label for my Farmer's Wife quilt was a spare block I built right into the backing.


For the TARDIS quilt I made my daughter, I wished her many adventures through time.

Quilt Label Example Dr Who

For my other daughter, I made her an Irish chain quilt in honor of her love for the Celtic Woman.

Quilt label example

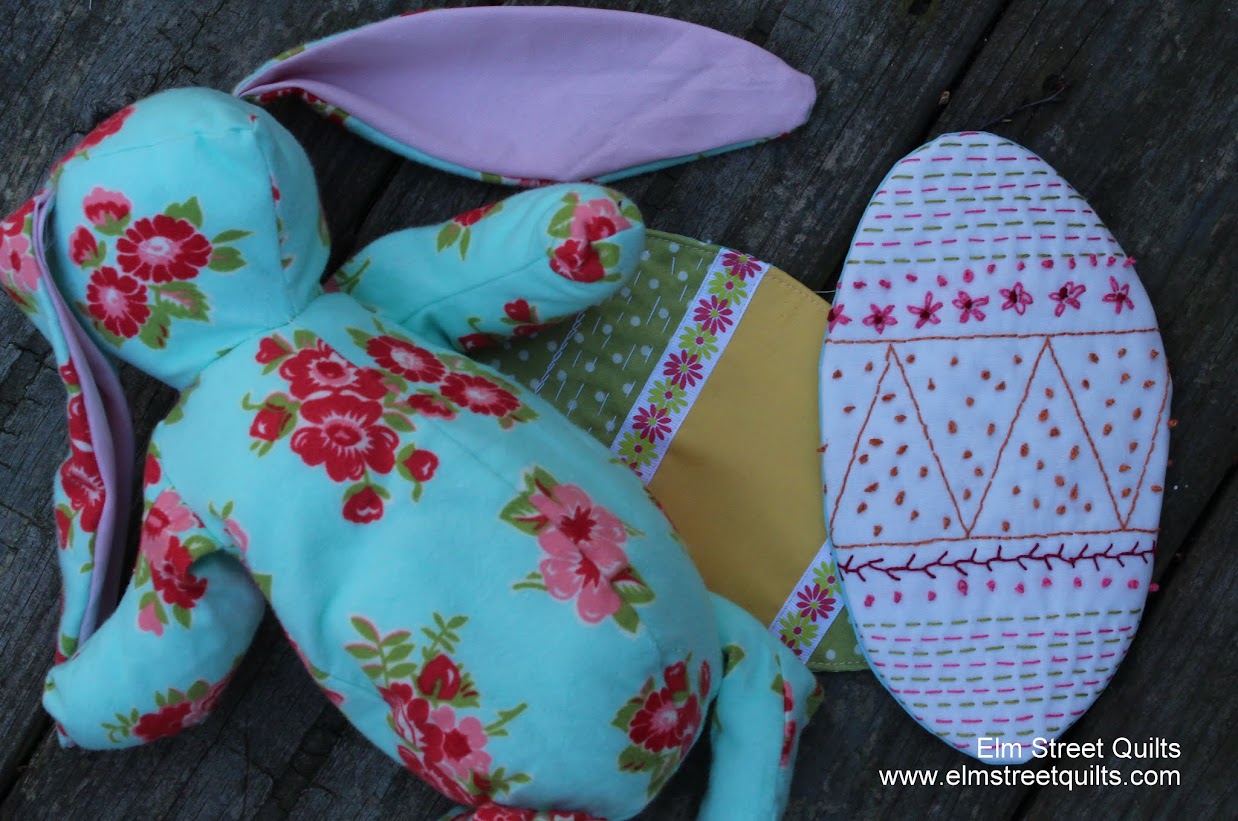
For a quilt I made at the beach, I ordered a label online - isn't it pretty?


My Sea Turtle quilt - love that this has a bit more than just the name and date.  This is a wall hanging so I used a sharpie pen and then framed the label in the same fabric as the backing.  It was sewn down on two sides before the binding was attached.


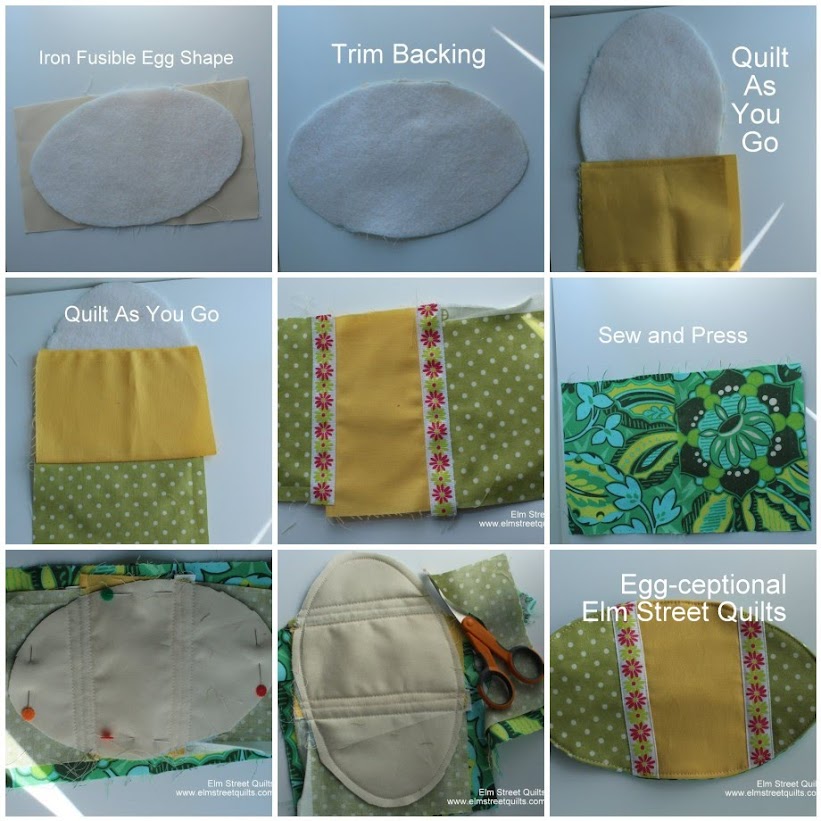
The label technique that I use most often starts with a square piece of fabric ironed in half to form a triangle.   You can make this as large or as small as you want.  It needs to be big enough to capture all the information you think is important for the quilt.

I turned one of the hanging corners on the back of my Sunburst quilt into a label.


Another example - this quilt is a wall hanging so I used a permanent pen since it won't be going through the washing machine.


Consider capturing your name, the year and the name of your quilt.  Additional information is also a great idea like the location or quilt designer.

In honor on each of my sisters (there are 6 of them) turning the big '50', I have been making them each a quilt.   This is the label for the quilt I'll be gifting in September. In this case, I used the date to both record the year is was made (2016) as well as her birthday month.

I stitched this label on my machine and the fact that the fabric was folded over gave it extra stability.


Before sewing on the binding, attach it to the quilt on two sides.

quilt label tutorial

And there it is in all of its glory.


Your turn.

Do you label your quilts?  If so, tell us about it in the comments.


I hope you found this tutorial and quilting tip on quilt labels helpful.   I'll be linking up here at Sew Simple Saturdays.  I love the idea of sharing quilting tips each month.  Here are the list of tips I shared previously:

Also check out my other tutorials!


Have a wonderful day! Patty

Thursday, March 3, 2016

Words are, in my not .....

harry potter quote quilt

I first blogged about this quilt last week.  I've continued to make progress working my way through a favorite quote of my daughter's from Harry Potter.

Words are, in my not so humble opinion, 

our most inexhaustible source of magic."

I am just loving the contrast between this great fabric I found at my LQS and the low volume fat quarter stack I had in my stash.


Finishing all the letters for the quilt is my OMG goal for March. I will be linking up here for OMG.  


Have a wonderful day! Patty

Tuesday, March 1, 2016

Celebrate International Craft Month - Egg-ceptional!!!!!!

Welcome to March, to my blog and to International Craft Month!

To celebrate all of the above, I'm thrilled to be participating in the blog tour from QuiltShopGal.

(First visit to my blog?  Welcome! Check out yesterday's post on the Bargello QAL & sponsors!)

Spring is coming - really truly it is.

Temperatures in NC have crept into the 60's and the daffodils are in bloom.

To celebrate, I made eggs.  And not just any eggs. Egg-ceptional eggs!  (Try saying that 3 times fast!)  These are so versatile - the possibilities of what you create are just infinite.

Fabric egg craft with quilting and embroidary

Enjoy a brief tutorial on each egg and then keep reading to enter the giveaway and see the other bloggers on the International Craft Month celebration tour!


To  make the fabric egg, you'll need:
Supply list for fabric eggs

  • egg shaped template
  • two (2) pieces fabric for back at 6 x 5''
  • one (1) piece fusible at 6 x 9''
  • one (1) piece scrap at 6 x 9''
  • fabric and ribbon scraps to decorate egg
  • thread add additional decorations


Directions:


  • Trace egg shaped template onto fusible and cut out.  Iron fusible to the scrap fabric and trim scrap backing.  Layer fabric across egg shape using quilt as you go technique. Add decorative ribbon and any quilting you desire.  (Have fun!)


  • Place the two (2) pieces of backing fabric right sides together and sew a 1/4'' seam across the 6'' edge leaving a gap for turning.  (Close up photo.)   Open and press.  The pressing will leave a nice crease at the gap which will make closing the gap later easier.


  • Lay the decorated egg on top of the backing fabric, right side together.  Sew around the egg at 1/4''.  Trim.  Turn inside out through the gap in the backing fabric.  Iron flat and (optionally) add decorative stitching around edges.  Close gap in backing.


Instructions for making fabric eggs

This is a great project for scraps since you only use little bits of fabric and ribbons - you'll have a lot of fun making these.  You could also consider stuffing them after turning to give the egg a 3 dimensional effect.

Fabric eggs with embroidery highlights


To make the embroidered egg, you'll need:
Supplies required for fabric and embroidery eggs
  • egg shaped template
  • two (2) pieces fabric for back at 6 x 5''
  • one (1) piece fusible at 6 x 9''
  • one (1) piece scrap larger than 6 x 9'' and big enough for your hoop
  • pearl cotton or other embroidery thread

Directions:


  • Trace egg shaped template onto fusible and cut out.  Iron fusible to the scrap fabric.  Laying the unit fusible side up, sew around the edges to help stabilize fusible when in the hoop.  Consider marking any stitching lines.  (I put some lines across using a ruler to help keep things straight.)  Put in hoop and have a blast using any stitching and color you want.   (Have fun!)

Embroidery for fabric eggs


  • Place the two (2) pieces of backing fabric right sides together and sew a 1/4'' seam across the 6'' edge leaving a gap for turning.  (Close up photo.)   Open and press.  The pressing will leave a nice crease at the gap which will make closing the gap later easier.

Instructions for fabric and embroidered eggs
  • Trim the excess fabric around fusible.  Lay the decorated egg on top of the backing fabric, right side together.  Sew around the egg at 1/4''.  Trim.  Turn inside out through the gap in the backing fabric.  Iron flat and (optionally) add decorative stitching around edges.  Close gap in backing.
fabric and embroidered eggs plus bunny


I'd LOVE to see photos of any of the eggs you create.  If you share via Instagram, please add a #elmstreetquilts and #eggceptional tag!

*** Edited:  Giveaway is now closed.  Winners can be found here and were notified by email. ***


Before you dash off to make your eggs, please go visit the other bloggers in today's celebration of International Craft Month!  Thanks, Darelene for being a terrific hostess!

Marian  from Seams to be Sew
Vanda from Quilt in Piece:  
Julie from Pink Doxies
Carol from Fun Threads Designs  
Carole from My Carolina Home 
Darlene from QuiltShopGal 

I'll also be linking up at  Blossom Heart Quilts,  Sew Fresh Quilts and Freemotion by the River.


Have a wonderful day! Patty