Saturday, December 5, 2015

Quilting Tip - Staying Organized

Like this 'artistic' photo of a clothespin?


I have this memory from growing up of our laundry hanging on the clothesline in the backyard, using all that sunshine to get dry and smell wonderful.  There is another great use for clothespins .... quilting!

I use them to hold a stack of finished blocks together - each group of ten is pinned so I can easily keep track of how many I've made.

quilting organization tip

Another use - when cutting out multiple pieces of fabric, I use them to mark the piece name - I've got a bunch of these marked A, B, C etc or 1, 2, 3.


And, the best part?  They aren't expensive!

And for those of you visiting for the first time, welcome!   Be sure you check out my Elm Street Quilt Bag It series!  The giveaway ends December 14th so you've some time to enter.
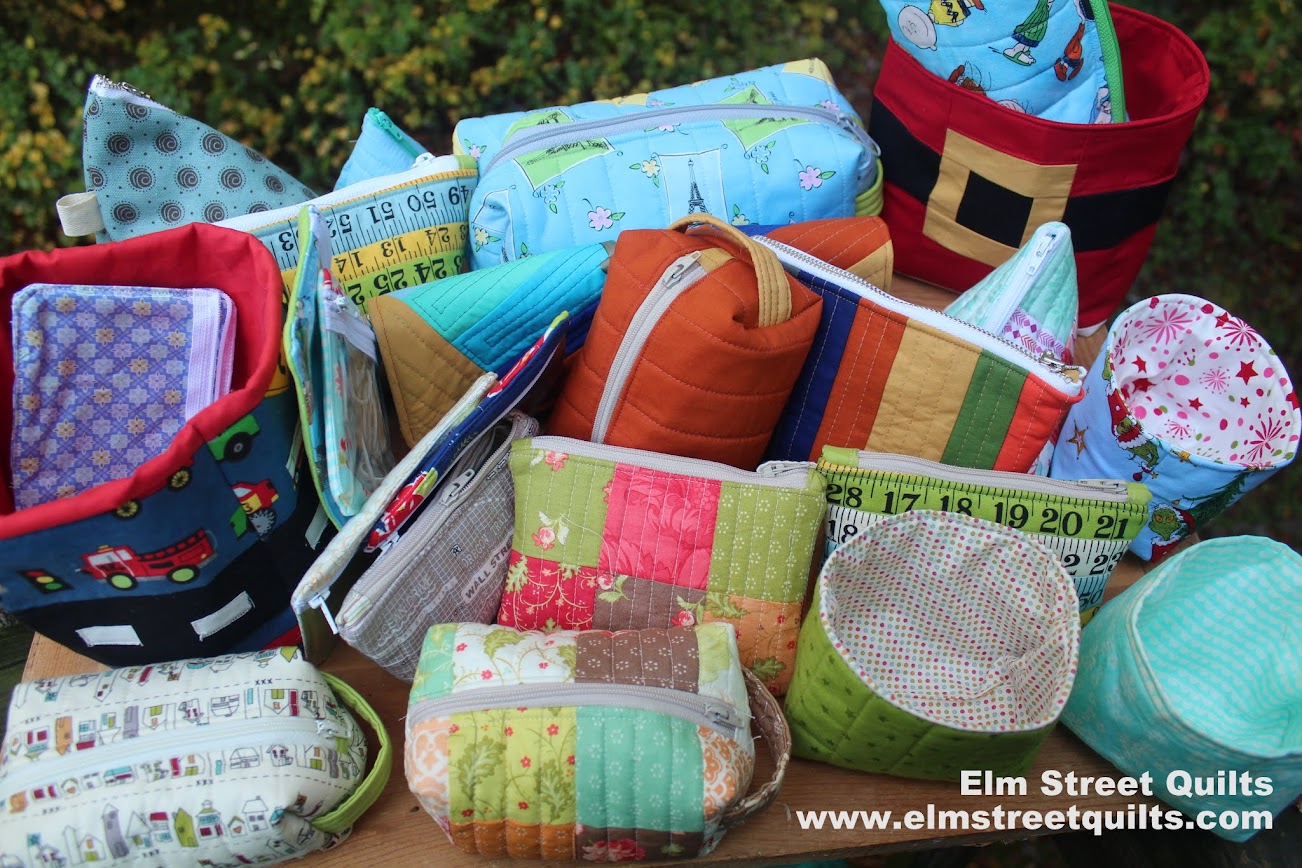
zip or zipped bags

Throughout the month of November, I posted a series of tutorials on making five different styles of bags and pouches.  Here is the full list of blog posts:


I hope you found this tip on staying organized helpful.  I'll be linking up here.


Have a wonderful day! Patty

Friday, December 4, 2015

Week 5 - Elm Street Quilts Bag It!!

Do you know what you can make with one mini charm pack?

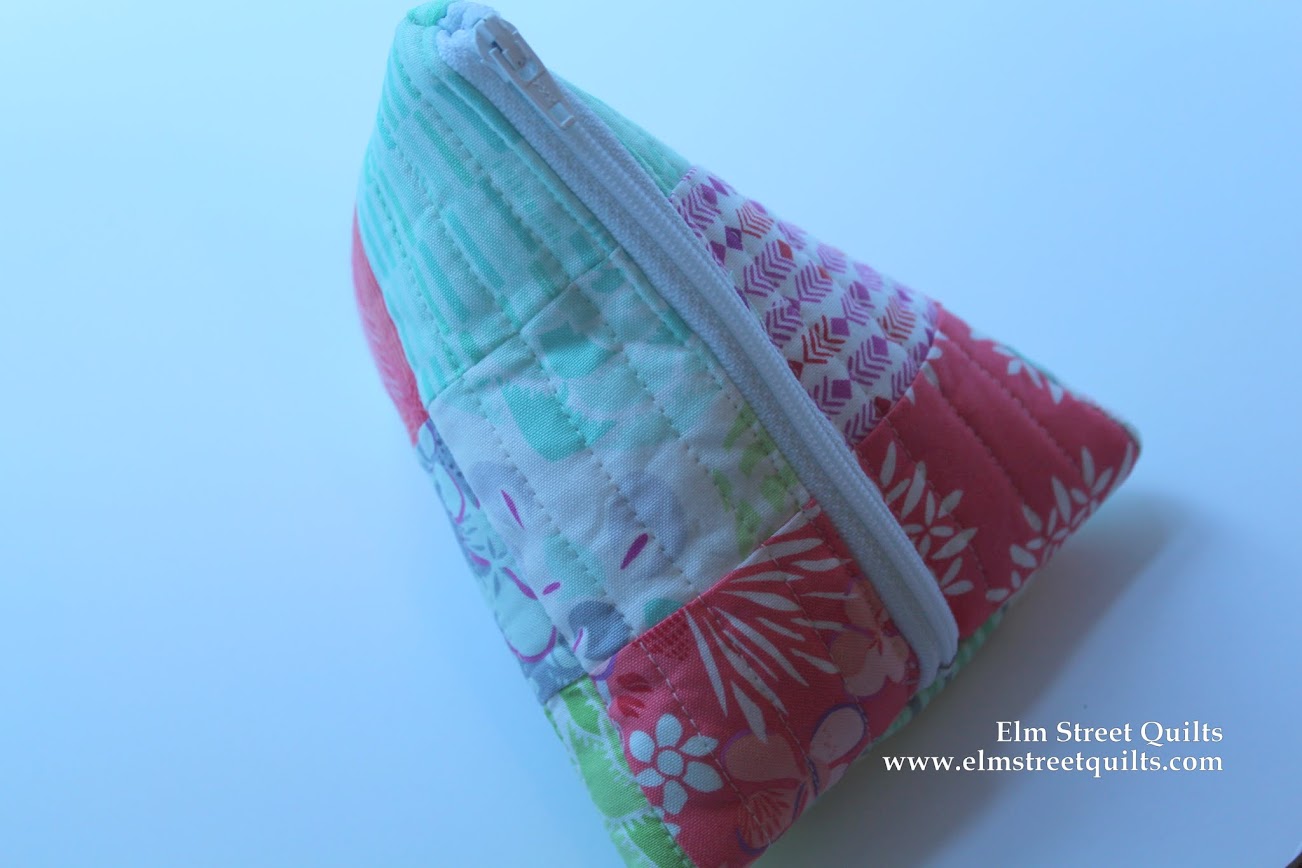
Three bags!!   I made two triangle and one basic zip pouch from one mini charm pack of the a Kate Spain line.  I just love each and everyone.  (Shhh, hope my sisters will too!)

zip bags made from charm packs

There have been a dozen days of Elm Street Quilts Bag It series, filled with tutorials and tips for making all kids of bags, most but not all with zips.

Miss a day?  Here is the full list of blog posts:


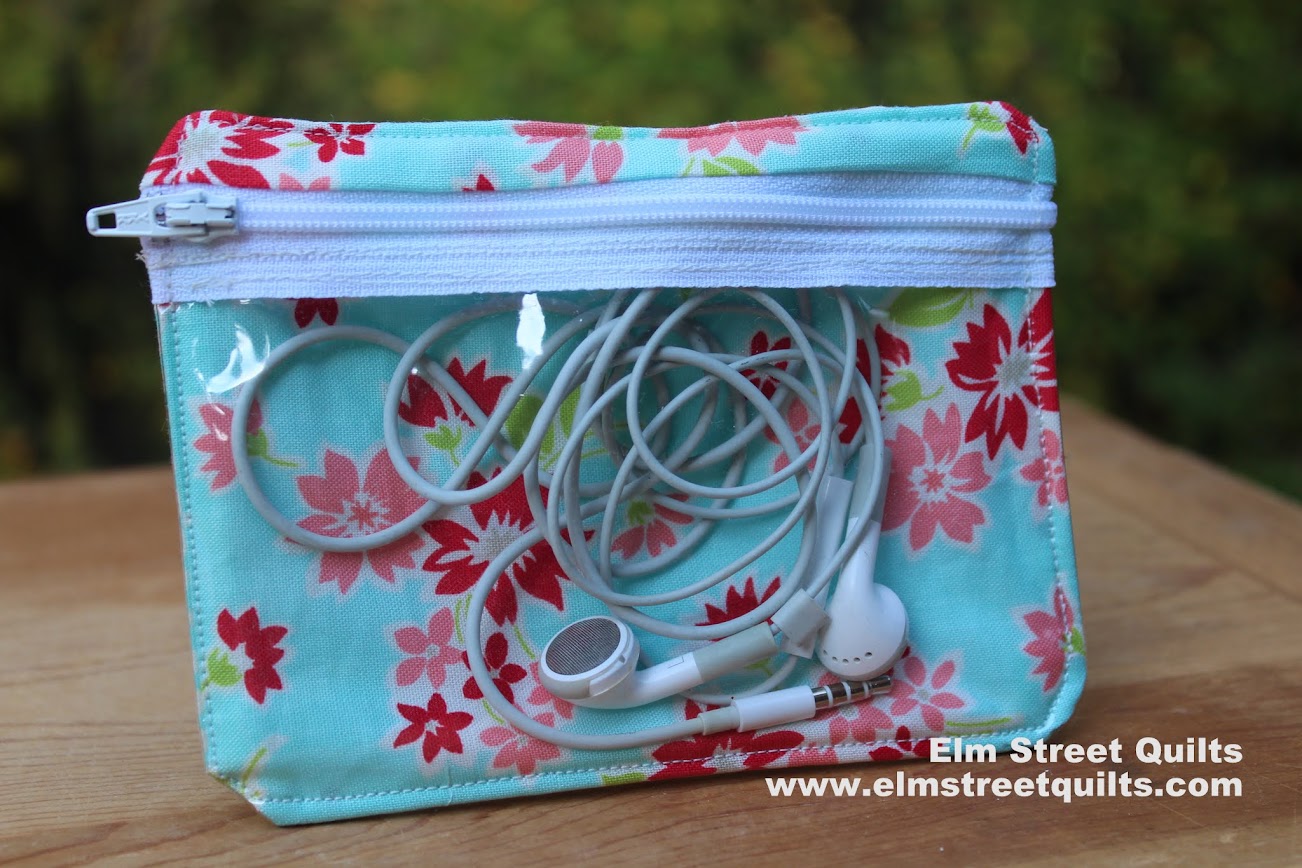
I'm about done with my holiday bag gift creating except for a few more headphone pouches on the cutting table.   Want a supply kit to make two of these?  You get two pieces of vinyl, two zippers and the fusible fleece you will need.  Just add fabric!  Check out my Etsy store where I've a limited set of supply kits available. 

And I'm running a bit of a special in the Etsy store - buy two kits and I'll throw in a third kit for free!  (No coupon code required - ends Dec 15th.)   This means you'll get the supplies you need to make 6 headphone pouches for the price of 4.


headphone bag tutorial

The Bag It giveaway closes at 8pm EST on Monday, December 14th.   So you've got just a few more days to make and share a bag - follow the instructions below to enter the giveaway. ANY bag you make and share counts - it doesn't have to be one that I've written a tutorial on.

Found another good tutorial elsewhere for bags?  Leave the link in the comments so everyone can check it out!!

Ready to enter?
  1. Visit the sponsor post.  (You can earn up to 9 entries.)
  2. For each bag you create and share between now and 8pm on December 14, you earn 10 entries into the giveaway!   Entering is easy!   Just share a photo of your bag (or bags) on your blog, on Instagram (#elmstreetquilts), on the Elm Street Quilts Facebook page or send to me via email (elmstreetquilts at gmail dot com) and then go here to officially enter.  Enter as often as you want as you make new bags.  Any bag you make and share counts!   

See the Elm Street Quilts Bag It information page for more information.

I'm carrying forward the linky from last week so keep adding to it.  It is great to share those bags with everyone.  (Don't forget however, to officially enter the giveaway.)


Wednesday, December 2, 2015

Triangle Bags - Size Options

triangle zip bag tutorial
Would you believe that there have been over 140 bags created and submitted as part of Elm Street Quilts Bag It?   I've been absolutely thrilled with all the beautiful bags that have been shared!

The linky party is here and we'll post it again on Friday.

There is still plenty of time to earn more entries = you've got until December 14 to make and share your bags.  (For overall information on the series, visit the main Bag It page.)

I experimented with some different sizes for triangle bags and wanted to share that with you.

The triangle bag tutorial was based on using a 6" zipper.  However, like all the other bags in this Bag It series, the size of the bag is really your personal choice.

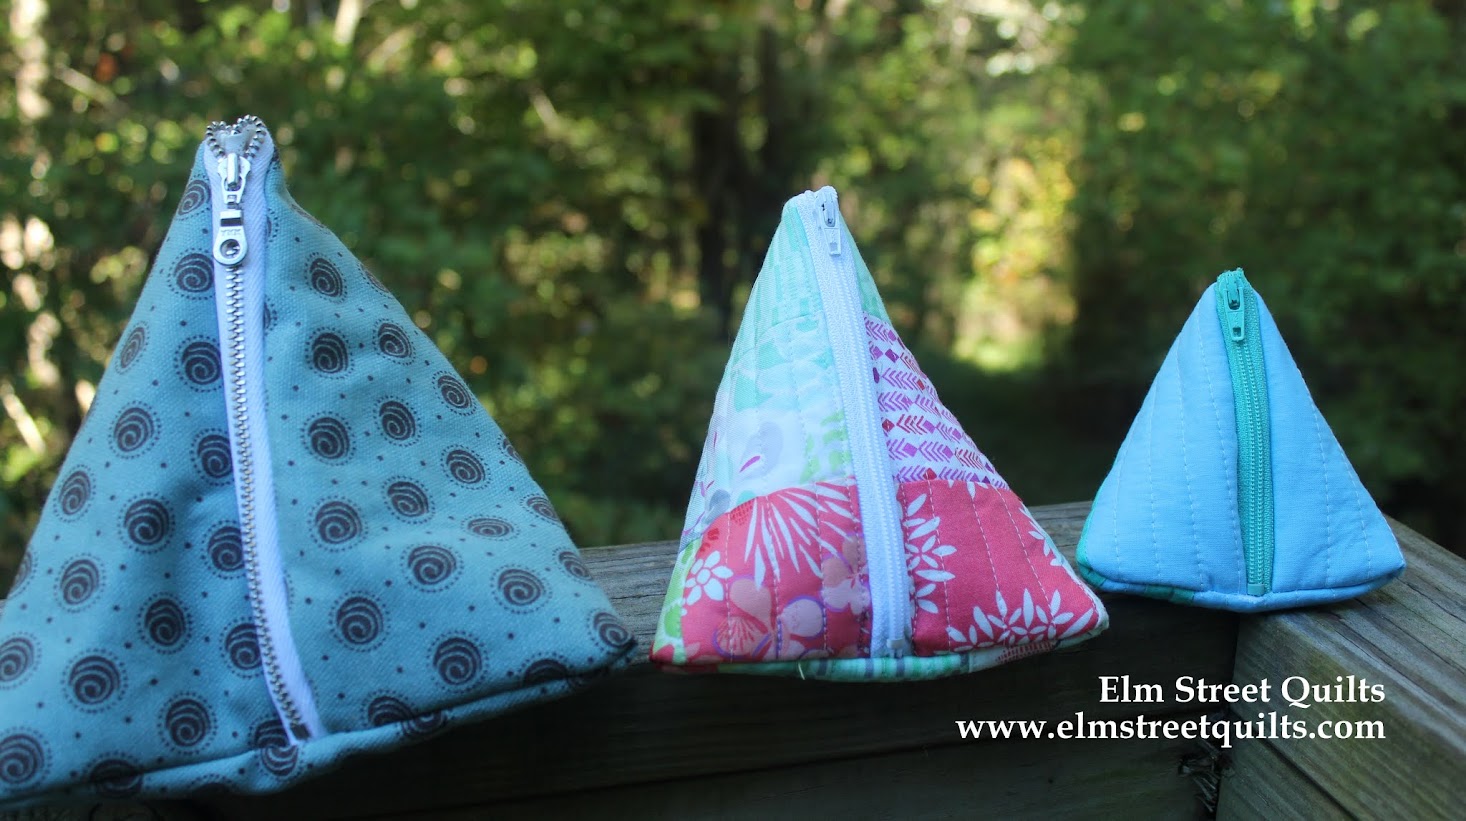
For these triangle bags,  I'm made them in three sizes.  They stand at (roughly) 6'', 5'' and 4''.   I find the mama bear size to be the most useful but the papa bear size is great for throwing toiletries into your suitcase.

triangle zip bag tutorial

To make the papa bear bag, I used a 7'' metal zipper and outer and lining fabric cut at 7 1/2 x 4 1/2''.

Mama bear size used the tutorial dimensions.

To make the baby bear bag, I used a 4'' plastic zipper and out and lining fabric cut at 4 1/2 x 3 1/2''.

The smaller dimension determines the zipper - or the zipper determines the smaller dimension!

Experiment yourself and share what size you liked.

triangle zip bag tutorial

So, what's been your favorite bag?   We did the basic zip, the boxy bag, mini storage bags, headphone pouches and now the triangle bags.  (shown left to right in photo below.)


Keep making and sharing those bags!  I can't wait to see what you make.


This post was sponsored by Zipit, an Etsy store.


Have a wonderful day! Patty


Have a wonderful day! Patty