
Happy Bargello Sewing Day!
Not a national holiday? Well it should be!
The bargello assembly for the QAL is broken into two posts to give everyone the time they need to get things done:
 |
| Fabric Strip Tube |
- sew together those strips, make a tube & press [post link]
- cut into new strips, rip out specific seams (according to the pattern) & sew back together [this post]
At this point, you should have a collection of fabric strip tubes. For the Queen B, you have four fabric strip tubes (two fat and two skinny). For the Baby B, you have two fabric strip tubes.
Please read this post all the way through to get the full instructions as well as important tips for assembly.
And before you actually cut anything, make sure to review how to read a bargello cutting chart. (These cutting instructions are just an example and are NOT the instructions for the actual QAL.)
Don't hesitate to ask questions in the comments, by email, or come join the Elm Street Quilts QAL Facebook group and ask your questions there.
Before going any further, just a few words on organization and bargello sewing tips.
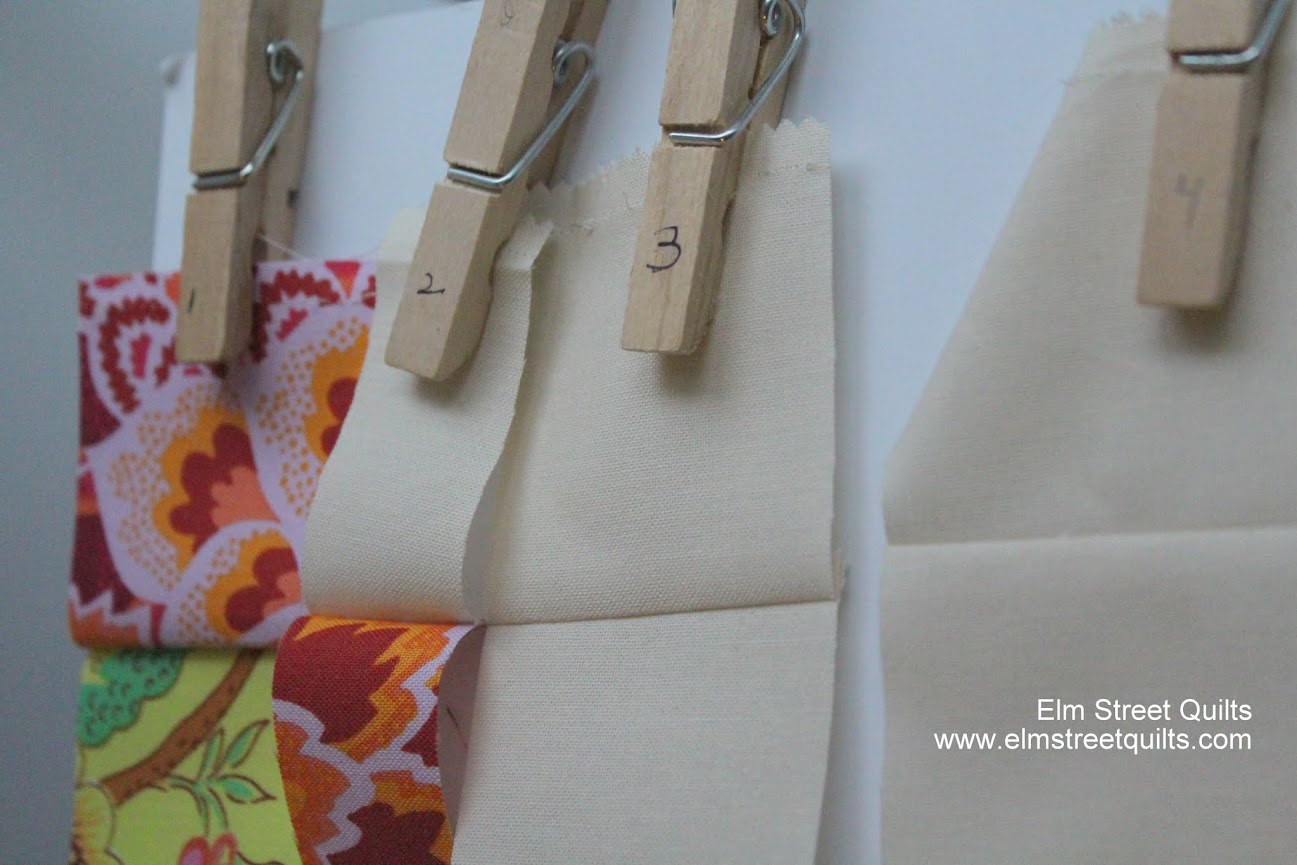 |
| Label your strips with the column number after cutting. Handle the strips as little as possible to avoid seam pops. |
 |
| Alternatively, clips with paper labels work well too. Just label each strip after cutting. |
 |
| Your strip tubes should lay flat with little coaxing from you. Before taking your first pattern cut, even off the edges and discard. |
 |
| Cut only 2 or 3 strips before stopping to label them with the column number. |
 |
| Following the cutting instructions, slide your label to the top fabric for that column and fold your tube with that fabric on top. In the Queen B fabric, column 20 is fabric #12 which is 7 white strips above the #1 fabric. |
 |
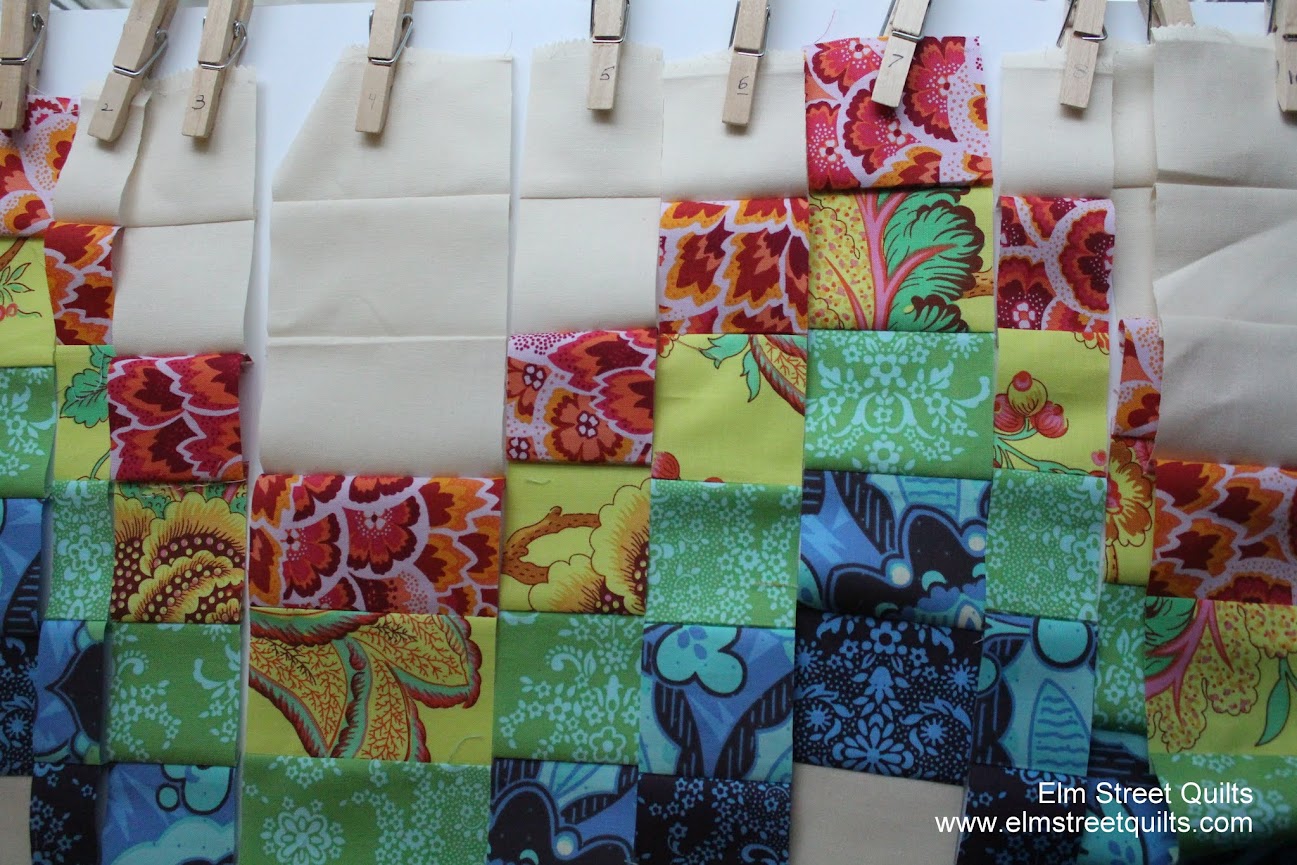
| Lay out the tube strips on a table (or floor) leaving gaps to fill in with the even strips. |
 |
| See how the design fills in when you add the even numbered rows? These are still tubes. |
 |
| Carefully pull the seam to separate the tube back into a strip. Handle as little as possible to avoid seam pops. |
 |
| Once you've broken your tube into strips, lay them right side up. Continue to label each strip with a column number. |
 |
| Stay stitch the left and right sides of your quilt top to prevent popped seams |
Finally, once you cut, handle the strips as little as possible to avoid popping seams. This means:
- iron only at the very, very end once everything is sewn
- put a line of stitching very close to the edge (i.e. staystitch) of the left most and right most fabric to secure seams
- if your seams are not nesting properly - STOP - you've likely got a strip turned upside down
- continue to use a smaller stitch (i.e. a 1.4) for your seams.
All those sewing and organization tips make sense?
Ready for the magic?
Let's get started!
Separate your fabric strip tubes into two piles and mark one pile as'odd' and the other as 'even'.
Follow the cutting instructions and cut the odd columns from the pile marked 'odd' and the even columns from the pile marked 'even'. The cutting instruction will contain the information you need to know the width of the strip and which fabric is the top fabric for the design.
Let's get started!
Separate your fabric strip tubes into two piles and mark one pile as'odd' and the other as 'even'.
- For the Baby B, each pile will only contain one tube - this is easy!
- For the Queen B, each pile will have on fat strip set (i.e. ~ 21'' wide) and one skinny strip set (i.e. ~10'' wide). Make sure that the tubes in each pile are pressed the same way. (For example, the fat and skinny strip each pressed towards the top fabric go into the same pile.)
Follow the cutting instructions and cut the odd columns from the pile marked 'odd' and the even columns from the pile marked 'even'. The cutting instruction will contain the information you need to know the width of the strip and which fabric is the top fabric for the design.
- Review how to read a bargello cutting chart to learn how to read the cutting tables.
- Download and print your cutting charts (drop me an email - elmstreetquilts at gmail dot com - if you have any trouble downloading.)
 |
Rotate tube and move marker / label to the top fabric for the design. (see photo below, bottom left)
Use seam ripper to carefully remove seam. (see photo below, bottom right.)

Once all the strips are cut and appropriate seams removed, lay the bargello following the pattern next to your machine. Visually double check you've got the design you want.
Sew together columns, using 1/4'' seam. Carefully nest seams at each intersection. Because of the pressing, seams should nest naturally.
Staystich the outside edges. Press.

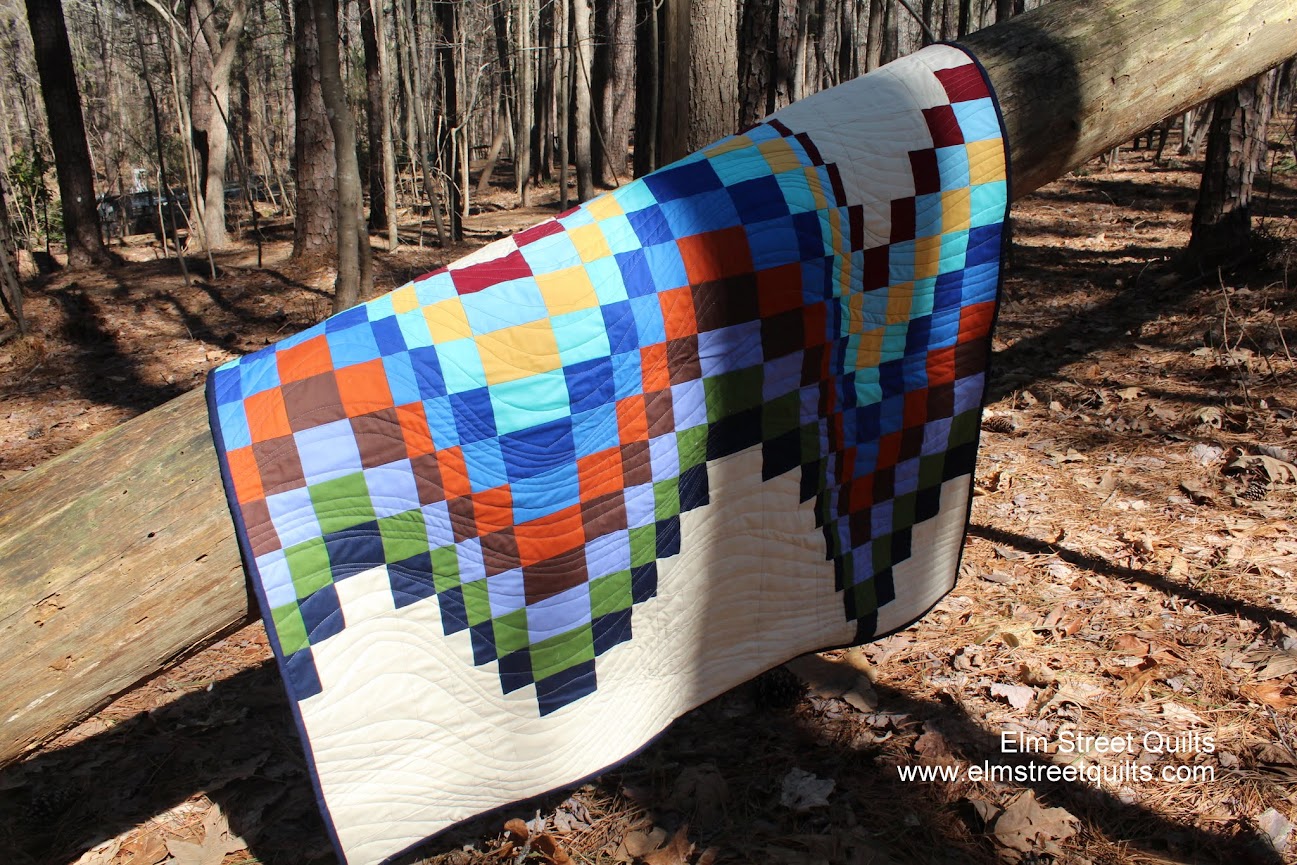
Congratulations!
You just made a bargello quilt top!
Next week, we'll discuss ways to quilt your bargello. Until then, please share your progress on your blog, via Instagram - use #elmstreetquilts and #bargello as our social tags.
Join the new Elm Street Quilts QAL Facebook group and share your progress! It is going to be a lot of fun to see how everyone is doing!.

Have a wonderful day! Patty
Exciting!! I want to get after my strips today! Thanks for all the posts about this QAL!
ReplyDelete