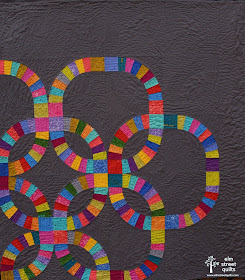
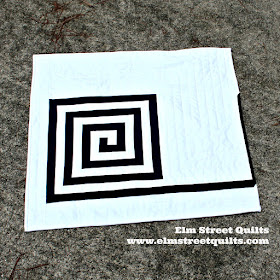
Why block? I've blocked several quilts - primarily because I was entering the quilts into a show and needed them to hang nice and flat. I also blocked a quilt which had been hand-quilted because I felt it needed a little extra love 💓 after being handled so much.
My friend Paige (Quilted Blooms) talked me through the process for my first quilt - my Briar Rose entry for QuiltCon. I admit that I was bit nervous for my first attempt and it took me 2 hours for the whole process. I've gotten much better at it after that first one!
You want to block your quilt after you have finished the quilting but before you square it up and add the binding.
Measure your quilt and write down the measurements.
Gather supplies your supplies. (Note affiliate links.) You will need:
- Every quilting ruler you have - you'll find them all put to good use!
- Quality straight pins are key - I really love the ball topped ones from Clover.
- A laser level helps greatly in keeping your line straight. You can pay a lot of money for this tool but I found the one I bought at Amazon was reasonable and got the job done!
You can pin your quilt to a carpet or to insulation boards. I purchased the insulation boards at Home Depot. Pin together boards as needed for larger quilts. (Insulation boards work great as design boards covered in batting or flannel.)
Your quilt will need to stay pinned to the board for 1-2 days until it is fully dry so consider your location carefully!
Fill a large plastic tub with water and place the plastic tub inside a bathtub. I used distilled water instead of tab water - something to consider if you have hard water.
(You can also use a large sink or your bathtub but I wanted to avoid both any chance of leftover cleaning chemical residue as well as having to scrub the tub in the first place.)
Leave your quilt in the water for about 5 minutes so that it has enough time to get saturated. Gently swish it around once or twice.
Remove and place on clean towels and roll to gently squeeze out excess moisture. Place the quilt and a small dry clean towel in your dyer on the AIR DRY setting for 3-5 minutes.
Lay your quilt onto the prepared surface.
You will be using the seam lines and edges of blocks to ensure your quilt is nice and square.
Starting in the center of your quilt, place a large ruler on top and gently tug or shift the quilt so that it aligns with measurements on the ruler and is square. Push pins straight down through quilt into insulation board to hold the center in place. You will remove these pins in a later step.
Slowly work your way towards the outer edge of the quilt from the center. The laser level will give you a line of light that you can use to align seams lines from borders or sashing.
As you go, check your original measurements, gently stretching the quilt back to where it was supposed to be.
Pin generously along the outer edge - at least a pin every 2 inches. Once the outer edge is secure, remove any of the pins from the remainder of the quilt.
Turn on the ceiling fan or consider using a small rotating fan. Shut the door to prevent pets and family members from stepping on your nicely blocked quilt.
Depending on the temperature of your home and the overall humidity, the quilt will take 1-2 days to dry. Generally, the quilt is dry is the top is dry but remove just enough pins to slide your hand underneath to check.
Once dry, square up your quilt and bind as you would normally. Your quilt will hang nice and flat!
Have any tips for blocking a quilt? Leave them in the comments!
Have a wonderful day! Patty


